Introduction and Quick Summary
Are you looking for a delightful dessert that is both easy to prepare and sure to impress? Look no further than this mini cheesecakes recipe! These adorable bite-sized treats offer all the creamy goodness of traditional cheesecake but in a convenient portion. Perfect for parties, gatherings, or simply satisfying your sweet tooth, these mini cheesecakes are versatile enough to accommodate various toppings.
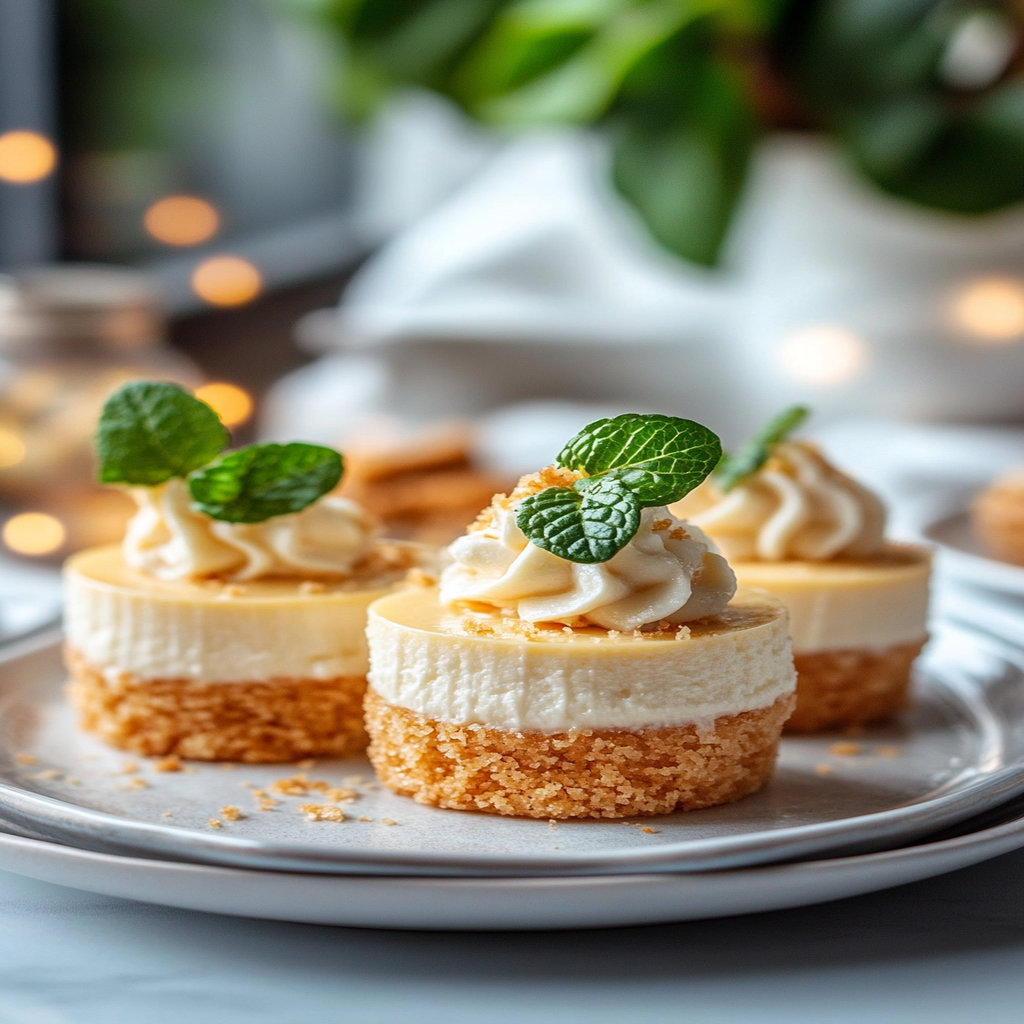
In this article, we will guide you through the entire process of making these delectable mini cheesecakes. You’ll learn about the essential ingredients needed for the perfect blend of flavors and textures. We’ll also provide detailed step-by-step instructions that ensure even novice bakers can achieve fantastic results.
Whether you prefer classic cheesecake flavor or wish to experiment with toppings like fresh fruit or chocolate drizzle, this mini cheesecakes recipe has you covered. They are not just delicious; they’re visually appealing too! Serve them at your next event and watch them disappear quickly as guests indulge in their delightful taste. So grab your mixing bowls and let’s get started on creating these scrumptious mini desserts!
Main Ingredients
Cream Cheese
Cream cheese serves as the primary base for our mini cheesecakes. You’ll need 16 ounces of softened cream cheese to achieve that rich and creamy texture that everyone loves. Make sure it’s at room temperature before mixing; this helps prevent lumps and ensures a smooth batter. Opt for full-fat cream cheese for the best flavor.
Granulated Sugar
For sweetness, 1/2 cup of granulated sugar is required. This sugar balances the tanginess of the cream cheese while allowing the other flavors to shine through. You can adjust the quantity slightly based on your personal preference for sweetness.
Eggs
Two large eggs are essential for binding all the ingredients together while providing structure to your mini cheesecakes. Ensure they are at room temperature as well; this helps them incorporate evenly into the mixture.
Vanilla Extract
A teaspoon of pure vanilla extract enhances the flavor profile of your cheesecakes beautifully. It adds a warm aroma and complements the creaminess without overpowering it.
Graham Cracker Crumbs
You’ll need 1 cup of graham cracker crumbs for the crust. Mix them with melted butter to create a firm base that adds crunch and texture to each bite. The combination of graham crackers and butter gives your mini cheesecakes that classic taste reminiscent of traditional cheesecake.
Unsalted Butter
1/4 cup of melted unsalted butter is mixed with graham cracker crumbs to form the crust. Using unsalted butter allows you to control the salt content in your recipe, ensuring a balanced flavor.
Sour Cream
For added creaminess and depth of flavor, include 1/2 cup of sour cream in your batter. This ingredient not only contributes richness but also introduces a subtle tangy note that pairs perfectly with sweet toppings.
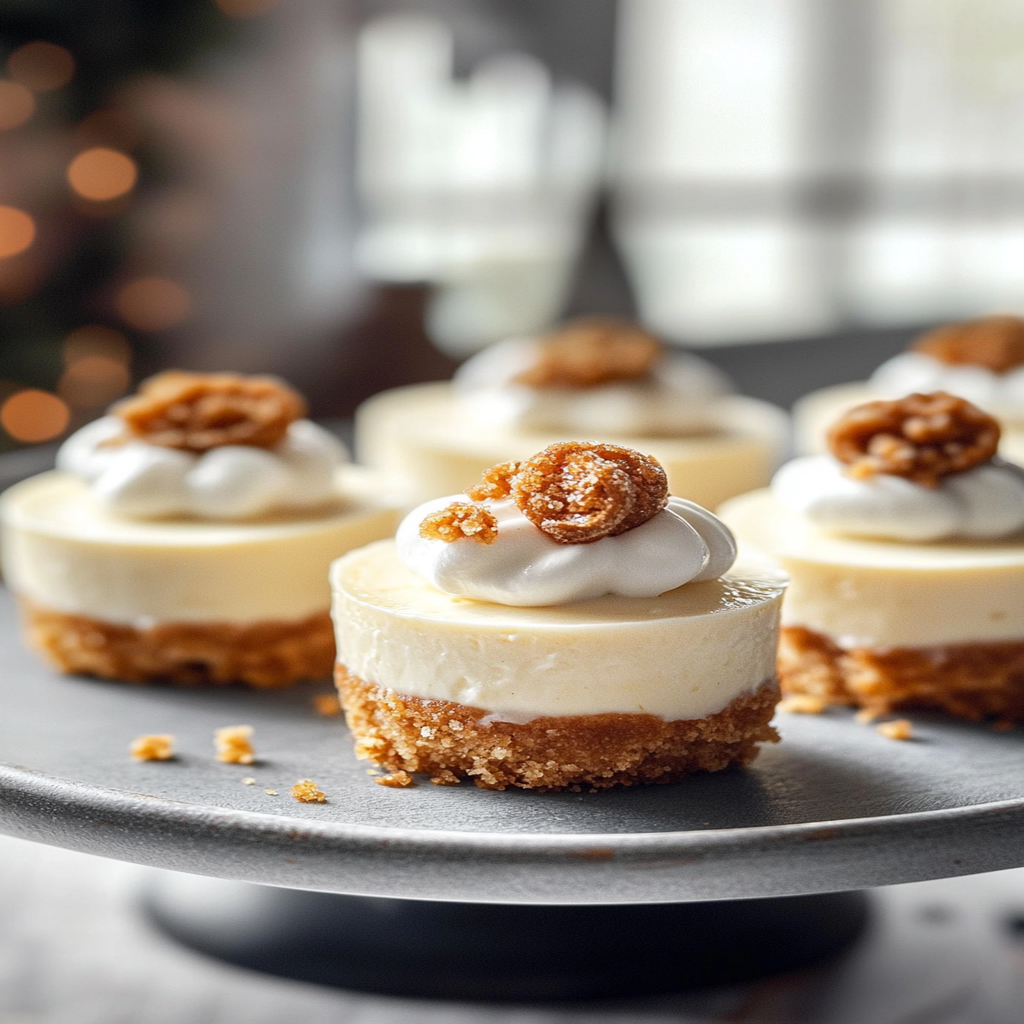
How to Prepare Mini Cheesecakes Recipe
Prepare Your Baking Dish
Start by preheating your oven to 325°F (160°C). Line a muffin tin with paper liners or spray it lightly with non-stick cooking spray. This will make removing your mini cheesecakes easier once they’re done baking. If you prefer uniform shapes, using silicone molds is also an excellent option since they’re flexible and release easily after cooling.
Make the Graham Cracker Crust
In a bowl, combine 1 cup of graham cracker crumbs with 1/4 cup of melted unsalted butter and 2 tablespoons of granulated sugar until well-mixed and crumbly. Divide this mixture evenly among each muffin liner (or mold), pressing it down firmly with your fingers or a small glass to create an even layer. Bake this crust in your preheated oven for about 5 minutes until golden brown—this helps set it before adding the cheesecake filling.
Prepare the Cheesecake Filling
While your crust is baking, you can prepare the filling. In a large mixing bowl, beat 16 ounces of softened cream cheese using an electric mixer on medium speed until completely smooth—this usually takes about 2-3 minutes. Then gradually add in 1/2 cup sugar while continuing to mix until combined fully.
Next, add in two large eggs one at a time—this helps maintain airiness in your mixture—followed by one teaspoon of vanilla extract and 1/2 cup sour cream at low speed until everything blends smoothly together without overmixing.
Assemble and Bake
Once everything is mixed well together without lumps left behind from cream cheese clumps or egg whites separating from yolks during blending, pour this creamy filling over each prepared graham cracker crust in its respective muffin tin cavity until almost full (leave some space as they will rise slightly). Bake these delightful bites in the oven for approximately 15-20 minutes until set but still slightly jiggly in the center; they will firm up as they cool down outside!
Cooling Time
After baking is complete, turn off your oven but leave them inside with its door ajar for about an hour; this gradual cooling prevents cracks from forming on top due too sudden temperature changes when removed immediately from heat source! Once cooled down completely at room temperature (approximately an additional hour), transfer them into fridge overnight before serving so flavors meld nicely over time!

Serving and Storing Tips
Serving Suggestions
When you’re ready to serve these delightful mini cheesecakes, carefully peel off any paper liners if used (silicone molds make this step unnecessary). You can present them on a beautiful platter garnished with fresh fruit like strawberries or blueberries arranged artistically around each piece! For extra flair consider drizzling some chocolate sauce over each cheesecake slice before digging into those tasty bites!
These tiny treats are perfect party desserts—grab-and-go options ensure every guest gets their share without fussing over slicing larger cake portions! Don’t forget whipped cream topping which adds lightness against rich flavors—sprinkle crushed nuts or grated chocolate atop too if desired!
Storing Leftovers
If you have leftover mini cheesecakes (a rare occurrence!), store them properly by placing them in an airtight container lined with parchment paper between layers so they don’t stick together during transport/storage! Refrigerate within two hours after serving—they keep fresh up-to five days stored correctly!
For longer storage periods beyond five days consider freezing individual pieces wrapped tightly in plastic wrap followed by aluminum foil—this prevents freezer burn while extending shelf life up-to three months without compromising quality upon thawing back later when cravings strike again!
By following these instructions closely along every step throughout crafting these exquisite bites now anyone can master making delicious homemade Mini Cheesecake Recipes easily right from home kitchen—all while having fun along way experiencing joy sharing loved ones too!
Mistakes to Avoid
When preparing a mini cheesecakes recipe, several common mistakes can lead to disappointing results. One significant error is overmixing the batter. Overmixing introduces too much air into the cheesecake, which may cause it to crack during baking. Instead, mix your ingredients until they are just combined for a smooth and creamy texture.
Another mistake is failing to preheat the oven properly. A well-preheated oven ensures even baking and prevents undercooked centers or overcooked edges. Always allow your oven to reach the desired temperature before placing your mini cheesecakes inside.
Using cold ingredients is another pitfall. Cold cream cheese or eggs can result in lumps in your batter, making it hard to achieve that silky consistency you desire. Bringing your ingredients to room temperature before mixing them will help create a smoother filling.
Additionally, neglecting to line your muffin tin with paper liners can lead to stuck cheesecakes that crumble upon removal. Always use liners or grease the tin generously to prevent sticking and ensure easy serving.
Lastly, skipping the cooling step can ruin your mini cheesecakes. After baking, allow them to cool gradually by leaving them in the oven for about an hour with the door slightly ajar. This method helps prevent cracks and maintains their structure as they cool down.
Tips and Tricks
To perfect your mini cheesecakes recipe, consider these helpful tips and tricks. Firstly, experiment with different crust options beyond traditional graham crackers. You might try crushed Oreos or even a nut-based crust for a gluten-free alternative that adds unique flavors and textures.
Another useful tip is to bake your mini cheesecakes in a water bath. This technique regulates temperature and moisture levels while baking, resulting in creamier, more evenly cooked cheesecakes without cracks. To create a water bath, place your muffin tin inside a larger pan filled with hot water before putting it in the oven.
You should also pay attention to portion sizes when filling your liners. Overfilling can lead to messy outcomes as the batter expands during baking. Aim for about two-thirds full for optimal results.
For added flavor variations, consider infusing your batter with extracts like vanilla or almond or adding citrus zest for brightness. You can also incorporate toppings like fruit preserves or chocolate ganache after cooling for an exciting finish.
Lastly, be patient during chilling time after baking! Allowing your mini cheesecakes sufficient time in the refrigerator enhances their flavor and texture significantly. Ideally, chill them for at least four hours or overnight for best results.
Suggestions for Mini Cheesecakes Recipe
When crafting the perfect mini cheesecakes recipe, there are various suggestions you may want to consider for an enhanced experience. Start with choosing high-quality cream cheese; this is crucial as it influences both taste and texture significantly. Brands that offer full-fat cream cheese tend to produce richer flavors than low-fat options.
Incorporating sour cream into your filling not only adds tanginess but also contributes creaminess that elevates the overall mouthfeel of your dessert. If you want an even lighter version, Greek yogurt can be used as a substitute while still providing that delightful tartness characteristic of classic cheesecake.
Think about customizing flavor profiles by adding spices such as cinnamon or nutmeg for seasonal variations; these spices complement sweet flavors beautifully and add warmth to each bite.
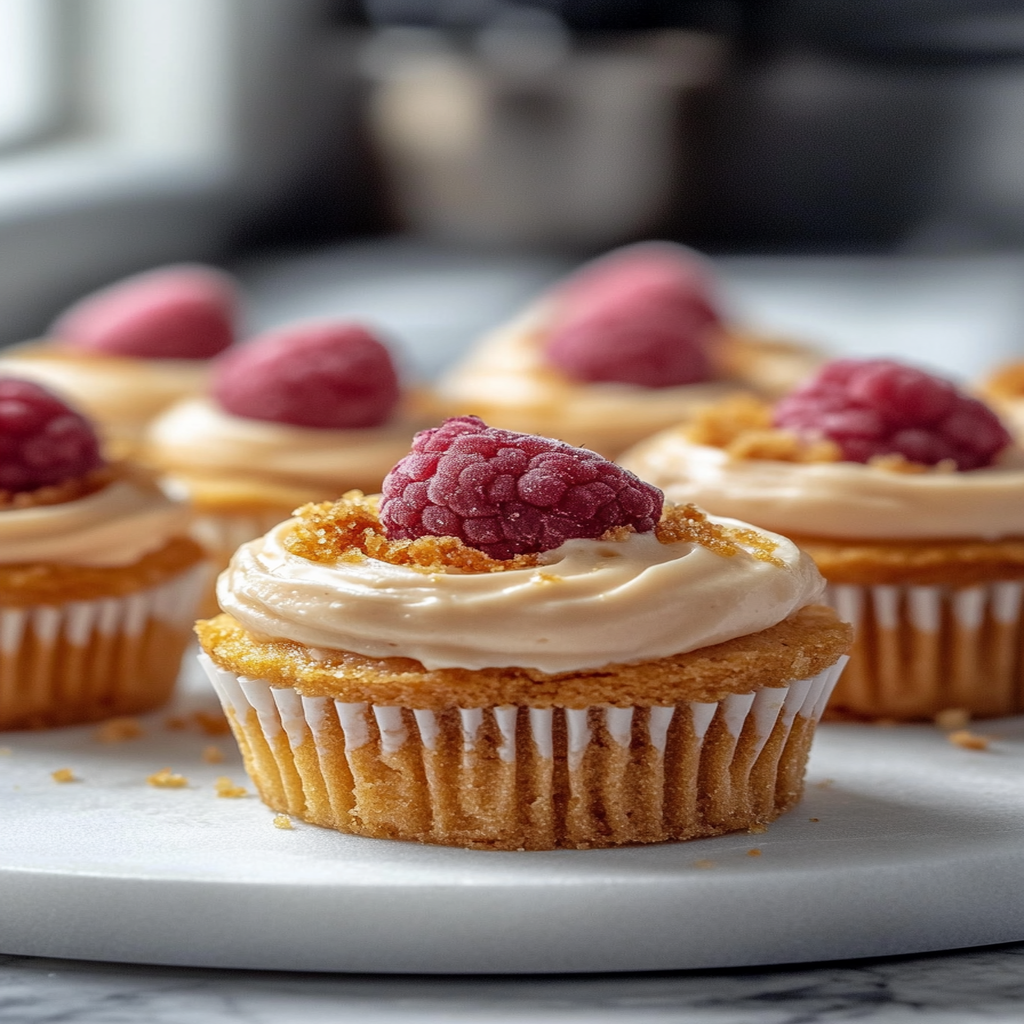
When it comes to serving ideas, consider creating a mini cheesecake platter featuring various toppings such as fresh berries, whipped cream, or caramel sauce on each individual cheesecake so guests can choose their favorites while enjoying different flavor combinations.
Lastly, experiment with seasonal ingredients! For instance, pumpkin puree can be added in autumn months for delicious pumpkin spice mini cheesecakes that capture holiday spirit while satisfying sweet cravings effectively.
FAQs
What is the best way to store mini cheesecakes?
The best way to store mini cheesecakes involves keeping them in an airtight container in the refrigerator. Proper storage prevents them from absorbing odors from other foods while maintaining freshness. They typically last up to five days when stored correctly. If you want longer-term storage options, consider freezing them! Wrap each cheesecake individually in plastic wrap before placing them into a freezer-safe container or bag; they can last up to three months in the freezer without losing quality.
Can I make mini cheesecakes ahead of time?
Yes! Making mini cheesecakes ahead of time is an excellent idea if you’re planning a gathering or special occasion. These desserts actually benefit from chilling overnight as flavors meld together beautifully during this time period. Preparing them one day prior allows you more flexibility on event day since all you need then are garnishes or toppings before serving!
What types of crust work best for mini cheesecakes?
While graham cracker crusts are traditional favorites among many bakers due mainly due ease of preparation and great taste—there’s room for creativity! Other popular crust options include crushed Oreos which provide chocolatey richness; almond flour mixed with butter creates gluten-free alternatives while pecan crust adds nuttiness enhancing overall flavor profile wonderfully!
How long do I need to bake my mini cheesecakes?
Baking times vary based on oven type and size of portions used but generally speaking—mini cheesecakes require around 15-20 minutes at 325°F (160°C). Keep an eye on them towards end of cooking cycle; look out for firm edges combined with slight jiggle at centers indicating they’re done perfectly without becoming overbaked!
Can I freeze my mini cheesecakes?
Absolutely! Freezing mini cheesecakes is a great way preserve deliciousness if you’ve made extra batches! Allow baked treats cool completely first then wrap securely using plastic wrap ensuring no air escapes—this will maintain their integrity while frozen allowing indulgence even weeks later whenever cravings strike!
How do I know when my mini cheesecakes are done?
Knowing when your mini cheesecakes are done requires some observation techniques! Look for firm outer edges coupled with gentle jiggle at center—this indicates they’re set properly but not overbaked yet retaining creamy texture desired within each bite once cooled down post-baking process!
Conclusion
In summary, creating a successful mini cheesecakes recipe involves avoiding common mistakes such as overmixing ingredients or neglecting proper storage techniques that impact overall quality considerably. By employing helpful tips like using high-quality ingredients and considering creative crust adaptations—you’ll elevate every bite into something truly memorable!
Remember also how critical patience becomes throughout preparation stages—from allowing cheesecake fillings sufficient cooling time after baking through chilling phase leading up serving occasions—ensuring maximum satisfaction achieved by all who partake!
Utilizing these insights paired together—with knowledge gained through experimentation—you’ll find yourself mastering delightful variations of this beloved dessert in no time! Enjoy indulging alongside loved ones knowing each slice reflects dedicated effort put forth along way towards achieving perfection!

