Introduction and Quick Summary
The holiday season is synonymous with warmth, joy, and of course, delicious treats. One classic that never fails to bring a smile is the irresistible Chocolate Chip Christmas Cookies. This delightful dessert combines the sweetness of chocolate with a soft, chewy base that melts in your mouth. As families gather and traditions unfold, these cookies become a favorite centerpiece for any festive gathering.
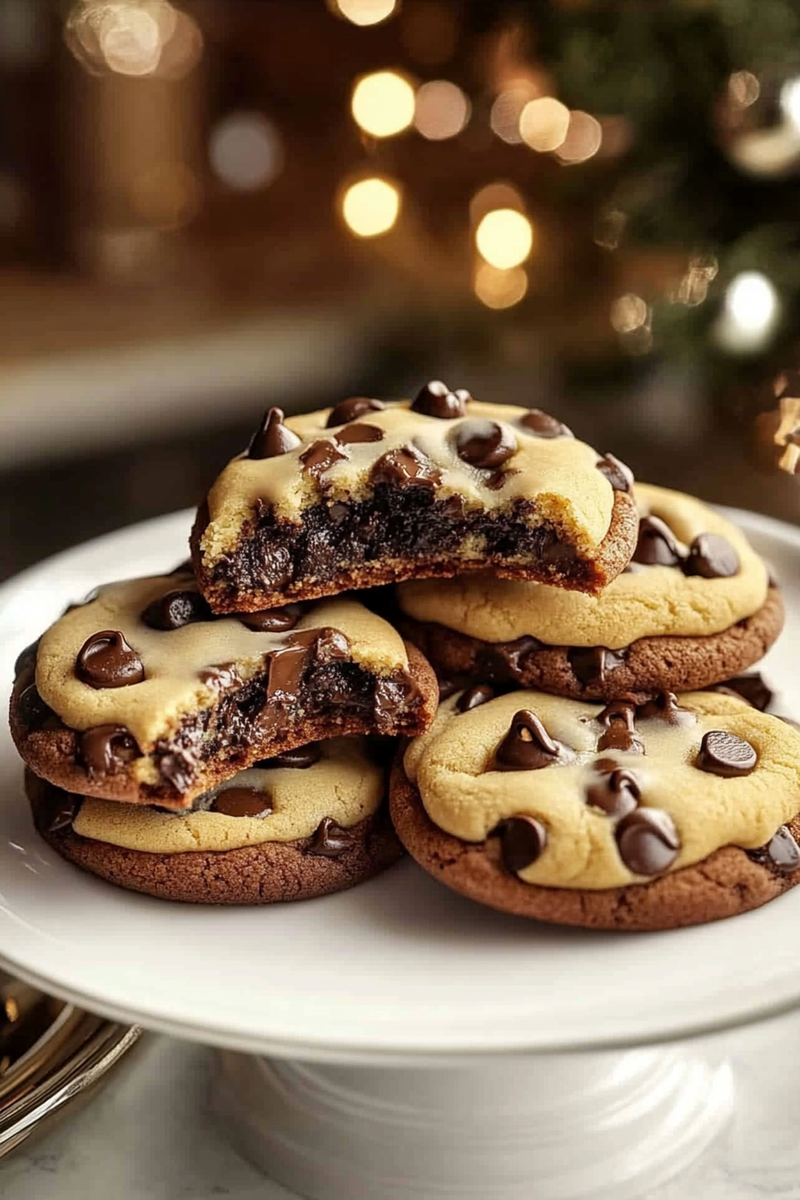
What makes our Chocolate Chip Christmas Cookies truly special? It’s all about the balance of flavors and textures: a buttery base paired with rich chocolate chips creates an experience that’s both nostalgic and new. Whether you’re baking them for a cookie exchange or just to indulge during cozy winter nights at home, this recipe is sure to impress friends and family alike.
In this article, we’ll guide you through the essential ingredients needed to create these scrumptious cookies. We’ll also break down the preparation process into simple steps that anyone can follow. Finally, we’ll share tips on how to serve and store your cookies so they remain fresh throughout the season. Let’s dive into this festive baking adventure!
Main Ingredients
Butter
Butter serves as the foundation for our Chocolate Chip Christmas Cookies. For this recipe, you will need 1 cup (2 sticks) of unsalted butter at room temperature. Using unsalted butter allows you to control the salt content in your dough better. The creaming process with sugar gives your cookies a light texture and rich flavor. Make sure it’s softened but not melted; this helps achieve that perfect consistency.
Granulated Sugar
Granulated sugar is essential in creating sweetness and texture in your cookies. You will need 3/4 cup of granulated sugar. This sugar contributes to the cookie’s crisp edges while remaining chewy in the center. It enhances caramelization during baking too, giving your treats a lovely golden hue.
Brown Sugar
Brown sugar adds depth to the flavor profile of the cookies with its molasses content. For this recipe, use 3/4 cup of packed brown sugar—light or dark works well depending on your preference for richness. The combination of white and brown sugars results in optimal moisture retention and chewiness.
Eggs
Eggs are crucial for binding all ingredients together while adding moisture to your dough. You’ll need 2 large eggs for this recipe; they should be at room temperature for better incorporation into the mixture. Eggs also contribute to the structure of the cookies as they bake.
All-Purpose Flour
All-purpose flour provides structure and stability to your cookies. Use 2 1/4 cups of all-purpose flour for an ideal texture—not too dense but still substantial enough to hold up those gooey chocolate chips! Sifting before measuring ensures no lumps form during mixing.
Baking Soda
Baking soda acts as a leavening agent in our cookie dough, helping it rise slightly as it bakes while contributing to its spreadability on the tray. You will require 1 teaspoon of baking soda; ensure it’s fresh for optimal results.
Salt
Salt enhances flavors in baked goods by balancing sweetness—a pinch goes a long way! For this recipe, use 1/2 teaspoon of fine sea salt; it complements all other ingredients perfectly.
Semi-Sweet Chocolate Chips
Chocolate chips are undoubtedly the star ingredient! Opt for 2 cups of semi-sweet chocolate chips—feel free to mix in some milk or dark chocolate chips if you prefer different flavors or textures! Their melty goodness gives each bite an indulgent finish.
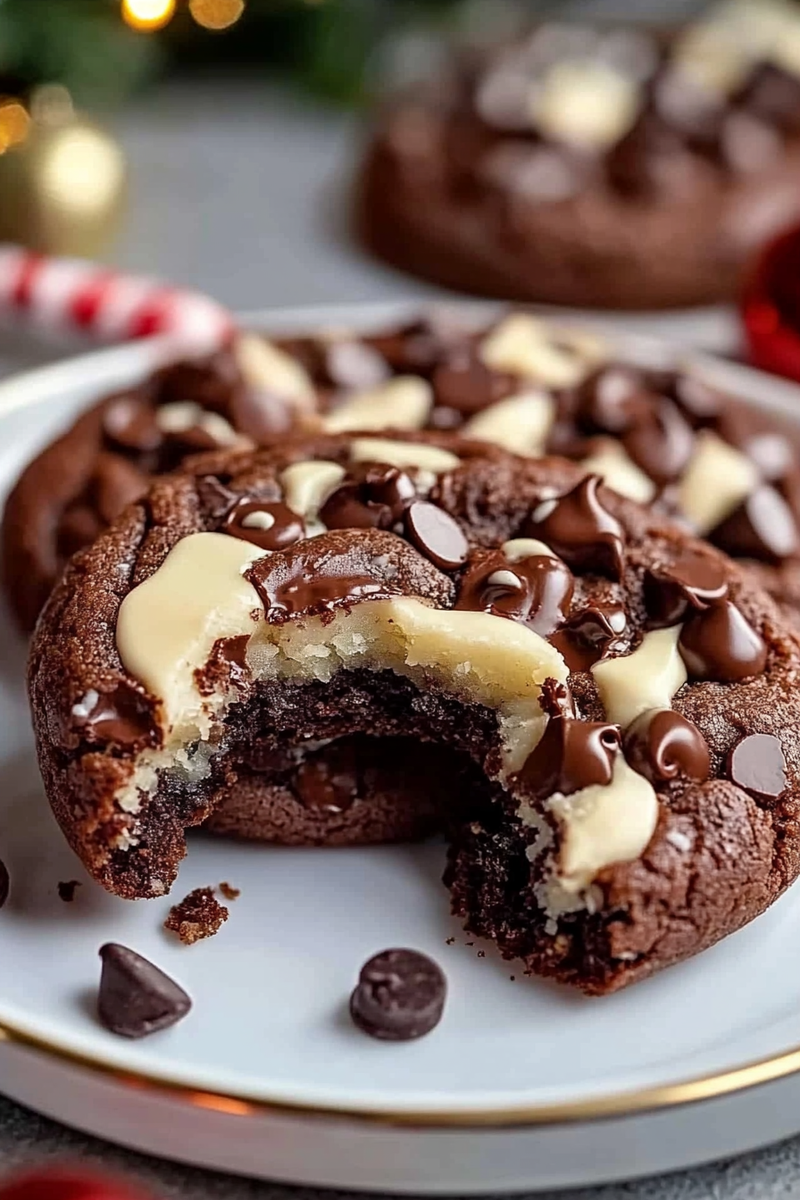
How to Prepare Chocolate Chip Christmas Cookies
Step 1: Preheat Your Oven
Start by preheating your oven to 350°F (175°C). This step is crucial as it ensures even baking from the moment you place your cookie trays inside. While waiting for it to heat up, prepare two baking sheets by lining them with parchment paper; this prevents sticking and makes cleanup easier later on.
Step 2: Cream Butter and Sugars
In a large mixing bowl, combine your softened unsalted butter with granulated sugar and brown sugar. Using an electric mixer on medium speed or a wooden spoon if you’re feeling vigorous, cream together until light and fluffy—this should take about 2-3 minutes. The goal here is to incorporate air into your mixture which leads to lighter cookies!
Once well-combined, add in eggs one at a time; beat after each addition until fully blended before moving on—this allows everything to emulsify properly—then stir in vanilla extract (not listed previously but recommended).
Step 3: Combine Dry Ingredients
In another bowl, whisk together flour, baking soda, and salt until evenly mixed—this helps distribute those leavening agents throughout your batter uniformly without clumps forming later on when combined with wet ingredients!
Gradually add dry ingredients into wet ones while mixing slowly on low speed (or by hand) just until combined—don’t overmix! Overworking could lead toughened dough resulting in less-than-ideal cookie texture.
Step 4: Fold In Chocolate Chips
Once combined smoothly without any visible flour streaks remaining in sight (but do not worry about lumps!), gently fold in those delicious semi-sweet chocolate chips using a spatula or wooden spoon—it’s best not mix too vigorously here so as not break any chips apart!
At this stage feel free add nuts like walnuts or pecans if desired—they can add additional crunchiness alongside richness!
Step 5: Scoop Dough onto Baking Sheets
Using either rounded tablespoonfuls or an ice cream scoop (which yields more consistent sizes), drop dollops of cookie dough onto prepared baking sheets spaced about two inches apart—the dough will spread out during baking ensuring they don’t stick together!
If you have time let them chill briefly (15-30 mins) before putting them into oven; chilling helps prevent excessive spreading yielding thicker chewier results.
Step 6: Bake
Place sheets filled with cookie dough into preheated oven carefully avoiding overheating yourself! Set timer for around 10-12 minutes but keep an eye out since ovens may vary slightly based on calibration quality among other factors affecting cooking times.
You want edges turning lightly golden while centers remain soft but set meaning slight jiggle remains present when nudging pan gently after removing from oven which signals readiness!
Allow cooling briefly on sheets before transferring onto wire racks allow full cooling process happen uninterrupted by airflow preventing sogginess retaining desirable texture throughout entire batch!
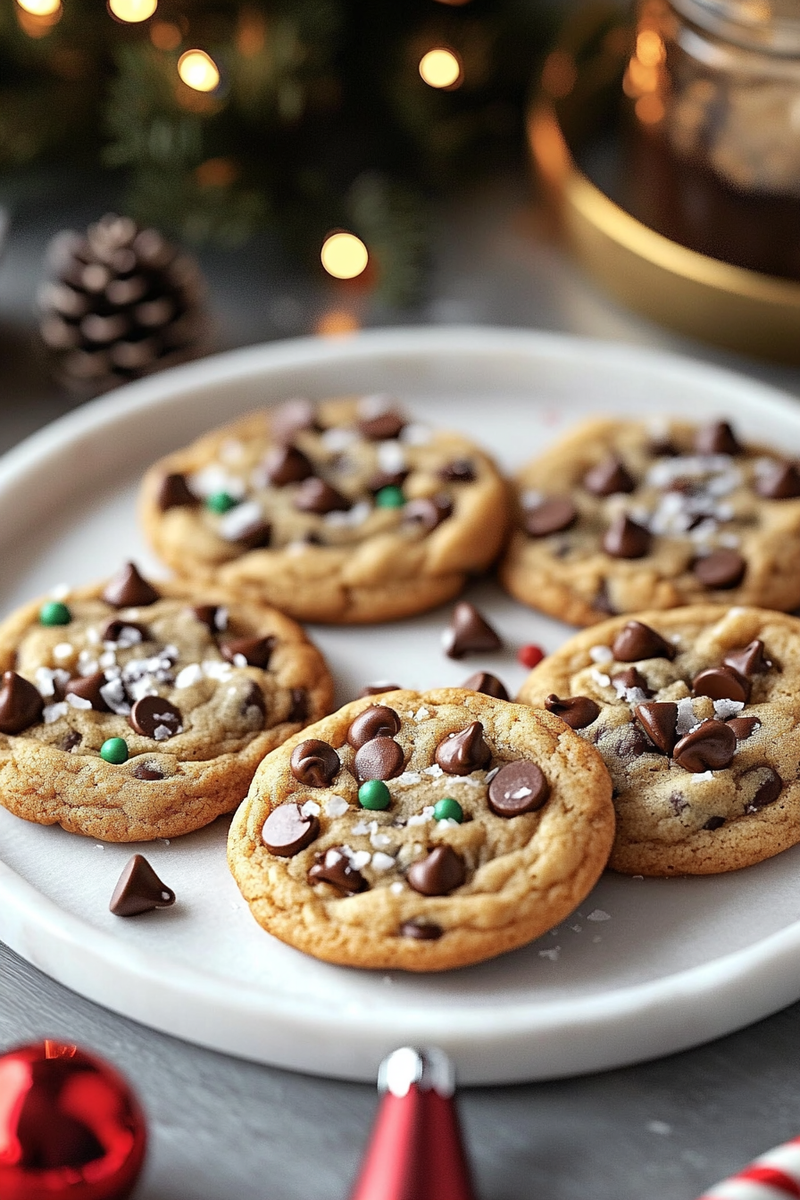
Serving and Storing Tips
Serving Suggestions
Serve these delectable Chocolate Chip Christmas Cookies warm right out of the oven topped off alongside glasses cold milk hot cocoa or even coffee depending mood occasion lends itself too! Arrange neatly onto festive platters garnished perhaps sprigs mint holly berries creating inviting display guests appreciate further enhancing overall experience food served together celebration itself brings forth joyous memories shared amongst family friends alike!
Consider pairing these treats with holiday-themed desserts such as gingerbread men peppermint bark or eggnog-flavored delights creating variety choices available tempting everyone involved partake festivities shared across gatherings throughout season!
These cookies make fabulous gifts packaged beautifully within decorative tins tied ribbons added personal note indicating love care put forth preparing batch made specially recipient chosen enrich life sweet ways possible reflecting kindness generosity celebrated during holidays year-round giving spirit truly shines brightest times spent savoring good food cherished moments surrounding loved ones dear hearts forevermore cherished memories built lifetime experiences treasured fondly thereafter long after last crumb devoured continued sharing joy each occasion bringing forth celebration unity love laughter bonding shared togetherness experienced amongst family friends alike!
Storage Guidelines
To prolong freshness store leftover Chocolate Chip Christmas Cookies airtight container placed cool dry location away direct sunlight exposure ensuring longer shelf life without compromising taste texture quality enjoyed every bite afterwards regardless how many days pass since first made consumed initially best enjoyed within week baked however might still retain palatability beyond that time frame depending environmental factors surrounding storage conditions maintained recommend checking periodically assessing integrity items held within container before deciding consume ensure enjoying fullest potential flavor experience treat given efforts put forth crafting delectable delights prepared lovingly served others indulged delighted along their journey culinary adventures created altogether collectively sharing happiness radiated through warmth baked goods cherished memories lasting forevermore etched hearts minds alike!
Mistakes to avoid
One common mistake when baking Chocolate Chip Christmas Cookies is using cold butter. Many bakers mistakenly think that they can skip the step of softening the butter. Cold butter does not blend well with sugar, leading to a dense texture in your cookies. Instead, always ensure that your butter is at room temperature before you start mixing. This helps achieve a light and fluffy batter, which results in cookies that are perfectly chewy and delicious.
Another frequent error is overmixing the dough once the flour is added. While it’s essential to incorporate all ingredients evenly, overmixing can develop gluten, resulting in tough cookies. To avoid this, mix just until you no longer see any dry flour. This will keep your Chocolate Chip Christmas Cookies tender and delightful.
Using the wrong type of chocolate chips can also affect the flavor and texture of your cookies. Some bakers opt for generic chocolate chips without considering quality. High-quality semi-sweet or dark chocolate chips enhance the overall taste significantly. Always choose brands known for their rich flavors and smooth melting properties to make your cookies irresistible.
Not chilling the dough is another mistake that many make when baking these festive treats. Chilling allows the flavors to meld together, creating a more intense taste in each bite. Additionally, it prevents spreading during baking, resulting in thicker cookies. Aim for at least 30 minutes of chilling time before you bake your cookies for optimal results.
Finally, ignoring oven temperature can lead to disaster. Every oven varies slightly in temperature accuracy, which means that baking times can differ as well. Invest in an oven thermometer to ensure you are baking at the correct temperature for your Chocolate Chip Christmas Cookies. A too-hot oven can cause burnt edges while leaving the centers raw, ruining your holiday treat.
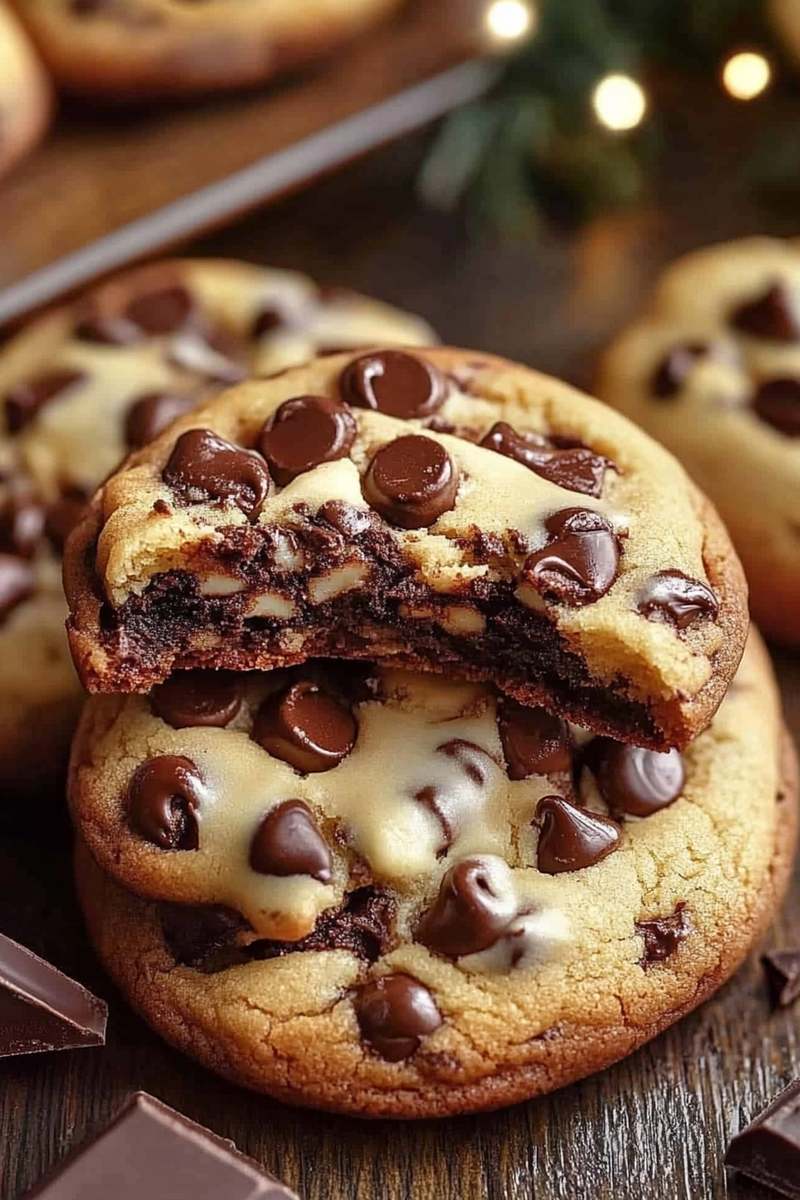
Tips and tricks
To ensure your Chocolate Chip Christmas Cookies turn out perfectly every time, start by measuring your ingredients accurately. Using a kitchen scale can help you achieve precise measurements for flour and sugars, ensuring consistency in texture and taste. Too much flour can lead to dry cookies, while too little may result in overly soft ones.
Consider using parchment paper or silicone baking mats on your cookie sheets. This non-stick surface allows for even baking and easy removal of your cookies once they’re done. It also minimizes cleanup afterward—who doesn’t love that? Just remember not to grease the pans if you’re using these liners; it can lead to spreading.
Experiment with different types of sugars for unique flavor profiles in your Chocolate Chip Christmas Cookies. For instance, using brown sugar instead of white adds moisture and a more complex flavor due to its molasses content. You might even consider a mix of both sugars for an ideal balance between chewiness and crispness.
Don’t forget about add-ins! While classic chocolate chips are a must-have, you can elevate your cookies by incorporating nuts like walnuts or pecans for crunch or even dried fruits like cranberries for a festive twist. These additions create different textures and flavors that make each bite exciting.
Lastly, pay attention to baking times closely and rotate your cookie sheets halfway through baking if you notice uneven browning. Remove them from the oven when they’re just golden around the edges but still soft in the center; they’ll continue cooking on the hot pan after being taken out of the oven. This method ensures perfect results every time.
Suggestions for Chocolate Chip Christmas Cookies
When it comes to enhancing your Chocolate Chip Christmas Cookies, consider adding spices such as cinnamon or nutmeg to give them a warm holiday flavor that pairs beautifully with chocolate. Even a pinch can transform an ordinary cookie into something extraordinary that captures the essence of winter festivities.
For those who prefer a touch of saltiness with their sweet treats, sprinkle some sea salt on top before baking. The contrast between sweet chocolate chips and salty flakes creates an incredible flavor balance that you won’t want to miss out on during holiday gatherings!
If you’re looking to cater to different dietary needs while still enjoying delicious cookies, consider making gluten-free versions using almond flour or coconut flour as substitutes for regular all-purpose flour. These alternatives offer unique textures and flavors without compromising on taste.
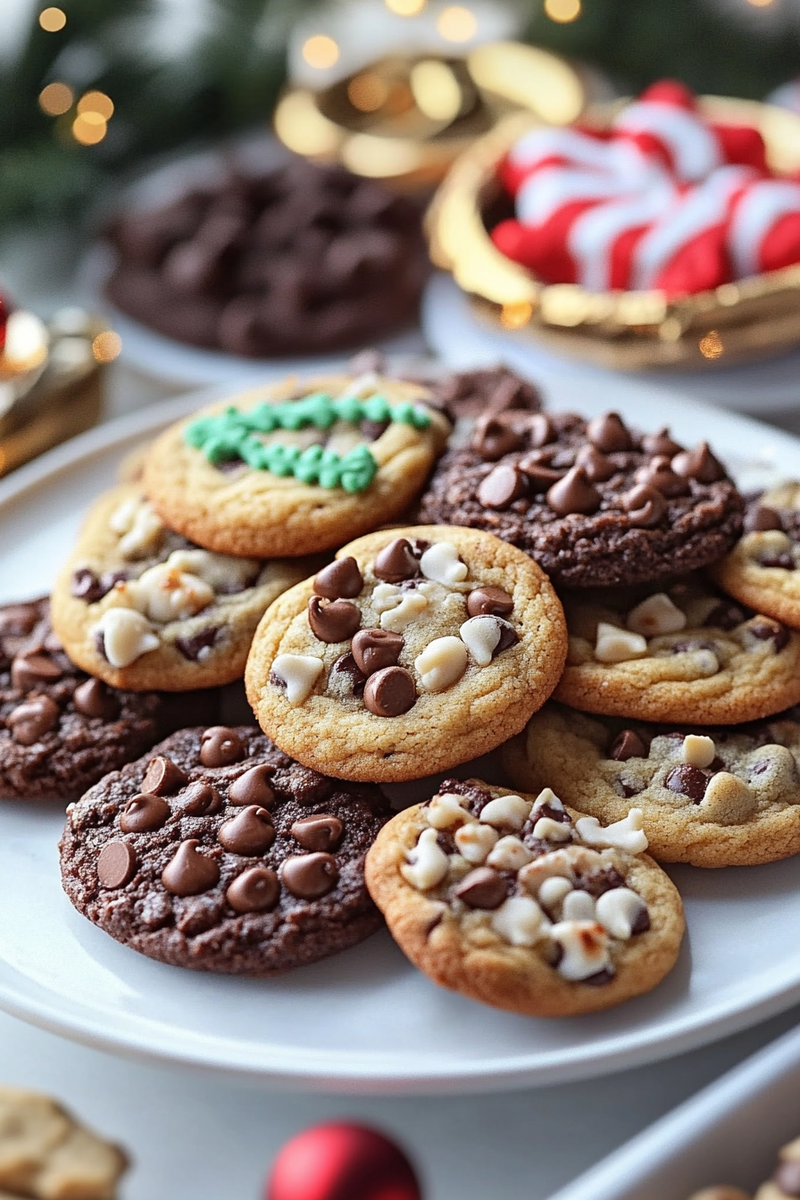
You might also want to experiment with different types of chocolate chips—try white chocolate or even peanut butter chips alongside traditional semi-sweet ones for an interesting twist on classic flavors! Mixing various chocolates provides layers of taste that leave everyone guessing about what’s inside each bite.
Lastly, consider presentation! Once you’ve baked these festive treats, package them beautifully as gifts or arrange them on a decorative platter for parties. Adding some colorful sprinkles or edible glitter gives an extra festive touch that catches everyone’s eye during celebrations while showcasing your culinary skills!
FAQs
What makes Chocolate Chip Christmas Cookies different from regular chocolate chip cookies?
Chocolate Chip Christmas Cookies often feature additional spices like cinnamon or nutmeg that evoke holiday flavors not found in standard recipes. Additionally, they might include festive add-ins such as dried cranberries or nuts which enhance texture and appearance during celebrations.
Can I freeze my Chocolate Chip Christmas Cookie dough?
Yes! Freezing cookie dough is an excellent way to prepare ahead of time during busy holiday seasons. Shape the dough into balls then freeze them individually on a baking sheet before transferring them into freezer bags; this method allows you easy access whenever cravings hit!
How do I prevent my Chocolate Chip Christmas Cookies from spreading too much?
Chilling your cookie dough before baking helps prevent excessive spreading by solidifying fats within it temporarily; this allows less melted fat when placed into hot ovens which contributes directly towards maintaining shape throughout cooking!
Why do my Chocolate Chip Christmas Cookies turn out hard?
Hard cookies usually result from overbaking or incorrect ingredient ratios (too much flour). Ensure precise measurements during preparation while keeping an eye on their color—remove them when edges just start turning golden brown but centers remain soft!
Is there a vegan version of Chocolate Chip Christmas Cookies?
Absolutely! Substitute regular butter with plant-based margarine or coconut oil along with using flaxseed meal mixed with water instead of eggs; these alternatives produce equally delicious yet dairy-free options suitable for vegans without sacrificing flavor!
How should I store my baked Chocolate Chip Christmas Cookies?
Store cooled cookies in an airtight container at room temperature up to one week—this keeps them fresh while preventing moisture loss! If longer storage is needed (like next year), consider freezing them wrapped tightly in plastic wrap followed by foil until ready again!
Conclusion
Baking Chocolate Chip Christmas Cookies presents an opportunity not only to enjoy delicious treats but also share joy during festive gatherings! By avoiding common mistakes such as using cold ingredients or neglecting proper measurements, you’ll achieve consistently delightful results every time you bake these beloved sweets.
Incorporating tips like accurate measurement techniques along with fun ingredient variations ensures exciting outcomes each season! Don’t shy away from experimenting; adding unique elements elevates traditional recipes into memorable experiences worth cherishing among family members and friends alike.
As we approach special celebrations filled with laughter around cookie platters brimming full—remember always how important it is not just about taste but also creating lasting memories through sharing delectable delights together! Happy baking!

