Introduction and Quick Summary
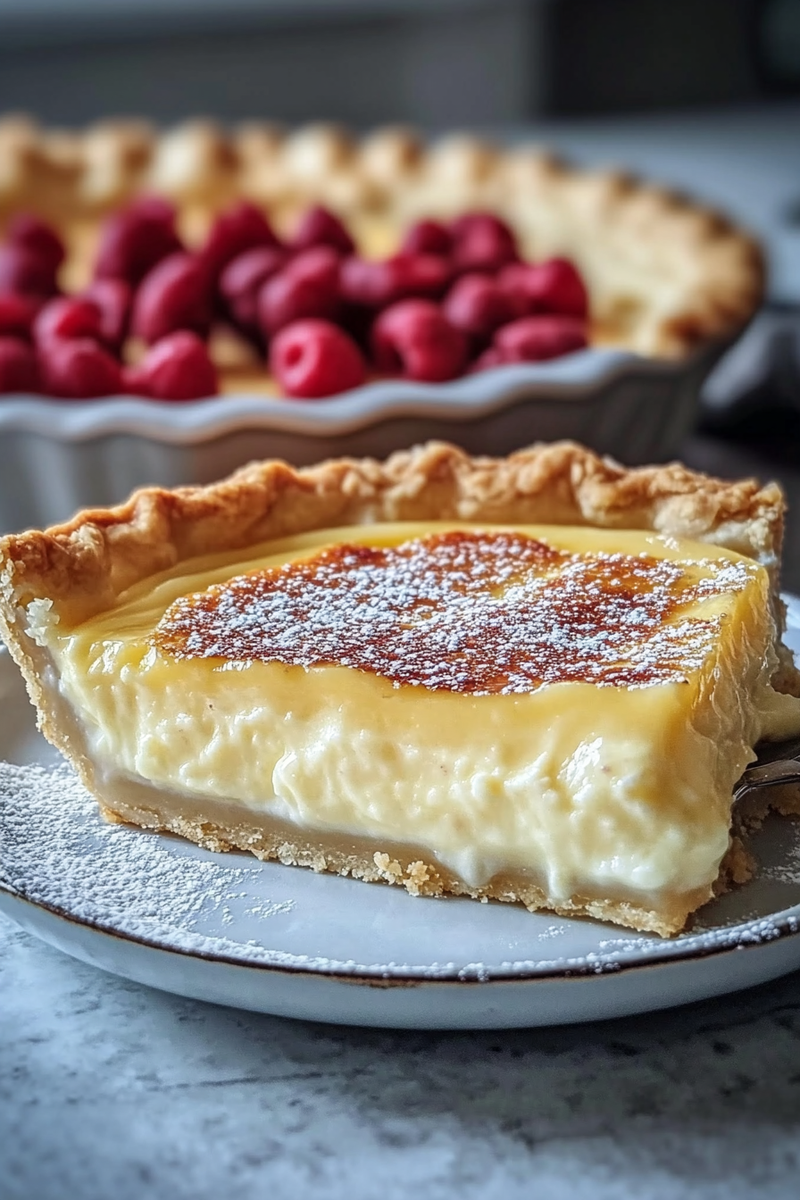
Old Fashioned Silky Creamy Custard Pie is a timeless dessert that has graced tables for generations. Its luscious texture and delicate flavor make it a favorite among many. Whether served at family gatherings or enjoyed as a simple treat after dinner, this custard pie delivers comfort in every bite. The blend of eggs, milk, cream, and vanilla creates a rich filling that melts in your mouth. This recipe will guide you through making the perfect custard pie that boasts a flaky crust and a silky smooth filling.

In this article, we will explore not only the ingredients necessary to make this delightful dish but also the step-by-step process to ensure your custard pie comes out perfectly every time. With easy-to-follow instructions and helpful tips, you’ll be able to impress your friends and family with your baking skills. Plus, we’ll share serving and storage tips so that you can enjoy this creamy treat even after it’s baked. Get ready to dive into the world of baking with our Old Fashioned Silky Creamy Custard Pie recipe!
Main Ingredients
Pie Crust
A flaky and buttery crust is essential for an unforgettable custard pie. For this recipe, you’ll need one pre-made 9-inch pie crust or homemade dough made from flour, butter, sugar, and water. The crust should be rolled out evenly and placed in a pie dish. If you’re using store-bought crusts, ensure they are thawed before use.
Eggs
Eggs provide structure and richness to the filling of your Old Fashioned Silky Creamy Custard Pie. You will need four large eggs for this recipe. They help create that signature silky texture while ensuring that the filling holds together beautifully once baked.
Whole Milk
Whole milk is crucial for achieving the creamy consistency of the custard filling. You will need two cups of whole milk for this recipe. The fat content in whole milk contributes to the lusciousness of the pie while balancing the sweetness of other ingredients.
Heavy Cream
Adding heavy cream enhances both flavor and texture in your custard pie. For this recipe, you’ll require one cup of heavy cream. The rich creaminess it brings elevates your dessert from ordinary to extraordinary!
Sugar
Granulated sugar sweetens your custard filling perfectly without overpowering its natural flavors. You will need three-quarters cup of sugar for this recipe. Adjust according to your taste preference if you like it sweeter or less sweet.
Vanilla Extract
Vanilla extract adds depth and warmth to your Old Fashioned Silky Creamy Custard Pie. Use one tablespoon of pure vanilla extract in the filling mixture to round out flavors beautifully.
Nutmeg (Optional)
Nutmeg can serve as an aromatic garnish sprinkled on top of your finished custard pie or added into the filling itself for extra warmth. Typically, one-eighth teaspoon is sufficient if you choose to include it in the mix.
How to Prepare Old Fashioned Silky Creamy Custard Pie
Step 1: Preheat Your Oven
Start by preheating your oven to 350°F (175°C). Proper temperature is crucial for baking any type of pie correctly; it helps set the custard without overcooking it or creating cracks on top.
Step 2: Prepare The Crust
If using a homemade crust, roll out your dough on a lightly floured surface until it reaches about 1/8-inch thickness. Carefully transfer it into a 9-inch pie dish pressing gently against the edges but avoiding stretching. If you’re using a pre-made crust, unroll it carefully while following package instructions.
Once positioned properly within the dish, trim excess dough hanging over the sides before crimping edges for presentation purposes which also prevents shrinkage during baking.
Step 3: Make The Filling
In a large mixing bowl, combine four large eggs with three-quarter cup granulated sugar using an electric mixer at medium speed until well blended (about 2 minutes). Gradually add in two cups whole milk while continuing to mix followed by one cup heavy cream; continue mixing until all ingredients are fully incorporated.
Next up is flavor! Pour in one tablespoon pure vanilla extract along with any optional nutmeg if desired—whisk together gently until everything looks uniform but be careful not to overbeat which may introduce unwanted air bubbles into your final product.
Step 4: Fill The Crust And Bake
Pour the prepared filling into your unbaked crust slowly so as not to disturb its shape or cause splashes outside its borders! Once filled appropriately place into preheated oven carefully ensuring no spills occur during transport! Bake for approximately 45–55 minutes until edges appear firm yet center remains slightly jiggly but set when gently shaken—it will further solidify as it cools down afterward!
Step 5: Cool And Serve
After removing from heat allow cooling completely at room temperature (around two hours) before transferring into refrigerator where it should chill for at least four more hours prior serving—preferably overnight if time allows! This cooling period allows flavors meld beautifully producing an incredibly satisfying texture everyone loves!
Serving and Storing Tips
Tip 1: Perfect Serving Suggestions
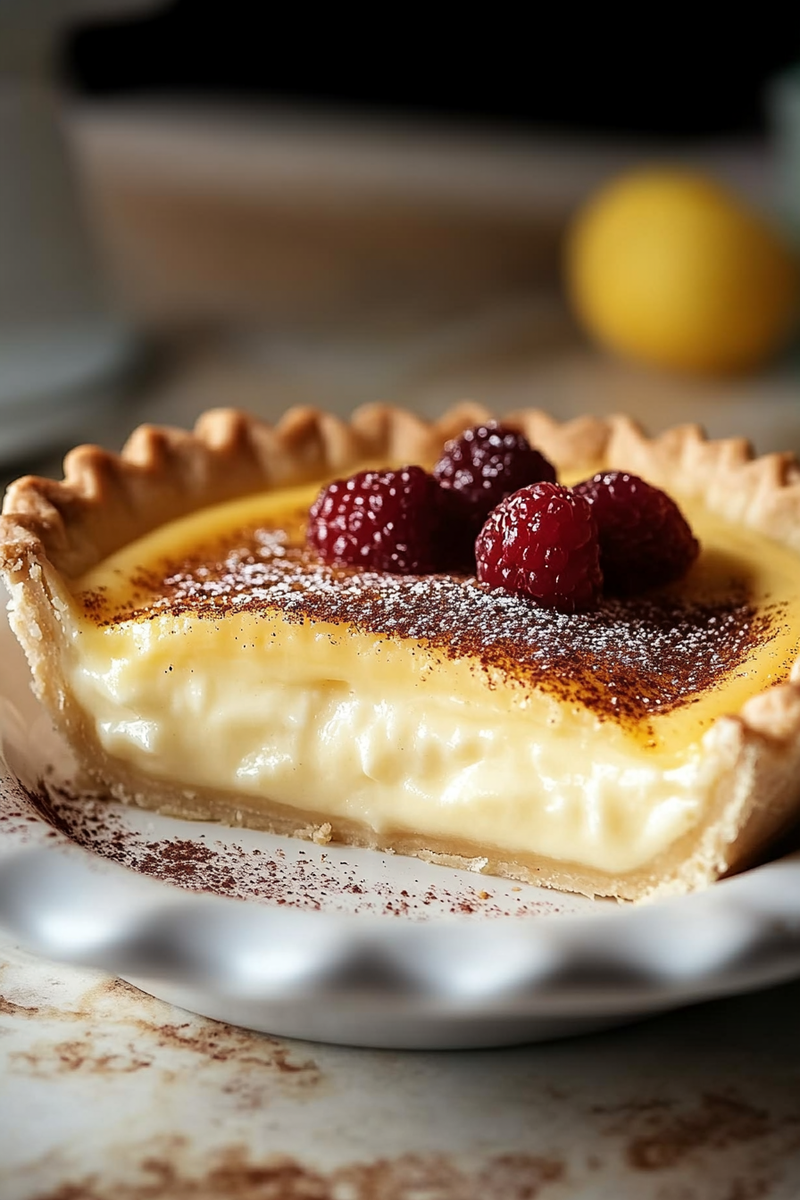
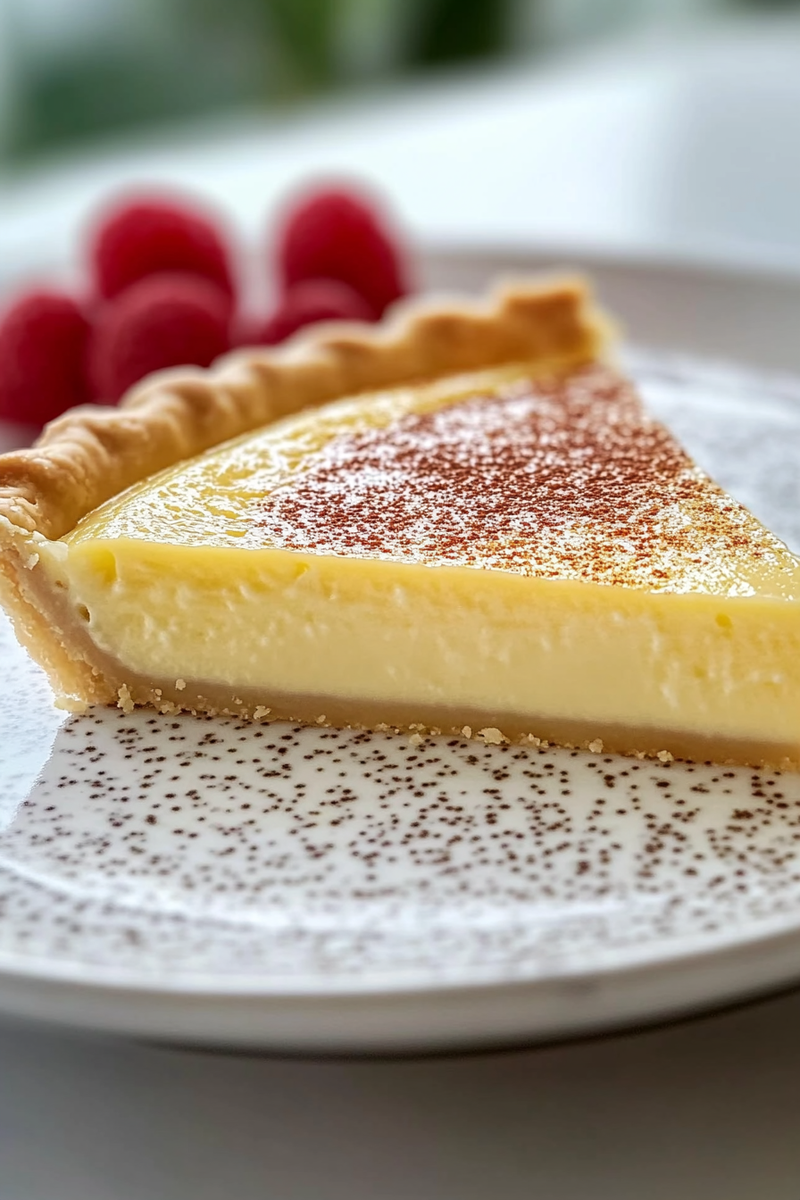
When ready to serve your Old Fashioned Silky Creamy Custard Pie consider pairing alongside freshly whipped cream or garnishing with seasonal fruits like strawberries or berries adding bright contrasts visually appealing guests’ palates alike! Slice each piece generously allowing them ample time showcasing their glorious rich interiors contrasting perfectly against crisp outer layer providing delightful experience overall!
Tip 2: Storing Leftovers
If somehow there are leftovers after indulging too much (which can happen), store uneaten slices covered tightly within refrigerator up-to five days maintaining optimal freshness levels—this allows everyone still enjoy deliciousness later! Alternatively freeze individual portions wrapped securely using plastic wrap then placed inside airtight containers lasting up-to three months preserving taste quality intact during freeze period ensuring nothing goes wasted whatsoever!
Tip 3: Reheating Instructions
Should reheating be necessary do so carefully ensuring not dry-out by placing slices onto baking sheet warmed inside preheated oven set at low temperature (around 300°F) keeping an eye out ensuring just enough warmth throughout rather than overcooking resulting undesirable texture changes occurring instead ultimately ruining great experience achieved earlier! Enjoy fresh every time without compromising integrity retained over time preserved since first baked!
Mistakes to avoid
When making an Old Fashioned Silky Creamy Custard Pie, avoiding common mistakes can elevate your dessert from good to exceptional. One significant mistake is overcooking the custard. When you heat the mixture, be vigilant about the temperature and whisk continuously. Overcooking results in a curdled texture, destroying that silky smooth quality that defines a classic custard pie. To prevent this, use a thermometer and aim for a temperature of around 170°F (77°C). The custard should thicken just enough to coat the back of a spoon.
Another common error is using cold ingredients. Cold eggs or milk can lead to uneven cooking and textural issues in your custard. Ensure your eggs and milk are at room temperature before mixing them into your pie filling. This small adjustment helps create a homogenous mixture, allowing for even cooking.
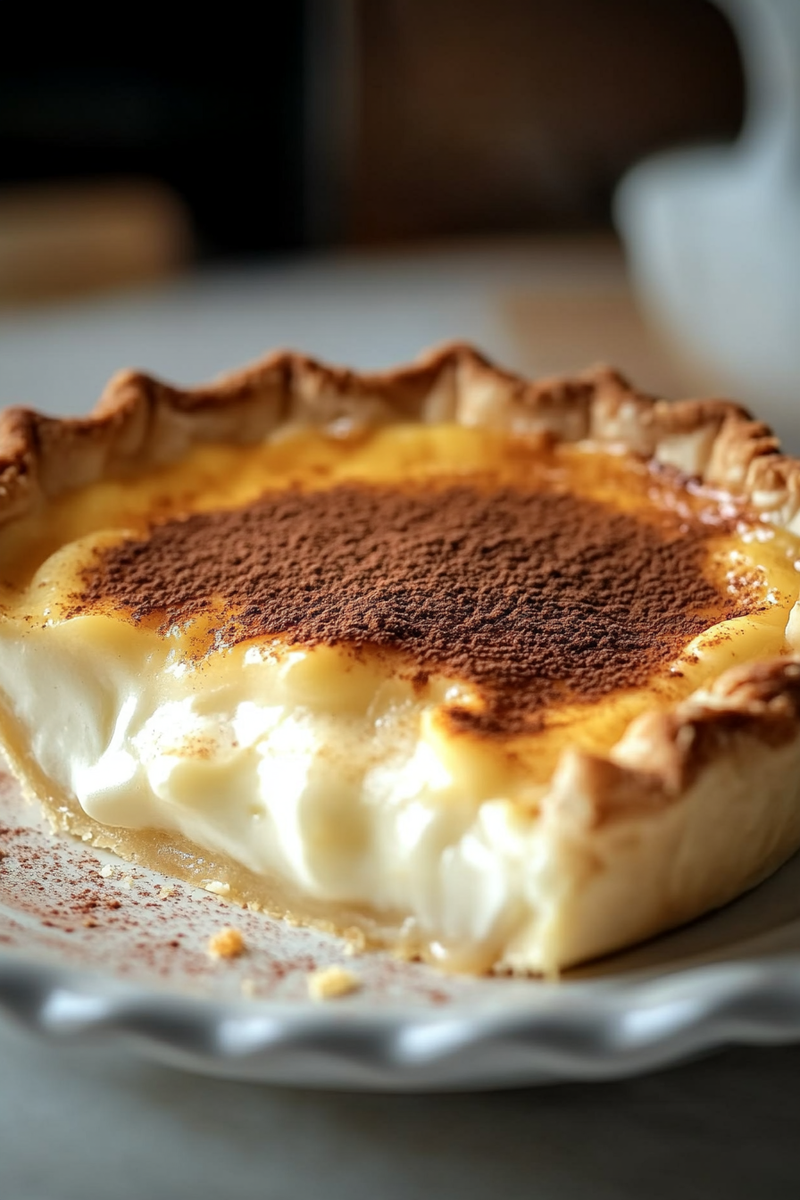
Additionally, don’t underestimate the power of resting time. Allow your pie to cool gradually after baking. Many people cut into their custard pie too soon, which can result in a runny filling. Letting it rest for several hours or overnight in the refrigerator allows the filling to set properly while enhancing flavors.
Lastly, avoid skimping on flavoring ingredients. Vanilla extract plays a crucial role in creating depth in your custard pie’s taste profile. Using pure vanilla extract instead of imitation can make a noticeable difference in flavor quality. A pinch of salt also enhances sweetness and balances the flavors, so don’t skip this step.
Tips and tricks
To master the art of making an Old Fashioned Silky Creamy Custard Pie, utilize practical tips and tricks that enhance both flavor and texture. Start by using fresh ingredients; quality eggs and whole milk significantly impact the final product’s richness. Fresh eggs tend to have firmer whites and yolks, leading to better emulsification when mixed together.
When preparing your crust, pre-bake it lightly before adding the custard filling. This technique helps prevent sogginess by creating a barrier between the filling and crust during baking. To achieve a perfectly baked crust, consider using pie weights or dried beans during blind baking to maintain its shape.
Another essential tip is to strain your custard mixture before pouring it into the crust. Straining removes any lumps or bits of cooked egg that may have formed during mixing or cooking. This step guarantees that you achieve that silky smooth texture you desire in an Old Fashioned Silky Creamy Custard Pie.
Temperature control during baking is crucial; bake at a lower temperature (around 325°F or 163°C) for a longer time instead of high heat for short periods. Slow baking allows for gentle cooking without curdling the custard or burning the crust.
Finally, garnish with freshly whipped cream or seasonal fruits like berries after chilling to add visual appeal and complement flavors beautifully. These presentation touches not only enhance aesthetics but also elevate taste profiles.
Suggestions for Old Fashioned Silky Creamy Custard Pie
When crafting an Old Fashioned Silky Creamy Custard Pie, following expert suggestions can make all the difference in achieving perfection. First, consider experimenting with different milks; while whole milk is traditional, using half-and-half will create an even creamier filling without sacrificing flavor complexity.
If you want to infuse unique flavors into your custard pie, think beyond vanilla extract by incorporating zest from citrus fruits like lemon or orange into your mixture. The citrus notes provide freshness that brightens up the overall taste profile incredibly well.
Another suggestion involves adding spices like nutmeg or cinnamon into your recipe for added warmth and depth—these spices harmonize beautifully with traditional vanilla flavoring while providing aromatic qualities that enhance indulgence.
Make sure to cover your pie while it’s cooling if you’re concerned about forming a skin on top of your custard filling as it sets—this cover prevents air exposure while allowing moisture retention throughout cooling times.
If you’re looking for alternatives to traditional recipes, consider creating mini custard pies using smaller tart pans—this approach offers individual servings perfect for gatherings while allowing each guest their very own slice of deliciousness without compromising on quality.
Lastly, always remember that patience is key when it comes to serving this delightful dessert! Allow ample time for chilling so you can enjoy every creamy bite with satisfaction; there’s nothing worse than cutting into an under-set pie!
FAQs
What makes Old Fashioned Silky Creamy Custard Pie different from other custards?
Old Fashioned Silky Creamy Custard Pie stands out due to its unique texture and flavor balance achieved through specific cooking techniques that create silkiness without being overly dense or heavy like other desserts might be.
Can I use alternative sweeteners in my Old Fashioned Silky Creamy Custard Pie?
Yes! You can substitute granulated sugar with natural sweeteners such as honey or maple syrup; however, keep in mind these alternatives may slightly alter both texture and flavor profiles since they behave differently under heat compared to refined sugars.
How long does Old Fashioned Silky Creamy Custard Pie last?
When stored properly in an airtight container within refrigeration conditions after cooling completely down post-baking session—it typically lasts about four days before losing optimal texture & freshness qualities!
Is there a gluten-free option available for this recipe?
Absolutely! To make this delightful dessert gluten-free simply substitute traditional flour crusts with almond flour-based shells or pre-made gluten-free options available at grocery stores—ensure fillings remain unchanged!
How do I know when my custard pie is done baking?
Determining doneness requires checking visual cues; look for slight jiggle at center along with edges pulling away from pan—using toothpick tests can also help gauge readiness—insert it gently near center; if clean upon removal—it’s ready!
Can I freeze Old Fashioned Silky Creamy Custard Pie?
While freezing isn’t recommended due integral nature involving delicate textures—custards generally don’t reheat well without compromising their original silkiness—you could prepare individual components separately then assemble right before serving instead!
Conclusion
Creating an Old Fashioned Silky Creamy Custard Pie requires attention to detail but yields delightful results worth every effort! Avoiding common mistakes such as overcooking ensures you maintain that signature silky texture while implementing tips like pre-baking crusts improves overall outcomes significantly! By experimenting with unique flavors & adapting recipes accordingly elevates this classic dessert further still!
Remembering key aspects including ingredient freshness & proper chilling times guarantees optimal enjoyment levels upon serving guests—or indulging yourself too! With proper techniques combined alongside expert suggestions from experienced bakers—we hope this guide empowers all home cooks eager enough tackle their very own version successfully!

