Introduction and Quick Summary
If you’re looking for a delightful dessert that combines the flaky goodness of crescent dough with the rich creaminess of cheesecake, then you’ve found your new favorite treat: Crescent Cheesecake Bars. These bars are not only simple to make but also incredibly satisfying to eat. Perfect for gatherings or as a sweet end to any meal, they offer a beautiful presentation and an even better flavor. Imagine biting into a warm bar with a crispy exterior and a velvety cheesecake center that melts in your mouth; it’s an experience you won’t forget.

In this recipe, we’ll guide you through every step needed to create these delectable bars. From selecting the right ingredients to achieving the perfect texture, you’ll learn how to make Crescent Cheesecake Bars that impress your family and friends. With just a few simple ingredients that you probably already have in your pantry, you can whip up an impressive dessert in no time. So gather your supplies, and let’s get started on this delicious journey!
Main Ingredients
Crescent Dough
Crescent dough serves as the base of these delicious bars. You’ll need one tube of refrigerated crescent roll dough. This convenient ingredient is not only easy to work with but also provides a flaky texture that contrasts beautifully with the creamy cheesecake filling. Make sure to unroll the dough carefully to maintain its integrity.
Cream Cheese
For that rich and creamy filling, use 8 ounces of softened cream cheese. The cream cheese adds depth and smoothness to the dessert while providing that distinct cheesecake flavor we all love. Ensure it’s at room temperature before mixing to avoid lumps in your batter; this will help achieve a silky-smooth consistency.
Granulated Sugar
You’ll require half a cup of granulated sugar for sweetness in your filling. The sugar balances out the tanginess of the cream cheese and enhances the overall flavor profile. It’s essential to mix it thoroughly with the cream cheese to ensure even sweetness throughout.
Vanilla Extract
One teaspoon of pure vanilla extract elevates the taste of your cheesecake bars significantly. This aromatic ingredient adds warmth and complexity to the flavor profile while complementing both the cream cheese and sugar perfectly.
Egg
You’ll need one large egg for binding purposes in this recipe. The egg helps set the filling as it bakes, creating that perfect sliceable texture we all desire in cheesecake bars. Be sure to beat it lightly before adding it into the mixture for even distribution.

How to Prepare Crescent Cheesecake Bars
Step 1: Preheat Your Oven
Begin by preheating your oven to 350°F (175°C). Preheating ensures that your bars cook evenly from start to finish. While your oven heats up, prepare your baking pan; line it with parchment paper or grease it lightly with cooking spray for easy removal later on.
Step 2: Prepare the Dough
Open your tube of crescent roll dough carefully. Unroll it onto a clean surface or directly into your prepared baking pan. Gently press the seams together where necessary to form one solid sheet of dough; this creates a sturdy base for your cheesecake filling. You want an even layer without any gaps or holes—this will help keep all that delicious filling contained while baking.
Step 3: Make the Filling
In a mixing bowl, combine softened cream cheese, granulated sugar, vanilla extract, and beaten egg using an electric mixer on medium speed until smooth and creamy. Scrape down the sides frequently using a spatula so all ingredients blend well together without lumps remaining—this will result in velvety smooth bars once baked!
Step 4: Assemble Your Bars
Once your filling is ready, pour it over the prepared crescent dough layer in the baking pan evenly spreading it out using a spatula if needed so every bite has some luscious filling within! Next, take another sheet of crescent roll dough (you may need another tube) and unroll it over top covering everything completely like a blanket—again pressing seams together well.
Step 5: Bake
Place your assembled dish into the preheated oven and bake for approximately 25-30 minutes or until golden brown on top and set in the middle when gently shaken (it shouldn’t jiggle). Keep an eye on them towards end cooking time as ovens can vary significantly!
Step 6: Cool Before Serving
Once baked perfectly remove from oven allowing them cool down completely inside their pan on wire rack for about an hour; this cooling process helps solidify everything further making slicing easier later on! After cooling down entirely transfer them into refrigerator letting chill at least two hours before cutting into squares or rectangles as desired; this step enhances flavors too!
Serving and Storing Tips
Serving Suggestions
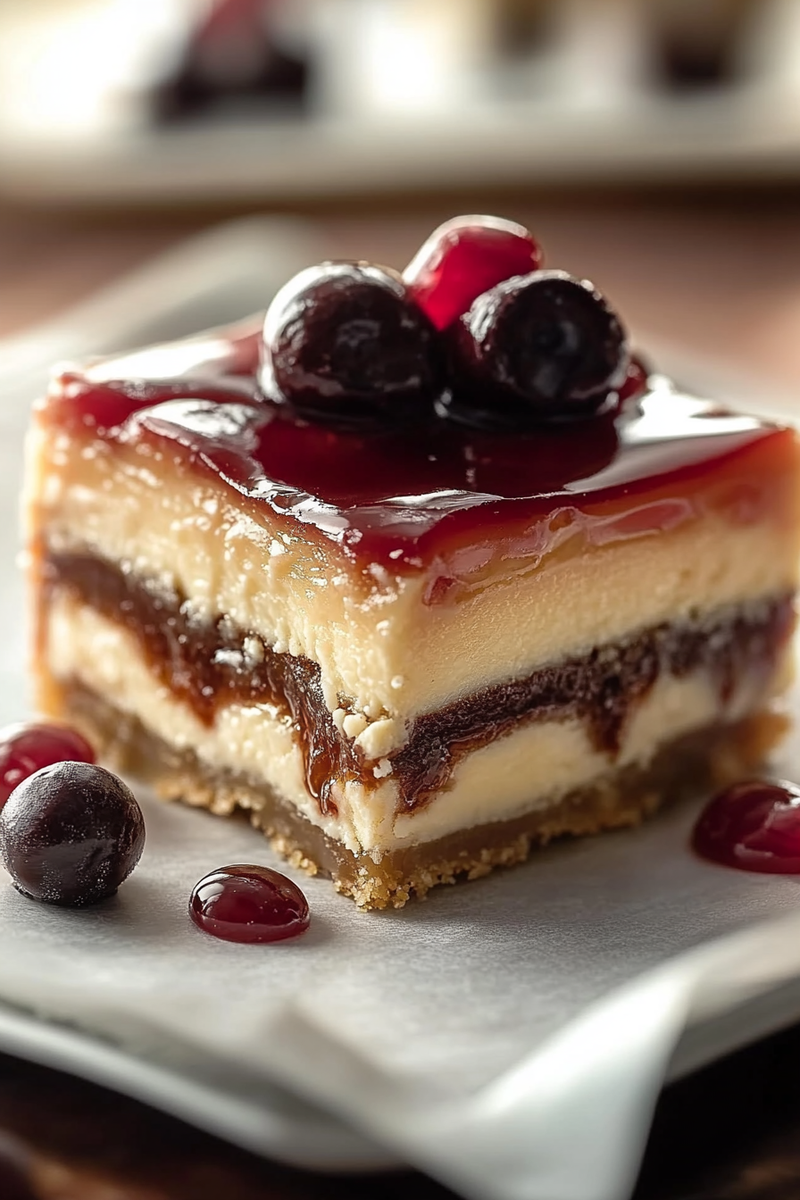
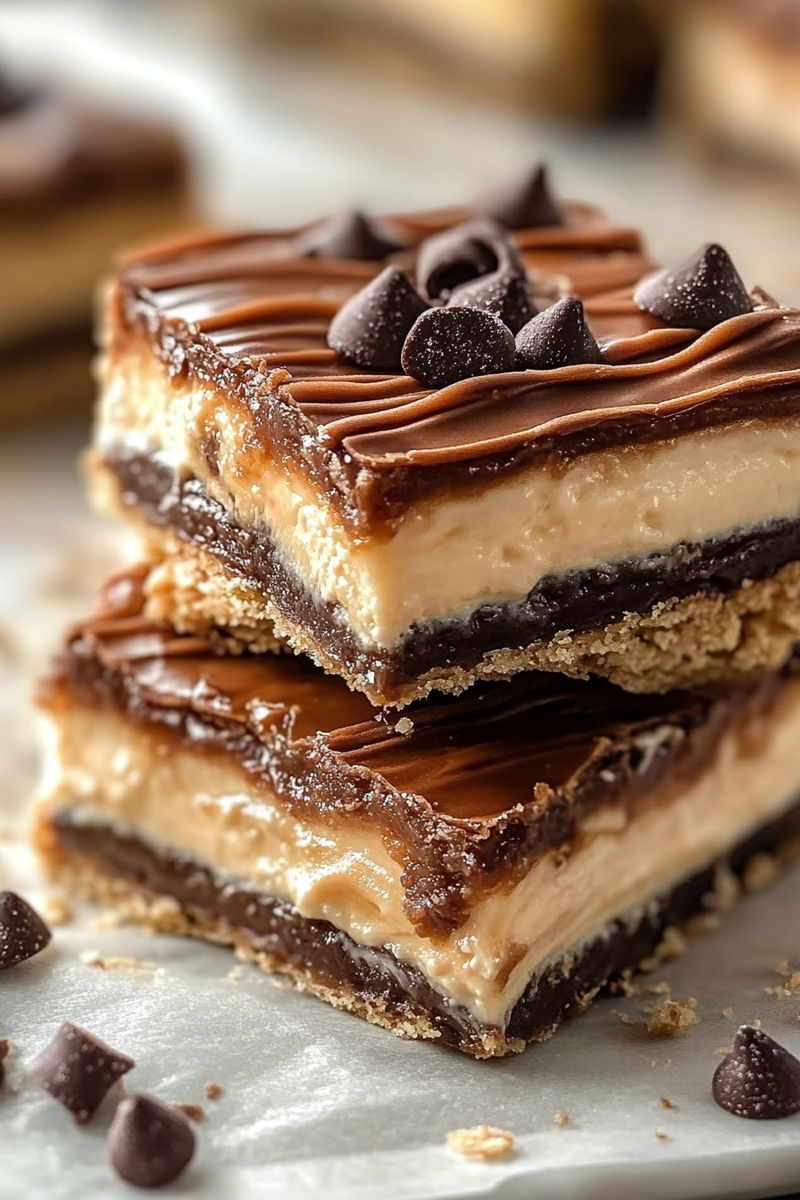
To serve these decadent Crescent Cheesecake Bars beautifully present them on a platter garnished with fresh berries or mint leaves for added color contrast! If desired drizzle some chocolate sauce over each piece right before serving—it adds extra indulgence everyone loves! These bars are best enjoyed chilled but can be served at room temperature too depending preference; just remember they are sweeter when cold which many find delightful!
Storing Leftovers
If you happen to have leftovers (which is usually rare), store them properly! Cover tightly using plastic wrap or transfer into airtight container keeping them refrigerated where they last up 4-5 days maximum while retaining freshness—just remember flavors intensify nicely after chilling overnight so they’re often even tastier next day! For longer storage options consider freezing individual pieces wrapped securely ensuring no air pockets remain around each slice preventing freezer burn effect; they’ll maintain good quality up six months frozen! When ready enjoy again simply thaw overnight inside fridge before indulging once more!
By following these steps closely along with our serving recommendations you’re sure creating memorable moments around table sharing these delightful treats whether guests come over spontaneously or special occasions arise—you’ll always impress everyone who takes bite into those heavenly snacks bursting flavors! Enjoy every moment spent savoring homemade goodness dear friends!
Mistakes to Avoid
When making Crescent Cheesecake Bars, certain mistakes can easily ruin your dessert. One common error is not allowing the cream cheese to soften before mixing. Cold cream cheese can lead to lumps in your filling, resulting in a less than smooth texture. To avoid this, always let your cream cheese sit at room temperature for at least 30 minutes before you start mixing it with other ingredients.
Another mistake is using expired or low-quality ingredients. Fresh ingredients play a crucial role in achieving the best flavor and texture in your Crescent Cheesecake Bars. Always check the expiration dates on cream cheese, eggs, and any other perishable items. Quality matters, so don’t skimp on ingredients like vanilla extract; use pure vanilla for a more aromatic and flavorful bar.
Overbaking is another common pitfall. Keep a close eye on your cheesecake bars as they bake. They should be set around the edges but still slightly jiggly in the center when you take them out of the oven. If they appear fully cooked and firm, you may end up with dry and crumbly bars rather than creamy delights.
Lastly, don’t forget to chill your bars properly after baking. Allowing them to cool at room temperature is important, but placing them directly into the fridge while still warm can lead to a soggy crust. Chill them completely for at least four hours before cutting into squares for the best results.
Tips and Tricks
To achieve perfect Crescent Cheesecake Bars, consider using these helpful tips and tricks. Start by preheating your oven thoroughly before baking. An oven that isn’t properly heated can cause uneven baking and negatively impact texture. Use an oven thermometer if you’re unsure about your oven’s accuracy.
When preparing your crescent dough, unroll it gently to avoid tearing. Lay it flat over a greased baking dish and press it down evenly to create a good base for your bars. This ensures a uniform crust that holds together well when baked.
Incorporate flavors into your cheesecake filling for added depth; consider adding citrus zest or spices such as cinnamon or nutmeg. These subtle flavors will elevate the overall taste of your bars without overpowering the classic cheesecake profile.
Use parchment paper when lining your baking pan for easy removal of the bars once cooled. This simple step makes cutting and serving much easier without leaving any sticky residue behind.
Lastly, experiment with toppings! A drizzle of chocolate ganache or a sprinkle of fresh berries can add both visual appeal and flavor contrast to your Crescent Cheesecake Bars. Don’t shy away from creativity—this is what makes each batch unique!
Suggestions for Crescent Cheesecake Bars
When preparing Crescent Cheesecake Bars, there are several suggestions that can enhance both flavor and presentation. Consider adding a layer of fruit preserves or jam beneath the cream cheese filling for an unexpected burst of flavor. This not only adds sweetness but also provides a lovely color contrast when you cut into the bars.
For those who prefer a crunchier texture, try incorporating nuts into the crust or as toppings. Chopped pecans or walnuts can provide an excellent crunchy contrast against the creamy filling of these cheesecake bars.
If you’re looking to make these dessert bars more festive, consider seasonal variations by adding pumpkin puree during fall or peppermint extract around the winter holidays. Adaptability makes this recipe suitable for various occasions throughout the year.
Pay attention to portion sizes when serving; cutting smaller squares can make these rich cheesecake bars feel less indulgent while allowing guests to enjoy multiple flavors if accompanied by other desserts.
Lastly, if you have leftovers (which is rare!), store them properly in an airtight container in the refrigerator for up to five days. You might even consider freezing individual portions for later enjoyment; just ensure they are wrapped tightly.
FAQs
What are Crescent Cheesecake Bars?
Crescent Cheesecake Bars are delicious dessert squares made using crescent roll dough as a crust filled with creamy cheesecake filling. They offer an easy way to blend classic cheesecake flavors with flaky pastry texture in one delectable treat.
How do I prevent my cheesecake from cracking?
To prevent cracks in your Crescent Cheesecake Bars, bake them at lower temperatures and avoid opening the oven door frequently during baking. Additionally, cooling them gradually by leaving them at room temperature before refrigerating helps maintain their structure.
Can I use low-fat cream cheese?
Yes! You can substitute low-fat cream cheese in your Crescent Cheesecake Bars recipe if you’re looking for a lighter version. However, keep in mind that this may affect texture and richness slightly compared to full-fat options.
How long do these bars need to chill?
After baking, allow your Crescent Cheesecake Bars to cool at room temperature before refrigerating them for at least four hours—or overnight—for optimal firmness and flavor development before serving.
Can I add chocolate chips to my filling?
Absolutely! Adding semi-sweet chocolate chips or even white chocolate chips can create delightful variations in flavor within your Crescent Cheesecake Bars while maintaining their creamy consistency.
How do I know when my cheesecake bars are done?
Your Crescent Cheesecake Bars are done when they are set around the edges but still slightly jiggly in the center upon removal from the oven. They will continue cooking as they cool down outside of heat, ensuring perfect doneness without being overbaked.
Conclusion
Creating delicious Crescent Cheesecake Bars requires attention to detail and careful preparation. By avoiding common mistakes such as using cold ingredients and overbaking, you’ll ensure a smooth and creamy filling every time you whip up this dessert delight. Implementing tips like preheating your oven correctly and experimenting with additional flavors will elevate your dessert game significantly.
Consider suggestions such as layering fruit preserves or using nuts for added texture when preparing these crowd-pleasers. Storing leftovers properly allows you to enjoy them beyond just one occasion too!
With practice and creativity, you can make each batch special while maintaining their classic charm—perfectly suited for any gathering or simply indulging yourself after dinner!

