Introduction and Quick Summary
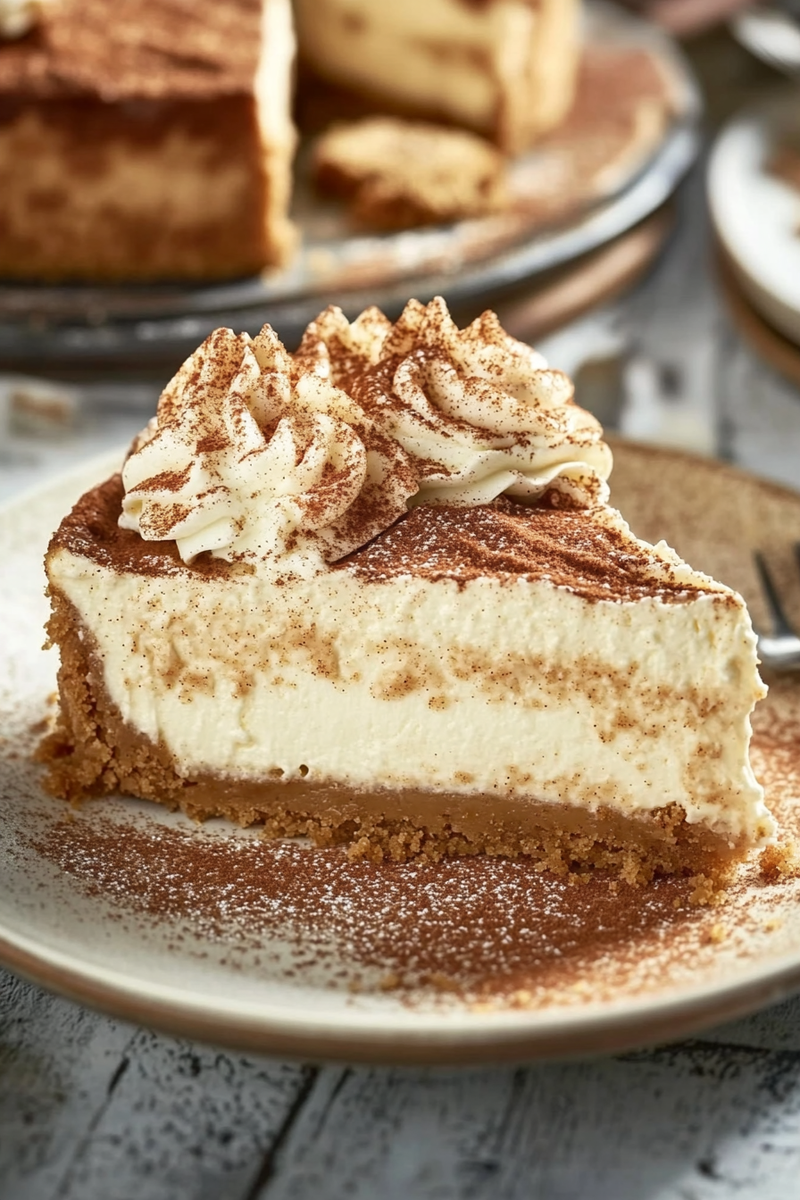
Are you ready for a dessert that melds the classic flavors of snickerdoodle cookies with the rich and creamy texture of cheesecake? This Snickerdoodle Cheesecake is a delightful fusion that will leave your taste buds dancing with joy. Imagine biting into a velvety slice of cheesecake infused with warm spices, topped with a crunchy cinnamon-sugar crust. It’s the perfect treat for any occasion—whether you’re celebrating a birthday or simply indulging in a weekend sweet.

This recipe offers an easy way to impress your family and friends without spending all day in the kitchen. With its stunning appearance and delectable flavor profile, this cheesecake will surely become a favorite in your household. Plus, it’s versatile enough to serve at gatherings or as a comforting after-dinner treat. So grab your mixing bowls and let’s dive into how you can create this delightful Snickerdoodle Cheesecake!
Main Ingredients
Cream Cheese
To achieve that rich and creamy texture that defines any great cheesecake, you need 24 ounces of cream cheese. Make sure it’s softened to room temperature for easy blending. Cream cheese lends a tangy flavor that balances the sweetness perfectly. Opt for full-fat cream cheese for the best results; it helps create a smooth filling without any graininess.
Sugar
You will need 1 cup of granulated sugar for sweetness in this recipe. Sugar not only adds sweetness but also contributes to the overall texture of the cheesecake by helping it set properly as it bakes. You can adjust the amount slightly if you prefer your desserts less sweet, but remember that snickerdoodles are traditionally quite sweet.
Eggs
Three large eggs are necessary for binding all ingredients together while adding richness to your filling. Be sure to use room-temperature eggs for optimal mixing; they integrate better into the batter than cold eggs straight from the refrigerator. The eggs also help provide structure during baking, ensuring that your cheesecake sets beautifully.
Sour Cream
Adding 1 cup of sour cream brings an extra layer of creaminess and tangy flavor to your Snickerdoodle Cheesecake. Sour cream also helps keep the cake moist and adds to its overall richness. If you want to lighten it up slightly, you can use Greek yogurt as a substitute.
Cinnamon
Cinnamon is essential for achieving that signature snickerdoodle flavor profile; use 2 teaspoons in both the filling and topping. This spice infuses warmth and aroma into your cheesecake while complementing other ingredients beautifully. For an extra kick, feel free to add a pinch of nutmeg or allspice if desired.
Vanilla Extract
Two teaspoons of pure vanilla extract enhances the sweetness and depth of flavor in your cheesecake filling. Using high-quality vanilla is recommended; it makes a noticeable difference in taste compared to imitation vanilla extract.
All-Purpose Flour
You’ll need 2 tablespoons of all-purpose flour to stabilize the filling and prevent cracking during baking. Flour helps absorb moisture while keeping the texture smooth and firm without making it overly dense.
Graham Cracker Crust
For this recipe, prepare a crust using 1 ½ cups crushed graham crackers combined with 6 tablespoons melted butter and 3 tablespoons sugar. The buttery crunch provides an excellent base while enhancing flavors through its slight sweetness.
How to Prepare Snickerdoodle Cheesecake
Step One: Prepare Your Oven and Springform Pan
Start by preheating your oven to 325°F (160°C). While it’s heating, prepare your springform pan by greasing it lightly with cooking spray or butter to prevent sticking later on. For added security against leaks, wrap aluminum foil around the bottom of the pan tightly—this step ensures no water seeps in during baking if you’re using a water bath method.
Step Two: Make Your Graham Cracker Crust
In a medium bowl, combine crushed graham crackers with melted butter and sugar until evenly mixed and crumbly. Press this mixture firmly into the bottom of your prepared springform pan using your hands or a flat-bottomed measuring cup until it’s packed tightly—this forms your crust’s foundation! Bake for about 8 minutes or until golden brown before setting aside to cool slightly while preparing the filling.
Step Three: Create The Filling Mixture
In another large mixing bowl, beat softened cream cheese using an electric mixer until smooth—scrape down sides as needed so there are no lumps left behind! Gradually add granulated sugar while continuing to beat until well combined—this should take about two minutes on medium speed. Next, incorporate sour cream, eggs (one at a time), flour, cinnamon powder (reserve some for topping), and vanilla extract until fully blended together into one luscious mixture!
Step Four: Assemble The Cheesecake
Pour half of this mixture over your cooled crust first—smooth out evenly with a spatula before adding any remaining batter on top carefully—this preserves layers! Sprinkle some reserved cinnamon-sugar mixture on top before gently swirling it through using toothpick or knife for decorative effect—you want swirls but not too mixed!
Step Five: Bake The Cheesecake
Place assembled cheesecake into preheated oven on middle rack—if using water bath method (recommended), place another large roasting pan filled halfway with hot water below where cheesecakes sit—this prevents cracking! Bake for about 50-60 minutes until edges set but center remains slightly jiggly—it will firm up as cooled down later! Turn off oven once done without opening door immediately allowing residual heat help finish setting further before removing from oven completely!
Step Six: Cool And Chill
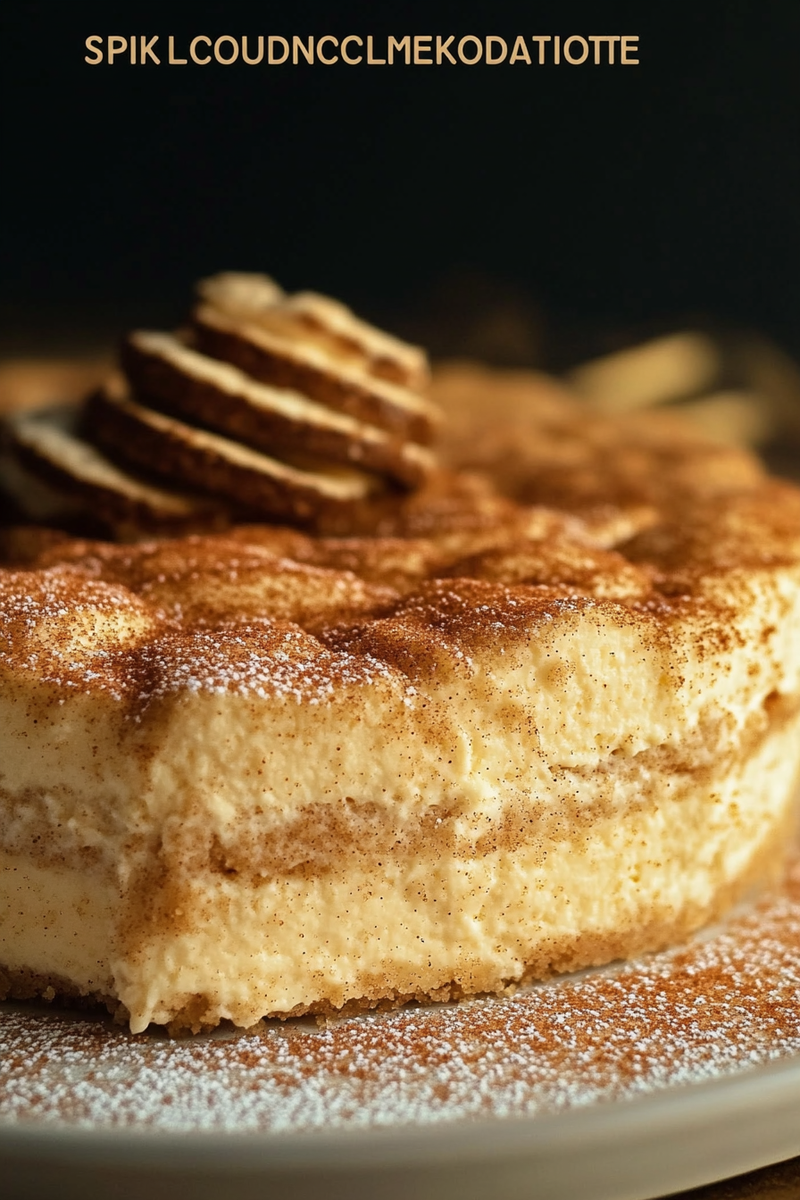
Let cheesecakes cool down at room temperature then refrigerate covered overnight preferably—the longer it chills improves flavors melding together beautifully! Remove outer ring from springform pan carefully prior serving next day; slice neatly using sharp knife dipped in warm water between cuts ensures clean slices!
Serving and Storing Tips
Serving Suggestions
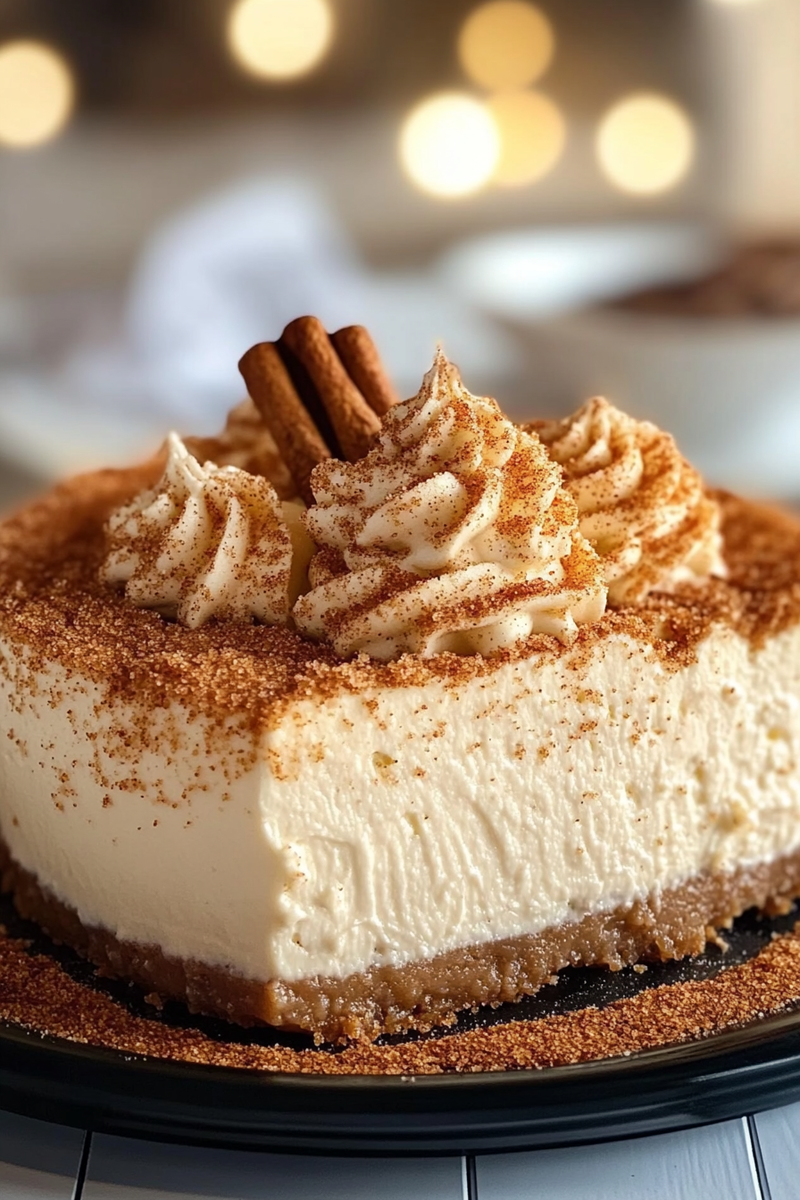
When serving your stunning Snickerdoodle Cheesecake, consider garnishing each slice with whipped cream or additional cinnamon-sugar sprinkle on top—this enhances both presentation appeal & flavor experience immensely! Pair slices alongside fresh fruits such as berries which contrast nicely against richer textures too! For larger gatherings opt cutting smaller pieces allowing guests sampling more desserts without overwhelming them too much at once!
Storage Guidelines
To store leftover cheesecake effectively wrap tightly in plastic wrap then place inside airtight container—it’ll stay fresh up-to five days when refrigerated properly! If planning long-term storage consider freezing instead; slice individual portions beforehand placing wax paper between layers preventing sticking together upon thawing later down road easily! Just remember allow overnight thawing inside fridge prior enjoying again ensuring optimal taste experiences remain intact!
Enjoy preparing this decadent Snickerdoodle Cheesecake at home—it promises unforgettable moments around every table shared amongst family & friends alike!
Mistakes to avoid
When crafting a Snickerdoodle Cheesecake, several common mistakes can hinder your results. Understanding these pitfalls will ensure your dessert turns out perfectly every time.
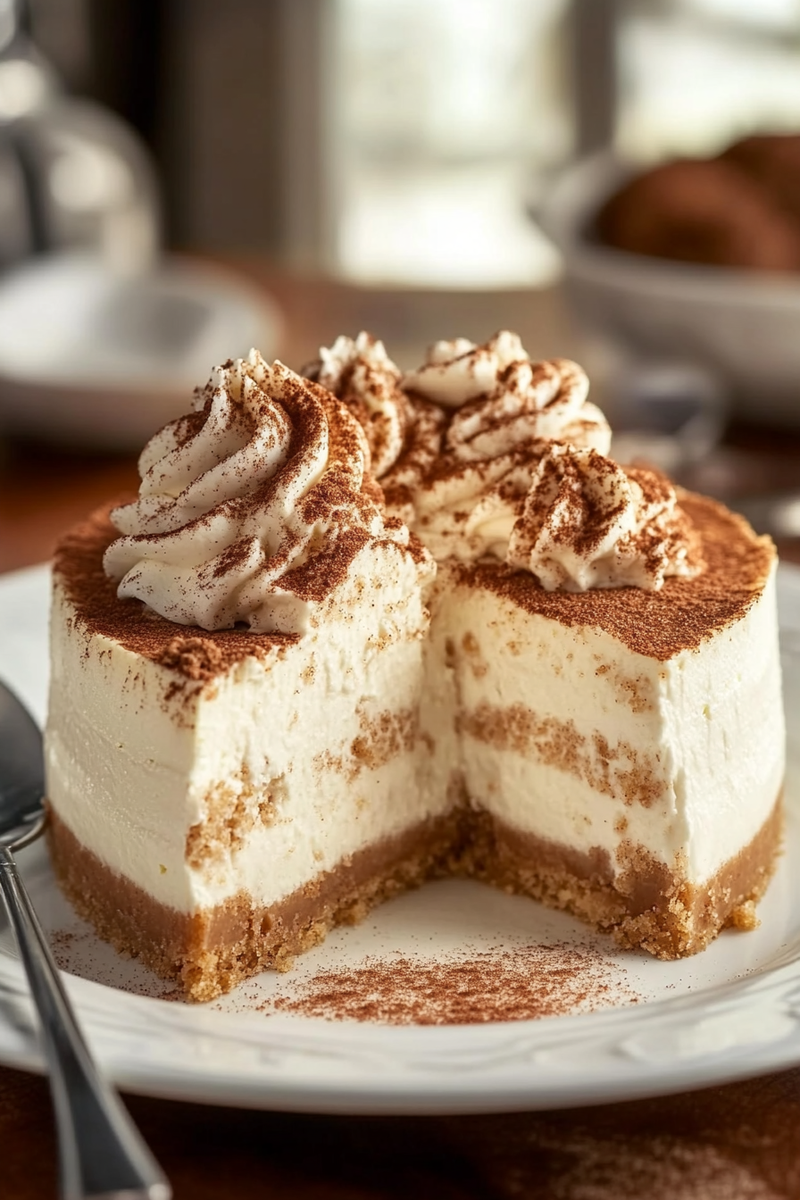
One frequent error is not properly preparing your crust. A Snickerdoodle Cheesecake calls for a buttery cookie crust that sets the stage for the creamy filling. If you skip chilling the crust or fail to press it firmly into the pan, it may crumble when you cut into the cheesecake. Be sure to use a sturdy springform pan to help retain shape and moisture.
Another mistake is neglecting to soften your cream cheese adequately. Cold cream cheese will not blend smoothly, resulting in lumps in your batter. To achieve that velvety texture, allow your cream cheese to sit at room temperature for at least 30 minutes before mixing. This simple step makes a significant difference in achieving a smooth, creamy consistency.
Overmixing your batter can also lead to issues. While it’s essential to incorporate all ingredients thoroughly, overmixing introduces too much air into the mixture. This excess air can cause cracks on the surface of your cheesecake as it bakes and cools. Mix just until combined; this ensures a dense and rich texture without unwanted bubbles.
Lastly, be cautious about baking times and temperatures. Each oven is different, so relying solely on baking time may lead to an undercooked or overcooked cheesecake. Invest in an oven thermometer to check accuracy and consider checking for doneness a few minutes early by gently shaking the pan; if the center slightly jiggles but is set around the edges, it’s done.
Tips and tricks
To master the art of making Snickerdoodle Cheesecake, consider these helpful tips and tricks that elevate your baking experience.
First, using high-quality ingredients is crucial for flavor development. Opt for real vanilla extract instead of imitation, as it significantly enhances the taste of your cheesecake. Additionally, using fresh ground cinnamon rather than pre-ground can provide a deeper flavor profile that complements both the cheesecake and crust beautifully.
Another essential tip is to bake your cheesecake in a water bath (bain-marie). This method helps regulate temperature during baking, preventing cracks from forming on the surface while ensuring even cooking throughout. Wrap your springform pan tightly with aluminum foil before placing it in a larger pan filled with hot water about halfway up the sides of the springform pan.
Don’t forget about cooling! After removing your Snickerdoodle Cheesecake from the oven, allow it to cool gradually at room temperature before refrigerating it. Rapid temperature changes can result in cracks as well; thus, let it sit for an hour before transferring it to the fridge for at least four hours or overnight for best results.
Lastly, garnishing with whipped cream or cinnamon sugar just before serving adds an appealing touch and enhances presentation. Consider topping with crushed snickerdoodle cookies for added texture and flavor contrast that guests will adore.
Suggestions for Snickerdoodle Cheesecake
Enhancing your Snickerdoodle Cheesecake can take it from good to extraordinary with some thoughtful suggestions.
Experimenting with flavored extracts can introduce unique twists to your cheesecake recipe. In addition to vanilla extract, consider incorporating almond or maple extract in moderation; this can add complexity without overwhelming traditional flavors. However, remember that a little goes a long way.
Pairing this delectable dessert with complementary sauces or toppings can also elevate its appeal. Drizzling caramel sauce or chocolate ganache over slices brings out indulgent flavors while balancing sweetness with richness. Fresh fruit like berries offers a refreshing contrast that lightens each bite.
For those seeking dietary alternatives, consider swapping out traditional ingredients with healthier options! Use low-fat cream cheese or Greek yogurt instead of full-fat cream cheese for fewer calories without sacrificing taste significantly. You could also substitute coconut flour or almond flour in place of regular flour if you’re looking for gluten-free options while maintaining great texture.
Lastly, serving suggestions play an important role in enhancing enjoyment! Present slices on colorful plates alongside herbal teas or aromatic coffees to create an inviting atmosphere perfect for gatherings with friends or family celebrations.
FAQs
What is a Snickerdoodle Cheesecake?
A Snickerdoodle Cheesecake merges two beloved desserts into one delightful treat. It features layers of creamy cheesecake infused with cinnamon flavor atop a crunchy cookie crust made from snickerdoodle cookies. The combination provides both rich textures and scrumptious flavors that satisfy dessert cravings perfectly.
How do I store leftover Snickerdoodle Cheesecake?
Storing leftover Snickerdoodle Cheesecake properly ensures you enjoy every bite later! Place any remaining slices in an airtight container within the refrigerator where they can last up to five days without losing flavor or texture quality. For longer storage periods, consider freezing individual portions wrapped tightly in plastic wrap followed by aluminum foil—frozen cake lasts three months!
Can I make Snickerdoodle Cheesecake ahead of time?
Absolutely! Making Snickerdoodle Cheesecake ahead of time is ideal since flavors enhance when allowed to chill overnight after baking—this technique gives it optimal richness upon serving! Prepare two days prior if planning ahead; simply refrigerate once cooled completely yet leave toppings off until just before guests arrive so they remain fresh!
What variations can I try with my Snickerdoodle Cheesecake?
Experimenting with variations allows creativity while keeping core flavors intact! Consider adding pumpkin puree during fall months for festive flair or incorporating peanut butter swirls throughout for nutty undertones—each alternative brings unique characteristics while staying true to original recipes!
How do I know when my Snickerdoodle Cheesecake is done?
Checking doneness accurately ensures perfect results every time! Gently shake your springform pan—if edges are set but center slightly jiggles like gelatinous consistency without being liquidy—it’s ready! Remember cheesecakes continue cooking even after removing from heat due residual heat retention!
Can I use different types of crusts?
While traditional graham cracker crusts work well here too many variations exist! Explore gingersnap cookies instead for spicier tones; alternatively opt-out entirely by creating an almond flour-based gluten-free alternative—experimenting opens doors toward exciting new combinations!
Conclusion
In summary, creating a delightful Snickerdoodle Cheesecake involves avoiding common mistakes while embracing essential tips and creative suggestions tailored specifically toward enhancing this beloved dessert experience further! Focus on quality ingredients alongside proper preparation techniques such as cooling methods help optimize outcomes greatly yielding impressive results worthy celebrating special occasions alike!
By answering frequently asked questions regarding storage options plus various adaptations possible alongside baking techniques—this comprehensive guide equips bakers confidently navigate their culinary journey successfully delighting friends family alike each time serve up scrumptious slices warm cozy atmosphere resonates joy happiness shared moments together around kitchen table festivities abound enriching lives through love food shared amongst others always cherished memories created lasting lifetimes ahead!

