Introduction and Quick Summary
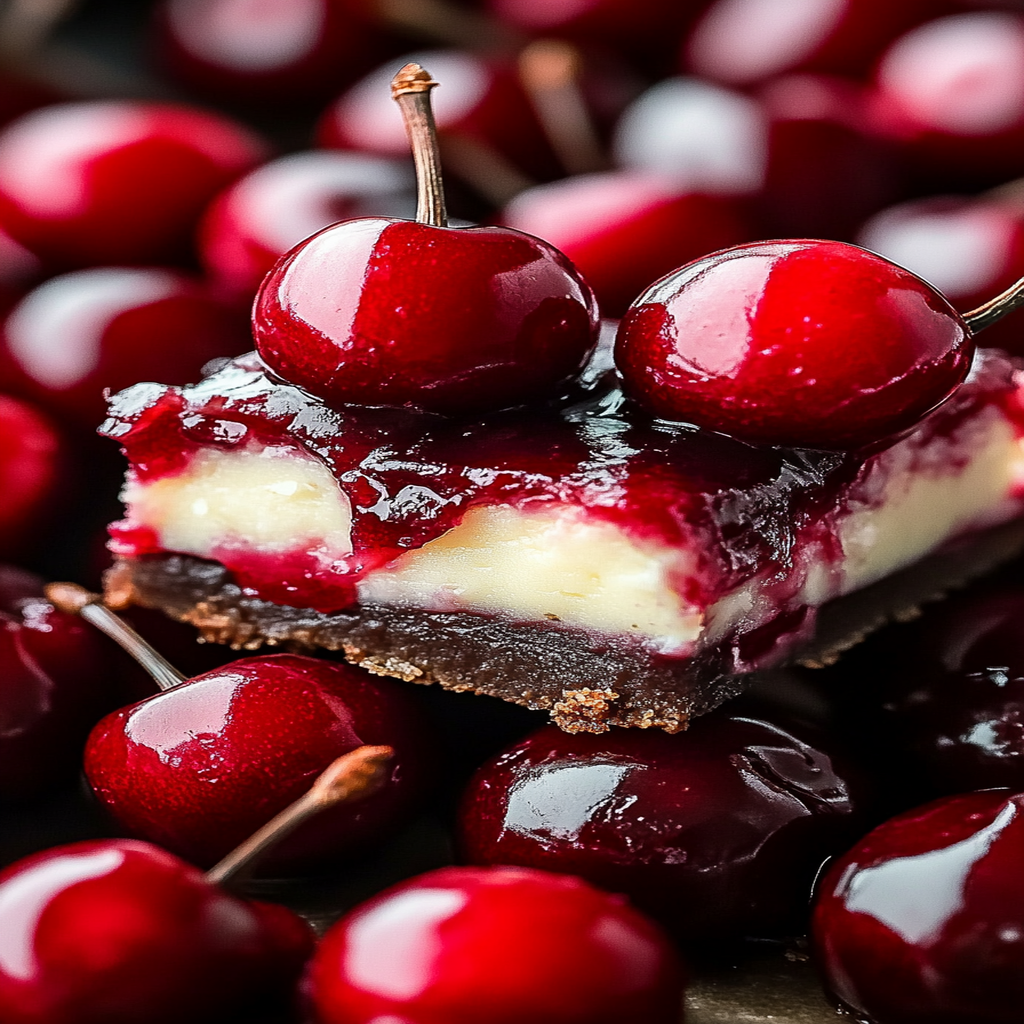
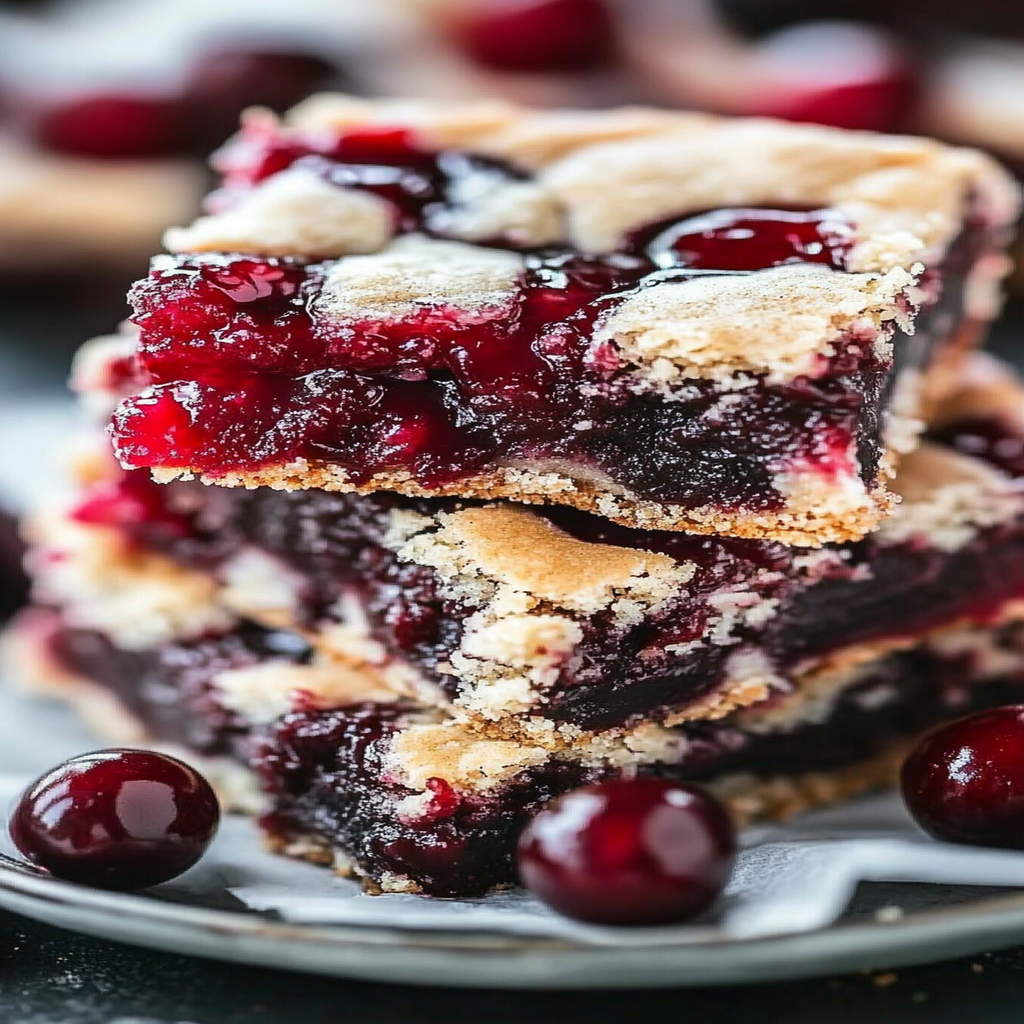
Cherry bars are a delightful treat that brings together the sweet and tart flavors of cherries in a soft, buttery base. Ideal for any occasion—from summer picnics to cozy holiday gatherings—these delicious bars are sure to please everyone. The best part? They are incredibly easy to make! In just a few simple steps, you can create a batch of cherry bars that will leave your guests reaching for seconds. Not only are they visually appealing with their vibrant red hue, but they also offer a satisfying texture that balances chewiness and crunch.

In this recipe, we will take you through the essentials of making cherry bars from scratch. You’ll discover how to select the best cherries and blend them with the right ingredients to achieve that perfect flavor balance. Whether you use fresh or frozen cherries, these bars are guaranteed to be a hit! So roll up your sleeves, grab your mixing bowl, and let’s get started on creating these scrumptious cherry bars that everyone will love.
Main Ingredients
Cherries
Cherries are the star ingredient in this recipe. Whether you opt for fresh or frozen varieties, ensure they are ripe and sweet. For this recipe, you will need about 2 cups of pitted cherries. If using fresh cherries, wash them thoroughly under cold water before pitting them. Frozen cherries should be thawed and drained well to avoid excess moisture in the batter. Their natural sweetness complements the buttery crust beautifully.
All-Purpose Flour
All-purpose flour is essential for creating the base of our cherry bars. You will need approximately 2 cups for this recipe. This flour provides structure and stability while allowing the cherry filling to shine through. Sift it before measuring to ensure there are no lumps and achieve a light texture in your final product.
Granulated Sugar
Sugar adds sweetness and balances out the tartness of cherries. For this recipe, you’ll require about 1 cup of granulated sugar divided between the crust and filling layers. Use fine granulated sugar to blend seamlessly into your batter without leaving graininess.
Butter
Butter is key in achieving that rich flavor and tender texture in our cherry bars. You will need ½ cup (1 stick) of unsalted butter at room temperature for easy mixing. Make sure not to melt it completely; softened butter works best as it helps create a fluffy base when creamed with sugar.
Eggs
Eggs act as binders in our recipe helping everything stick together while adding moisture. For this recipe, you will need 2 large eggs at room temperature. Ensure they are fresh for better taste and consistency in the final product.
Baking Powder
Baking powder is crucial for leavening our cherry bars giving them a light texture rather than being dense or heavy. You’ll need 1 teaspoon of baking powder which helps the batter rise nicely during baking ensuring each bite is perfectly airy.

How to Prepare Cherry Bars
Step 1: Preheat Your Oven
Start by preheating your oven to 350°F (175°C). This step is crucial because having a properly heated oven ensures even cooking throughout your cherry bars resulting in a golden-brown crust and soft filling.
Step 2: Prepare Your Baking Dish
While waiting for your oven to reach temperature, prepare an 8×8 inch baking dish by greasing it lightly with cooking spray or butter. This prevents sticking when it’s time to serve your delicious cherry bars later on.
Step 3: Make the Crust Mixture
In a large mixing bowl, combine 1 cup of all-purpose flour with ½ cup of granulated sugar and ½ cup of softened butter using an electric mixer or pastry cutter until crumbly yet cohesive—this mixture forms the base layer of our dessert bar.
Step 4: Add Eggs
Next, crack two large eggs into your bowl along with 1 teaspoon of baking powder; mix until blended thoroughly with the crust mixture ensuring all ingredients are fully combined into a smooth batter without lumps remaining visible.
Step 5: Spread Base Layer
Take about two-thirds of this batter (which should be roughly one layer thick) and evenly spread it across the bottom of your prepared baking dish using an offset spatula or back of a spoon making sure there aren’t any gaps showing through before moving on!
Step 6: Prepare Cherry Filling
In another bowl combine two cups of prepared cherries along with remaining sugar (approximately half cup), gently folding them together until all pieces appear coated evenly with sweetness; this will create that luscious filling everyone loves!
Step 7: Assemble Everything
Pour your prepared cherry mixture over the crust layer then drop spoonfuls (or dollops) of leftover batter onto top—don’t worry if it doesn’t cover completely as it’ll spread while baking creating an inviting rustic look!
Step 8: Bake
Place your assembled dish into preheated oven allowing it to bake for approximately thirty-five minutes or until edges turn golden brown; keep an eye out towards last few minutes checking doneness by inserting toothpick—if it comes out clean then they’re ready!
Step 9: Cool Down
Once baked allow cooling within pan on wire rack before cutting into squares; patience here pays off since warm filling can ooze out ruining presentation when served too soon!
Serving and Storing Tips
Serving Suggestions
Cherry bars can be served warm or at room temperature depending on preference! They pair beautifully with whipped cream or vanilla ice cream adding an extra layer richness alongside tartness from fruit itself; topping each square generously makes especially festive treats during holidays or gatherings where friends gather around tables enjoying delicious bites together! Garnish options include dusting powdered sugar atop just before serving enhancing visual appeal making them even more irresistible!
Storing Leftovers
If you’re lucky enough to have leftovers after indulging in these delightful treats storing them correctly ensures freshness longer! Wrap individual squares tightly in plastic wrap placing within airtight container refrigerate up three days retaining optimal quality; alternatively freezing portions allows preservation up six months just remember label containers clearly so there’s no confusion later down line when craving hits again!
Enjoy every bite knowing you’ve created something special from scratch—these delicious cherry bars truly celebrate seasonal fruits while satisfying sweet cravings too!
Mistakes to avoid
When making Cherry Bars, there are several common mistakes that can ruin the final product. One of the most frequent errors is using frozen cherries instead of fresh ones. Fresh cherries have a vibrant flavor and texture that significantly enhance the bars. Frozen cherries often release excess moisture, resulting in a soggy crust or filling. If fresh cherries are unavailable, be sure to drain and pat dry frozen ones before using them.
Another mistake is not properly measuring ingredients. Baking is a science, and precision is key. If you add too much flour or sugar, it can alter the balance of flavors and textures. Use kitchen scales for accuracy, and always spoon flour into measuring cups without packing it down. This ensures you get the right amount of each ingredient for perfect Cherry Bars.
Additionally, overlooking the importance of chilling your dough can lead to disastrous results. A warm dough spreads too much while baking, resulting in thin bars rather than thick, chewy ones. After mixing your dough, chill it for at least 30 minutes before pressing it into your baking dish. This will help maintain its shape during baking.
Finally, many bakers underestimate baking time. Each oven has unique characteristics that affect cooking times. Always start checking your Cherry Bars a few minutes before the suggested time in the recipe. Look for a golden-brown top and a firm center as indicators that they are done.
Tips and tricks
Creating perfect Cherry Bars requires attention to detail and some strategic tips to enhance your baking experience. First, consider using almond extract alongside vanilla extract in your filling mixture. Almond extract complements cherry’s natural flavor beautifully, adding depth to each bite.
Another effective tip is to create a crumbly topping with oats and nuts for added texture. Combine rolled oats with chopped pecans or walnuts in your topping mixture for delightful crunchiness atop the soft cherry filling. This contrast elevates your Cherry Bars from ordinary to extraordinary.
Also, don’t forget to line your baking dish with parchment paper before adding the dough! This prevents sticking and makes removing the bars easier once baked. Simply lift out the parchment paper after cooling for perfectly cut squares without messy cleanup.
Moreover, allow your Cherry Bars to rest before cutting into them. Once out of the oven, let them cool completely on a wire rack before slicing. This ensures cleaner edges and helps maintain their shape when serving.
Lastly, experiment with different types of cherries! Using tart cherries will give your bars a refreshing zing, while sweet cherries offer a more classic dessert flavor profile. Mixing varieties can create an exciting and unique taste experience with every bite.
Suggestions for Cherry Bars
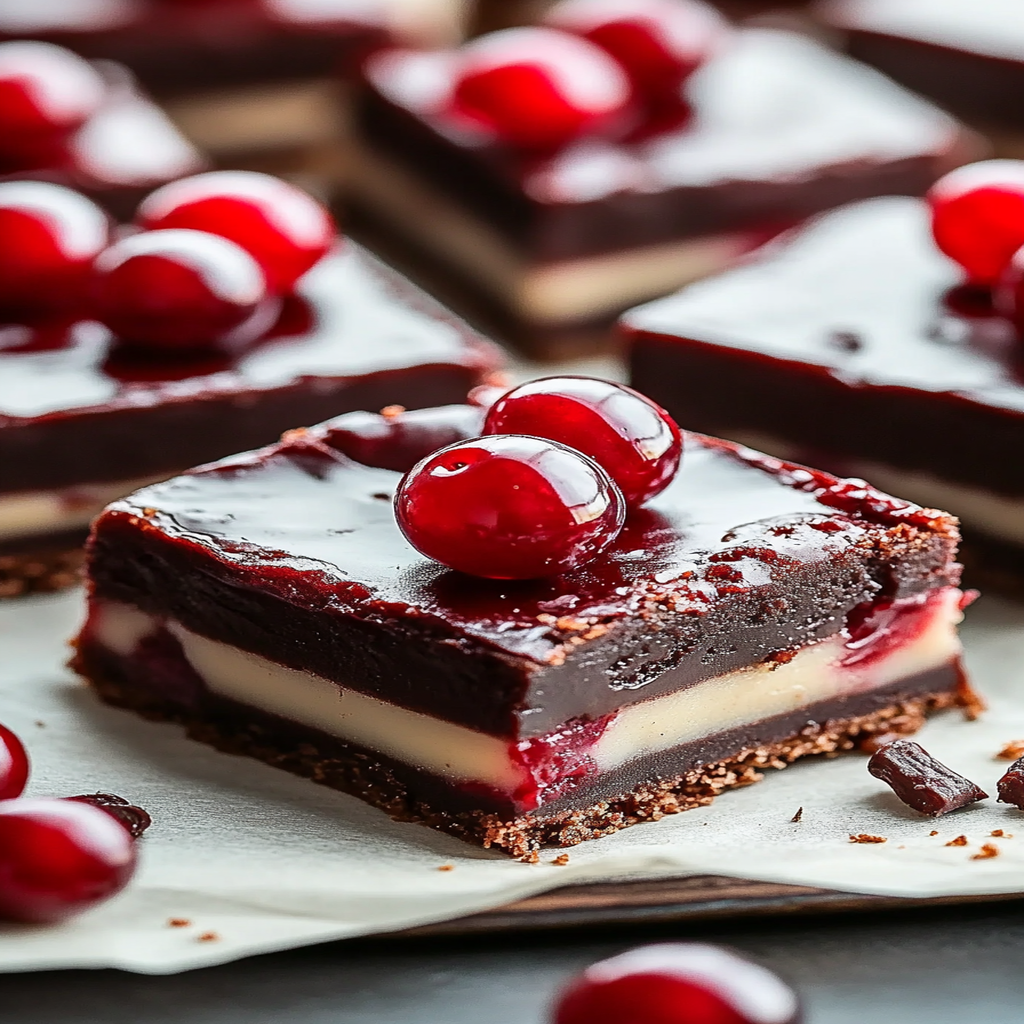
If you’re looking to elevate your Cherry Bars even further, consider these suggestions for variations and additions. One popular option is incorporating chocolate chips into the filling or topping mixture. The rich chocolate pairs wonderfully with cherry’s tartness, creating an indulgent treat that satisfies both sweet tooth cravings and fruit lovers alike.
You might also explore adding spices such as cinnamon or nutmeg for warmth in your bars’ flavor profile. A sprinkle of cinnamon on top just before baking infuses pleasant aromas throughout your kitchen while enhancing taste complexity without overpowering cherry’s freshness.
For those who enjoy a bit of tanginess in their desserts, try adding lemon zest to either the dough or filling mixture. Lemon’s bright acidity balances well with sweet cherries and elevates overall flavor harmony in each bite.
Consider using different types of crusts as well! A graham cracker crust gives a nice twist on traditional recipes while still complementing cherry flavors beautifully—offering both sweetness and crunch in every mouthful.
Lastly, serve your Cherry Bars with whipped cream or vanilla ice cream on top! This adds an extra indulgent touch that transforms simple bars into an elegant dessert worthy of any occasion or celebration.
FAQs
What are Cherry Bars?
Cherry Bars are delicious baked treats made primarily with fresh cherries encased in a buttery crust topped with crumble or drizzled icing. They offer a balance between sweet and tart flavors ideal for dessert lovers seeking fruity indulgence without being overly rich.
How do I store leftover Cherry Bars?
To ensure freshness after baking Cherry Bars, allow them to cool completely before transferring them to an airtight container at room temperature if consumed within two days; otherwise refrigerate for up to one week! You can also freeze them wrapped tightly in plastic wrap followed by aluminum foil for longer storage lasting several months!
Can I use other fruits instead of cherries?
Absolutely! While this recipe focuses on cherry flavors specifically designed around Cherry Bars’ appeal; feel free to experiment! Fruits like blueberries or raspberries could work beautifully as substitutes—or even mixed berry combinations—allowing you creative freedom based on seasonal availability!
What should I serve with Cherry Bars?
Cherry Bars pair wonderfully with various accompaniments! Consider serving them warm topped off with whipped cream or vanilla ice cream; both options provide delightful textures alongside contrasting temperatures enhancing overall enjoyment during consumption!
Are there gluten-free options available?
Yes! You can easily make gluten-free Cherry Bars by substituting regular flour with almond flour or gluten-free all-purpose blend ensuring proper ratios according to package instructions while maintaining similar textures allowing everyone—including those avoiding gluten—to enjoy this scrumptious treat!
Can I make these bars ahead of time?
Certainly! Preparing Cherry Bars ahead saves time during busy occasions like parties; simply bake them one day prior then store accordingly (as mentioned above) allowing flavors meld deliciously overnight for irresistible tasting experiences when ready-to-serve!
Conclusion
In summary, crafting delightful Cherry Bars involves careful attention to detail while avoiding common pitfalls such as improper ingredient measurements or neglecting chilling times after mixing doughs beforehand—the crucial steps ensuring perfect results every time! Embrace helpful tips like incorporating almond extracts alongside other ingredients alongside suggestions offering variations elevating basic recipes towards gourmet delights worth savoring at gatherings celebrating life’s moments together shared among friends family alike! With proper storage methods keeping leftovers fresh coupled alongside additional fun flavor experiments exploring alternative fruits garnished toppings next-level indulgence awaits those ready take their baking game higher beyond traditional expectations—ensuring satisfaction bites whether enjoying alone special occasions bringing joy anyone fortunate enough partake within delectable creations made from heart hands kitchen love poured throughout process loving every moment spent creating lasting memories through food enjoyed by all around table together sharing laughter happiness wherever journey leads next ahead!

