Introduction and Quick Summary
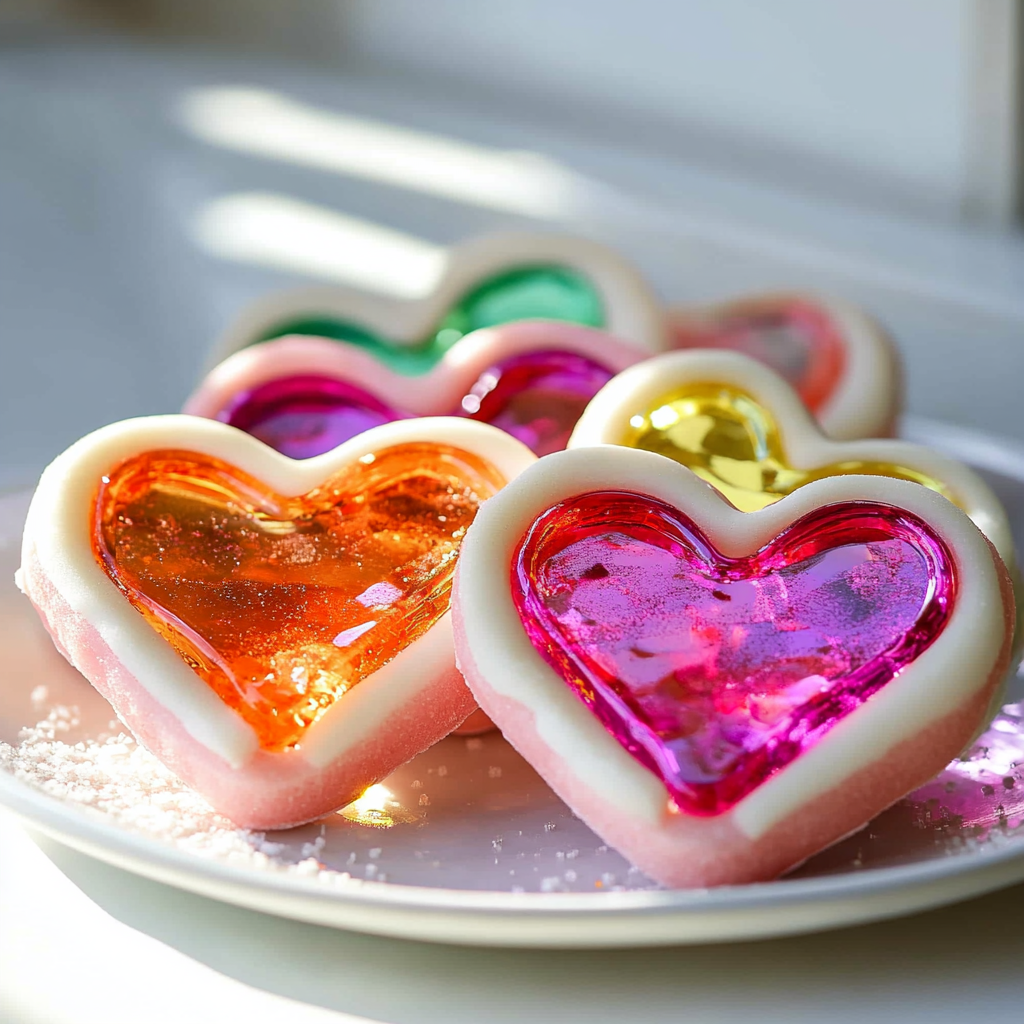
If you’re looking for a sweet treat that not only satisfies your cravings but also dazzles the eyes, then **Stained-glass Sugar Hearts** are the perfect choice. These vibrant confections are not only visually captivating but also incredibly simple to make. Imagine presenting a plate of these stunning sugar hearts at your next gathering; they will steal the spotlight! With their colorful centers and crisp edges, these treats are sure to impress both kids and adults alike.
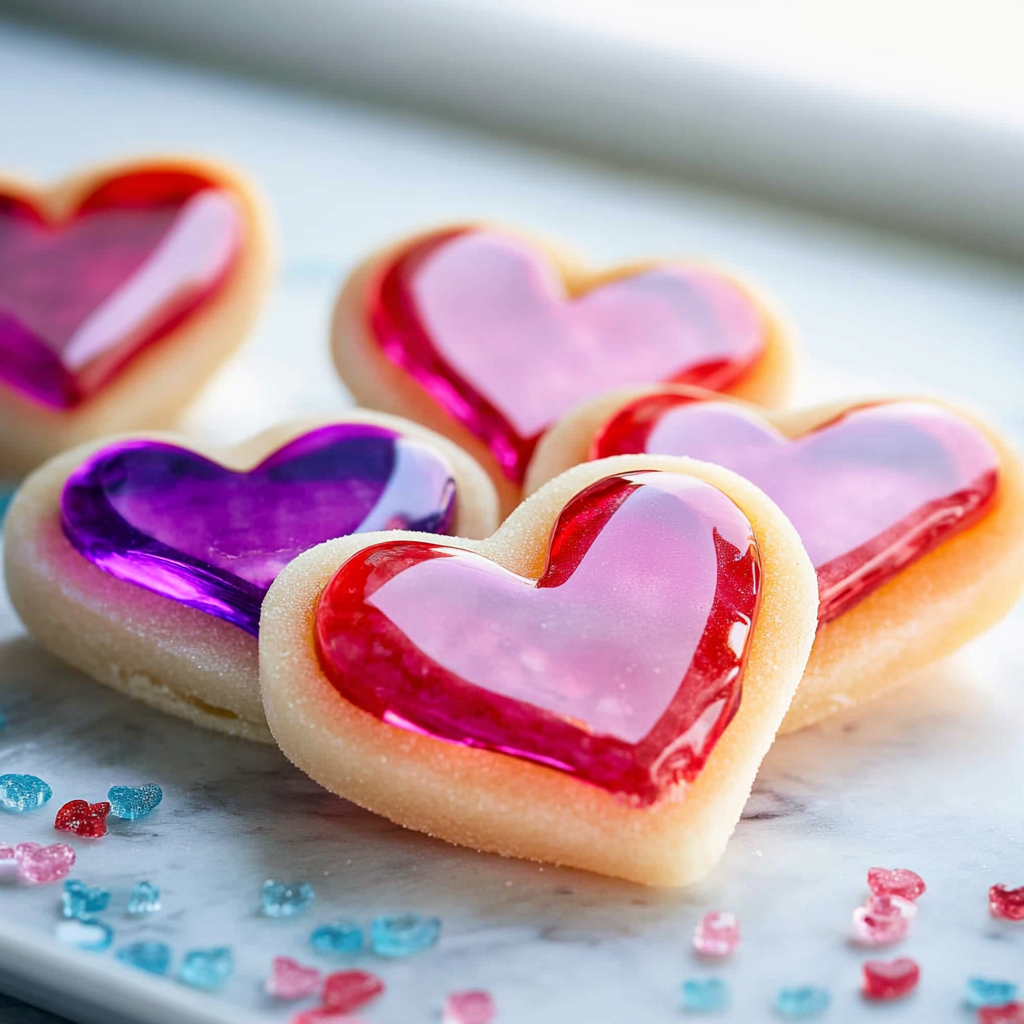
The beauty of stained-glass sugar hearts lies in their versatility. You can customize them with different colors and shapes, making them ideal for various occasions—from Valentine’s Day celebrations to birthday parties or even just as an afternoon snack. Plus, they’re an excellent way to get kids involved in the kitchen! This recipe guides you through each step, ensuring that even beginners can create their own stunning creations.
In this article, you’ll discover everything you need to know about preparing these delightful treats—from the main ingredients that bring them to life to detailed preparation steps that guarantee success. By the end of this guide, you’ll be equipped with all the knowledge needed to whip up a batch of stained-glass sugar hearts that look as good as they taste. So let’s dive into the world of sweet artistry!
Main Ingredients
All-purpose Flour
All-purpose flour serves as the base for our stained-glass sugar hearts. You’ll need about 2 ½ cups of flour for this recipe. It provides structure and stability to your cookies while enabling them to hold their shape during baking. You can use either bleached or unbleached flour; both will yield excellent results. For best practices, sift your flour before measuring it to avoid any lumps and ensure an even texture.
Granulated Sugar
Granulated sugar is essential for sweetness and contributes to the delightful crunch of these cookies. You will require approximately 1 cup of granulated sugar for this recipe. This ingredient not only sweetens the dough but also aids in achieving that lovely golden color when baked. Make sure to measure accurately by fluffing up your sugar before scooping it into your measuring cup.
Unsalted Butter
Using unsalted butter is crucial for achieving a rich flavor in your stained-glass sugar hearts. You’ll need around ½ cup (one stick) of softened unsalted butter. Softening the butter allows it to cream well with the sugars, resulting in a smooth dough. If you forget to leave it out beforehand, you can cut it into smaller pieces and microwave it briefly (about 10 seconds) until soft but not melted.
Egg
An egg is necessary for binding all ingredients together while adding moisture and richness to the dough. For this recipe, one large egg will suffice. Ensure that your egg is at room temperature for optimal mixing; this helps incorporate air into the dough more effectively during beating.
Vanilla Extract
Vanilla extract adds depth and warmth to your cookies’ flavor profile. You’ll need 1 teaspoon of pure vanilla extract for this recipe. Opting for pure vanilla rather than imitation ensures a more complex flavor, enhancing every bite of these lovely treats.
Food Coloring
Food coloring is what makes these stained-glass sugar hearts visually stunning! Choose a variety of colors based on your preferences—red, blue, green, or yellow work wonderfully! You’ll need about ½ teaspoon per color used in the centers of each heart-shaped cookie. Gel food coloring is preferable because it produces vibrant hues without altering the consistency of your dough.
Hard Candy
Hard candy pieces serve as the “glass” in these cookies. You can use crushed Jolly Ranchers or any similar candy variety; approximately 1 cup total should suffice based on how many cookies you’re making. The candies will melt during baking and create beautiful stained glass-like windows in each heart.
How to Prepare Stained-glass Sugar Hearts
Step 1: Prepare Your Dough
Begin by creaming together your softened unsalted butter and granulated sugar in a large mixing bowl using an electric mixer on medium speed until light and fluffy—this should take about 3 minutes. Once creamed properly, beat in one large egg followed by one teaspoon of vanilla extract until everything is well combined.
Next, gradually add your all-purpose flour while mixing at low speed until just combined; avoid over-mixing as this can lead to tougher cookies later on. Once incorporated well together into a cohesive dough ball shape forms around the paddle attachment or whisk attachment—this indicates it’s ready!
Cover your bowl with plastic wrap or cloth towel so no air gets in while letting rest at room temperature for about half an hour; doing this helps enhance flavors even further within each cookie while allowing easier handling when rolling out later.
Step 2: Roll Out Your Dough
Once rested properly after thirty minutes have passed by—lightly dust both your clean countertop or cutting board with additional flour before placing down about half of that chilled cookie dough onto it (saving other half back inside bowl). Gently roll out dough using rolling pin until desired thickness achieved—ideally around ¼ inch thick works best here!
While rolling out dough ensure its shape stays intact by rotating occasionally along edges so no sticking occurs between surface area underneath either side—if necessary sprinkle extra flour wherever needed throughout process too! When finished rolling cut out heart shapes using cookie cutters; remember they should be evenly spaced apart from each other before transferring onto parchment-lined baking sheets once done cutting!
Step 3: Create Your Stained Glass Centers
Now comes one fun part—creating those iconic “stained glass” centers! Take hard candies like Jolly Ranchers mentioned earlier (or any preferred color) crush into small pieces using plastic baggie & rolling pin until finely crushed down enough size fit nicely within those heart shapes cut previously!
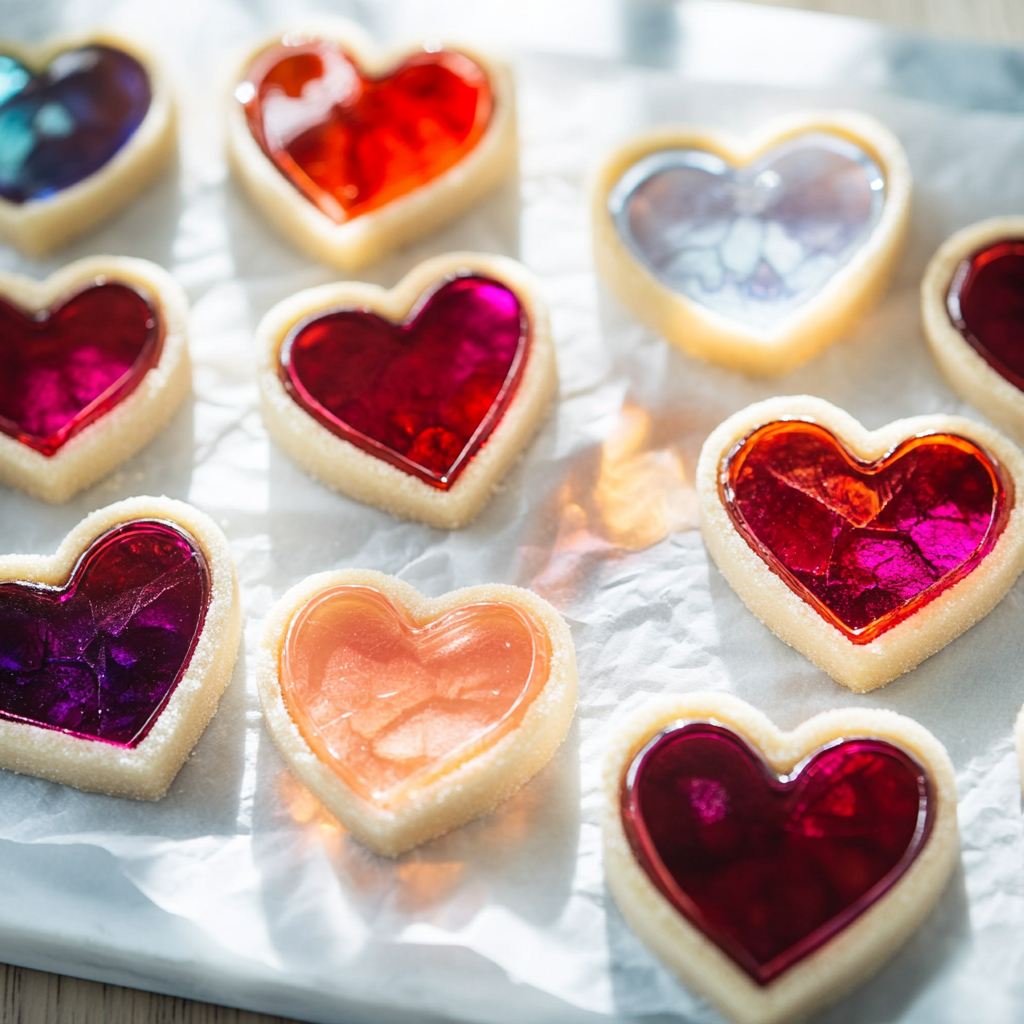
Once crushed fill center hole(s) inside each heart shape with about one tablespoon worth crushed candies; be careful not overfill or else they could overflow during baking process ruining aesthetics! After filling all shapes carefully place entire baking sheet filled up into preheated oven set at temperature around 350°F (175°C) for roughly twelve minutes long watching closely towards end until edges become golden brown indicating readiness!
Step 4: Cool Down & Decorate
When timer rings promptly remove from oven allowing cooling time take place over wire rack positioned nearby where placed hot trays down first after initial bake—it usually takes around five minutes cool enough handle without burning fingers! Once cooled completely decorate tops if desired using icing or sprinkles adding extra flair appeal overall presentation too—get creative here plus have some fun experimenting different kinds designs possible too!
Serving and Storing Tips
Serving Suggestions
These stunning stained-glass sugar hearts make an excellent centerpiece at any gathering or celebration! They pair beautifully with hot beverages like tea or coffee due their sweet crunchy texture offsetting comforting warmth drinks provide perfectly well balanced harmony every bite taken alongside sipping leisurely away enjoying moment shared amongst friends family alike! Consider arranging them on platters showcasing different colors showcasing diversity appealing visually making dessert table pop inviting everyone try without hesitation whatsoever!
For added drama presentation-wise consider placing few decorated plates throughout party setting creating playful surprise guests discover hidden gems scattered creatively around space captivating attention urging everyone indulge further wanting seconds thirds even fourths while having meaningful conversations taking place nearby too! They also work wonderfully packed individually tied ribbons serving gifts loved ones special occasions birthdays holidays etc., effortlessly spreading joy sweetness wherever goes bringing smiles faces everywhere encountered!
Storage Guidelines
To keep those delicious stained-glass sugar hearts fresh longer than average lifespan typical cookies allow proper storage techniques employed right away after cooling process completed fully first off! Place layers parchment paper separate between each cookie when stacking inside airtight containers ensuring moisture retention preventing drying out becoming stale prematurely limiting shelf life considerably significantly lessening enjoyment factor overall experience indulging later time expected too!
Ideally stored correctly these treats should last up two weeks maximum remaining soft crispy maintained quality throughout period enjoyed thoroughly every single time returned treating oneself again again craving satisfaction always fulfilled whenever desire strikes suddenly unexpectedly craving something scrumptious deliciousness here within reach beckoning forth eagerly seeking opportunities indulging pleasures experienced firsthand directly mouth savoring delights awaiting discovery ahead exciting adventures culinary journey awaits unfolding beautifully step step revealing treasures hidden deep within universe flavors stirring tantalizing memories forged moments shared together forever cherished fondly remembered often reminisced fondly alongside loved ones gathered nearby once again sharing laughter stories unique experiences woven together creating tapestry life woven intricately connecting souls across generations inspiring connection love shared transcending boundaries bringing warmth hearts united experiencing blissful joy found simple things life like freshly baked goodies made home full heart love intention behind every creation crafted lovingly hands nurturing spirit felt deeply resonating core essence human nature itself reminding us why we gather celebrate cherish what truly matters most!
Tips and Tricks
To create stunning stained-glass sugar hearts, start by gathering all necessary ingredients. You will need granulated sugar, light corn syrup, and food coloring. Using a candy thermometer can help achieve the perfect temperature for melting sugar, ensuring a smooth and glossy finish. When you heat the sugar mixture, keep an eye on the temperature; it should reach around 300°F (hard crack stage). This step is crucial as it determines the clarity and texture of your final product.
Remember to stir constantly while heating to prevent burning. Once the mixture reaches the desired temperature, quickly add your chosen food coloring. Mixing in the color at this stage allows for vibrant, even hues. Be cautious, as the hot sugar can splatter. A heat-resistant spatula or spoon is ideal for mixing.
When pouring the melted sugar onto parchment paper, work quickly to maintain shape and quality. Use cookie cutters to create heart shapes while the mixture is still pliable but not too hot to touch. Allow them to cool completely before removing them from the parchment paper; this ensures they hold their shape and don’t stick.
Storage is essential for keeping these beautiful treats fresh. Place them in an airtight container away from humidity to prevent stickiness. For added flair, consider wrapping individual pieces in clear cellophane tied with ribbon for gifting or special occasions.
Suggestions for Stained-glass Sugar Hearts
While making stained-glass sugar hearts can be fun, some common mistakes can detract from your results. One frequent error is not monitoring the temperature closely enough during cooking. If you allow the mixture to go above 300°F, it can caramelize instead of creating that clear glass-like finish you desire. Invest in a reliable candy thermometer to avoid this pitfall.
Another mistake is using too much food coloring. While vibrant colors are appealing, too much dye can alter the structural integrity of your sugar hearts. Stick to a few drops at a time; you can always add more if needed after initial mixing.
Also, ensure that your work area is clean and free of moisture before starting. Humidity can cause sugar creations to become sticky and lose their shine quickly. Cover surfaces with parchment paper or silicone mats where necessary.
Don’t forget about cooling time! Rushing this process may result in warped shapes or uneven texture. Allow the hearts ample time to cool fully before handling them—at least an hour depending on thickness.
Finally, be creative with shapes! While heart-shaped cookies are classic for Valentine’s Day or special occasions, consider using different molds or cutting techniques for unique designs that will impress guests or loved ones.
FAQs
What are stained-glass sugar hearts made of?
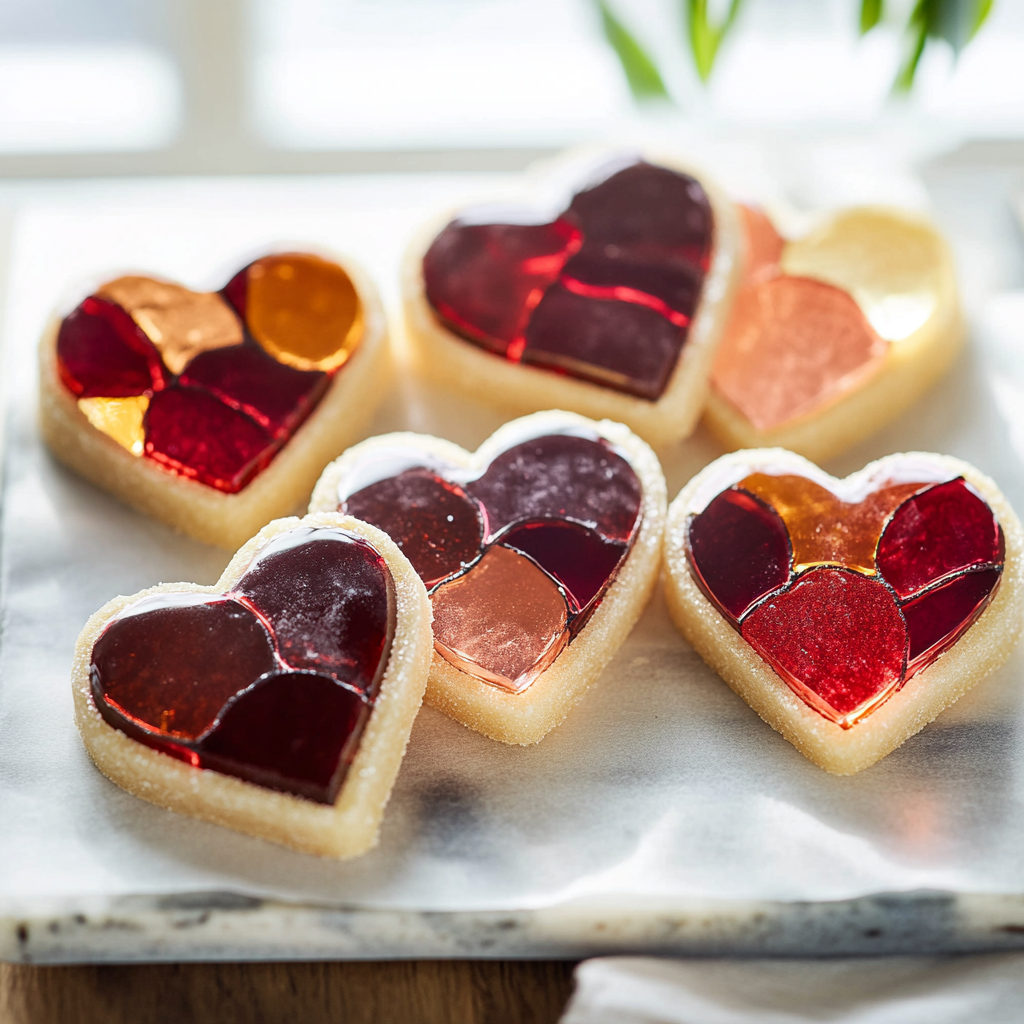
Stained-glass sugar hearts consist primarily of granulated sugar and light corn syrup combined with food coloring for that vibrant effect. The basic ingredients create a glossy finish once melted and cooled properly. The mixture needs careful heating until it reaches hard crack stage (around 300°F) before adding any dye. This ensures that the final product has a glass-like appearance that is both attractive and delicious.
How do I store stained-glass sugar hearts?
To store stained-glass sugar hearts effectively, place them in an airtight container away from humidity and direct sunlight. It’s important to store them in a cool area since heat can cause them to become sticky or melt slightly over time. If you want to gift these treats, consider wrapping each piece individually in cellophane tied with decorative ribbon; this keeps them fresh longer while also providing an appealing presentation.
Can I use other types of sugars for stained-glass hearts?
Using other types of sugars like brown sugar or powdered sugar is not recommended when making stained-glass hearts because they contain moisture that interferes with achieving that hard crack texture needed for clarity. Granulated white sugar works best due to its ability to melt evenly without introducing additional moisture into your recipe.
How long do stained-glass sugar hearts last?
When stored properly in an airtight container away from humidity, stained-glass sugar hearts can last up to two weeks without losing their texture or flavor. However, exposure to air and moisture may reduce their shelf life significantly; hence it’s crucial always to check storage conditions if you’re planning on keeping them around longer than intended.
Can I add flavors to my stained-glass sugar hearts?
Absolutely! You can infuse flavors into your stained-glass sugar hearts by incorporating extracts such as vanilla or almond extract after reaching hard crack stage but before pouring onto parchment paper. A few drops should suffice; remember that strong flavors may alter sweetness levels slightly so adjust accordingly!
Are stained-glass sugar hearts suitable for special diets?
Unfortunately, traditional stained-glass sugar hearts made with granulated white sugar aren’t suitable for specific diets such as keto or low-sugar lifestyles due strictly due their high-sugar content which could lead those on restricted diets away from indulging freely without consequences—always consult dietary guidelines when considering treats like these!
Conclusion
Creating beautiful stained-glass sugar hearts requires attention to detail but offers rewarding results when executed correctly. Start with quality ingredients like granulated white sugar and light corn syrup while avoiding common mistakes such as overheating or using excessive food coloring which could compromise clarity and taste alike.
It’s essential also to pay close attention during each step—from heating mixtures accurately through proper storage methods—to ensure these delightful treats remain fresh longer without losing their charming appeal! By following our tips diligently along with understanding potential pitfalls ahead of time, you’ll find success crafting these delicious confections perfect for gifting or enjoying any occasion.
Whether you’re preparing a romantic surprise or simply indulging yourself, these colorful treats will undoubtedly brighten any day! So gather your supplies today—your kitchen adventure awaits!

