Introduction and Quick Summary
If you are looking for a delightful treat that captures the essence of the tropics, look no further than Hawaiian pineapple cake. This cake is not only a feast for the eyes but also tantalizes your taste buds with its moist texture and sweet flavor. Imagine a slice of this luscious cake topped with whipped cream or a scoop of vanilla ice cream on a sunny afternoon. That’s pure bliss!
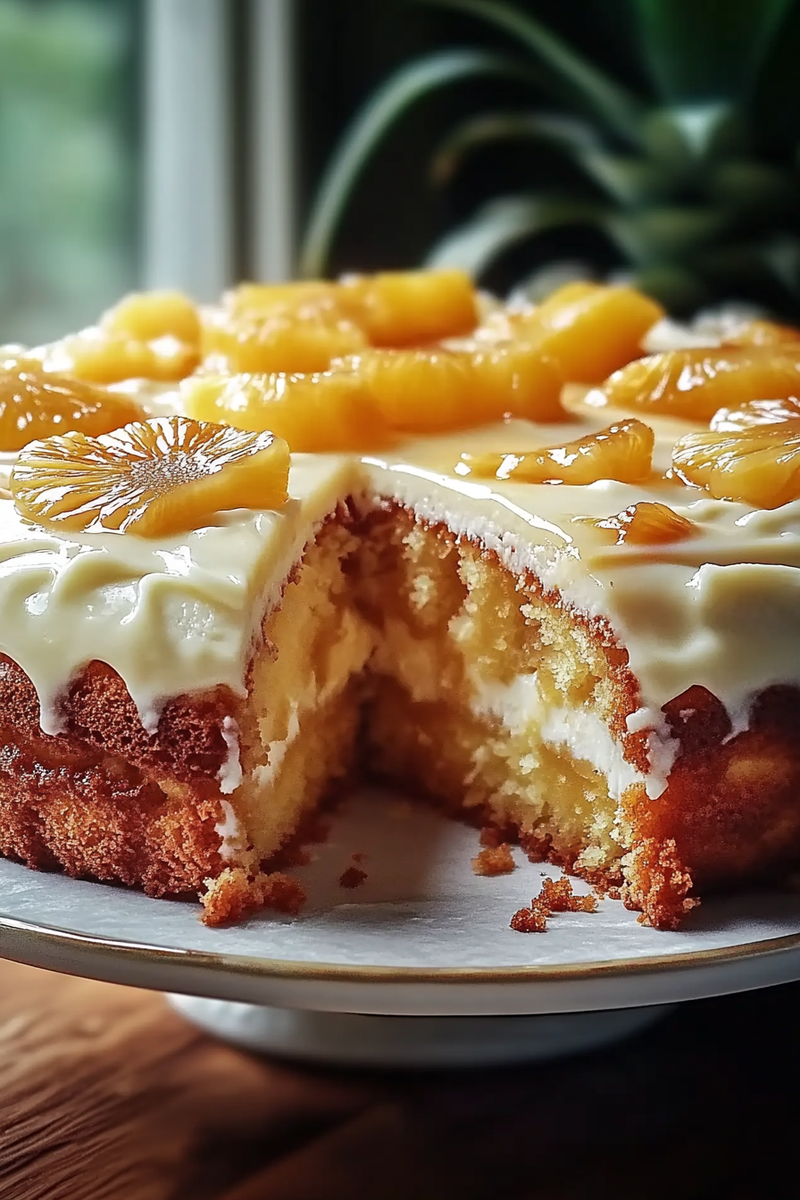
Hawaiian pineapple cake is perfect for any occasion—whether you’re celebrating a birthday, hosting a summer barbecue, or simply satisfying your sweet tooth. The combination of fresh pineapples and rich butter creates an irresistible flavor profile that will leave guests raving about your baking skills.
In this article, we’ll guide you through the essential ingredients needed to make this delightful dessert and provide detailed step-by-step instructions to ensure perfect results every time. Additionally, you’ll find tips on how to serve and store your Hawaiian pineapple cake for maximum enjoyment. So grab your apron and prepare to embark on a culinary adventure that will transport you straight to Hawaii!
Main Ingredients
Pineapple
The star ingredient in our Hawaiian pineapple cake is undoubtedly the pineapple itself. You will need about 1 cup of crushed fresh or canned pineapple (drained). Fresh pineapple offers a vibrant flavor that enhances the moistness of your cake. Canned options can work as well but opt for those without added sugars for a healthier choice.
All-Purpose Flour
Next up is 2 cups of all-purpose flour. This ingredient provides structure to the cake while allowing it to rise beautifully in the oven. Make sure to sift it before measuring; this prevents any lumps from forming and helps create an airy texture.
Sugar
For sweetness, we will use 1 cup of granulated sugar. This not only adds sweetness but also contributes to the overall moisture content of the cake. If you prefer less sugar, consider using brown sugar for added depth in flavor.
Butter
You will need ½ cup (1 stick) of unsalted butter at room temperature. Butter adds richness and enhances the overall flavor while helping achieve that coveted moist texture.
Eggs
For binding purposes, 2 large eggs are essential in this recipe. They help hold all the ingredients together while providing moisture and richness.
Baking Powder
To ensure that your Hawaiian pineapple cake rises properly, include 1 tablespoon of baking powder in your mix. This leavening agent works wonders in creating fluffy layers.
Vanilla Extract
Lastly, add 1 teaspoon of vanilla extract for an aromatic touch that complements the tropical flavors beautifully.
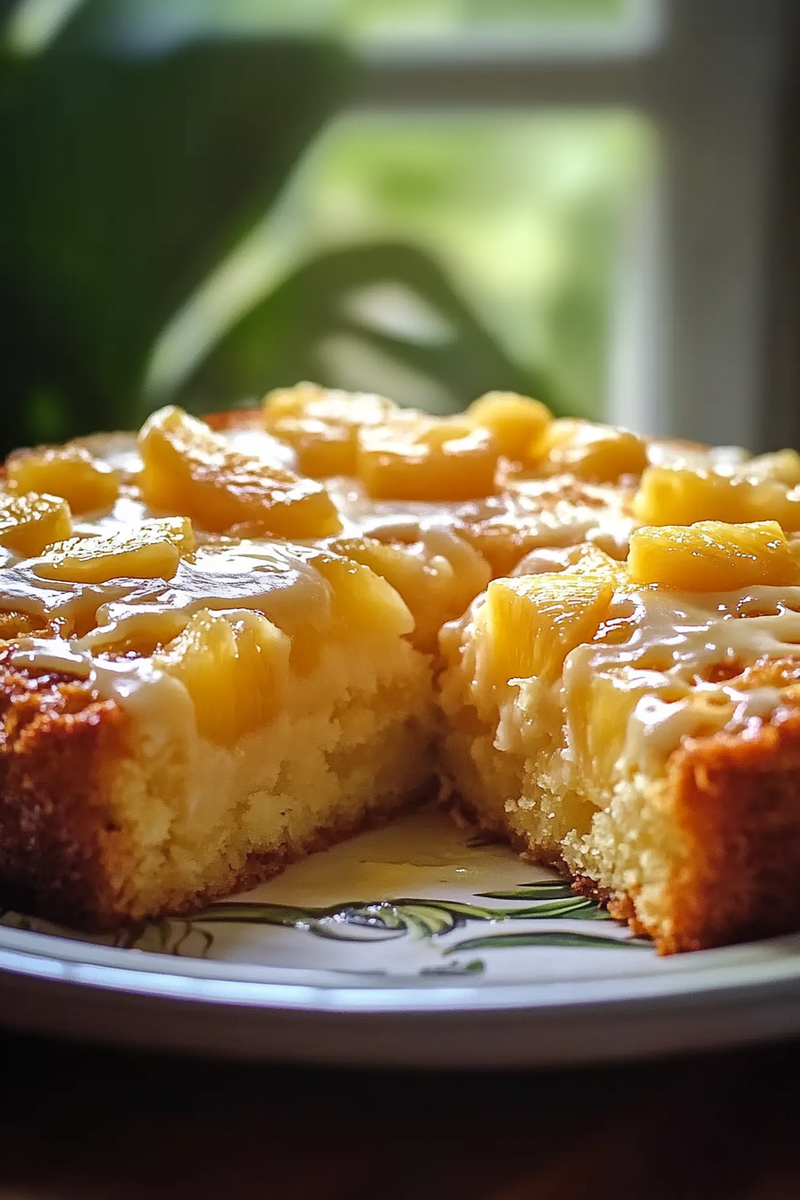
How to Prepare Hawaiian Pineapple Cake
Step One: Preheat Your Oven
Start by preheating your oven to 350°F (175°C). This step is crucial as it ensures even cooking throughout the baking process. While waiting for your oven to reach temperature, prepare your baking pan by greasing it with butter or non-stick spray. A standard round or rectangular pan will work well for this recipe.
Step Two: Mix Dry Ingredients
In a medium bowl, combine the all-purpose flour and baking powder thoroughly using a whisk. Mixing these dry ingredients separately ensures uniform distribution throughout the batter when combined later on. Set this mixture aside while you prepare the wet ingredients.
Step Three: Cream Butter and Sugar
In a large mixing bowl, beat together the softened unsalted butter and granulated sugar until light and fluffy—this usually takes about 3-5 minutes on medium speed using an electric mixer. Creaming these two ingredients creates air pockets that help give rise to your cake during baking.
Step Four: Add Eggs and Vanilla
Once your butter-sugar mixture is creamy, add in one egg at a time while beating well after each addition until fully incorporated. Then pour in the vanilla extract; continue mixing until everything blends perfectly together.
Step Five: Combine Wet and Dry Ingredients
Now it’s time to combine both mixtures! Gradually add your dry flour mixture into the wet ingredients while alternating with crushed pineapple (make sure it’s drained if canned). Mix gently until just combined—avoid over-mixing as this can lead to dense cakes.
Step Six: Pour Batter into Pan
Pour your batter into the prepared baking pan ensuring it’s evenly spread out across all sides using a spatula if necessary. Give it a gentle tap against your countertop; this eliminates any air bubbles trapped within.
Step Seven: Bake Your Cake
Place your filled pan in preheated oven and bake for approximately 30-35 minutes or until golden brown on top—a toothpick inserted into its center should come out clean when done!
Step Eight: Cool Before Serving
Once baked perfectly, remove from oven allowing it cool down completely before transferring onto wire racks or serving platters so that it maintains its shape beautifully during slicing!

Serving and Storing Tips
Serving Suggestions
When ready to serve up slices of deliciousness from this Hawaiian pineapple cake treat yourself by pairing it with whipped cream or coconut frosting! These toppings enhance flavors making them even more delectable whilst adding visual appeal too! For gatherings consider serving alongside tropical fruits such as kiwi slices or mango chunks—they’ll complement each other nicely!
Storing Leftovers
If there happens to be leftover Hawaiian pineapple cake (though unlikely), store it properly so you can enjoy later too! Allowing slices cool completely first before wrapping tightly using plastic wrap prevents drying out while keeping them fresh longer inside fridge where they last up-to four days comfortably!
With these simple serving strategies coupled with proper storage techniques you’re guaranteed maximum enjoyment whether entertaining friends/family or indulging solo! Get ready now—it’s time dig into some tropical paradise right at home through this scrumptious creation today!
Mistakes to avoid
One common mistake when making Hawaiian pineapple cake is using canned pineapple that is not well-drained. If you use pineapple with excess juice, it can lead to a soggy cake. Make sure to thoroughly drain the pineapple before adding it to your batter. Another mistake is over-mixing the batter. This can lead to a dense and tough texture rather than the light and fluffy cake you desire. Mix just until the ingredients are combined.
Not measuring ingredients accurately is another error that can affect your cake’s outcome. For best results, use a kitchen scale or measuring cups and spoons for precise measurements. Additionally, many bakers forget to preheat their oven. If you place your cake in an unheated oven, it will not rise properly and could end up unevenly baked.
Using the wrong baking pan can also lead to issues. A pan that is too small may overflow, while one that is too large can cause your cake to dry out. Choose a 9×13-inch pan for the best results. Lastly, neglecting to prepare your baking pan can be detrimental; always grease and flour your pan or line it with parchment paper to prevent sticking.
Tips and tricks
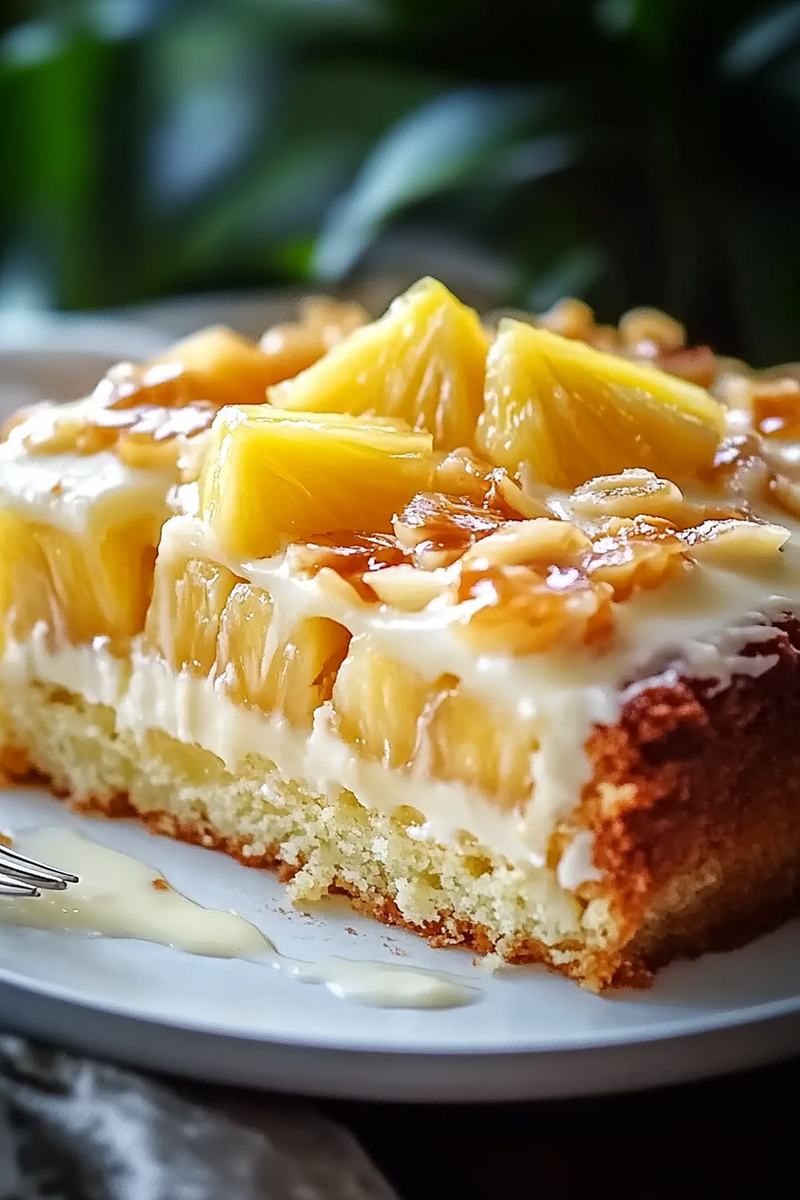
To achieve the best Hawaiian pineapple cake, consider using fresh pineapple instead of canned for a more vibrant flavor. Fresh fruit adds natural sweetness and moisture that enhances the overall taste of the cake. When preparing your batter, incorporate some crushed macadamia nuts for added crunch and a tropical flair.
It’s important to let your cake cool completely before frosting it. This allows the frosting to set better without melting or sliding off the warm layers. For an extra touch, consider using cream cheese frosting infused with coconut extract; it complements the flavors beautifully.
Experimenting with spices can elevate your Hawaiian pineapple cake as well. Adding cinnamon or nutmeg can bring warmth and depth to the flavor profile, making each bite even more delightful. Be cautious not to overdo it; a little goes a long way.
When serving, garnishing with toasted coconut flakes or fresh mint leaves can add both visual appeal and enhance flavor profiles. Pairing this delicious cake with a scoop of vanilla ice cream could turn this dessert into an unforgettable experience.
Suggestions for Hawaiian pineapple cake
To truly make your Hawaiian pineapple cake special, consider adding layers of flavor by incorporating shredded coconut into the batter or as a topping. This gives added texture and reinforces that tropical vibe you aim for in this dessert.
If you’re looking for an alternative approach, try making mini cakes or cupcakes instead of one large cake. This allows for easy serving at gatherings and ensures everyone receives a perfectly portioned treat while maintaining freshness throughout your event.
Pairing your Hawaiian pineapple cake with beverages such as tropical fruit juices or sweet tea enhances its overall experience. The refreshing drinks complement the flavors beautifully while providing variety for guests.
For those looking for dietary alternatives, gluten-free flour blends work well in this recipe without compromising taste or texture significantly. This way, you include guests who may have gluten sensitivities without sacrificing flavor.
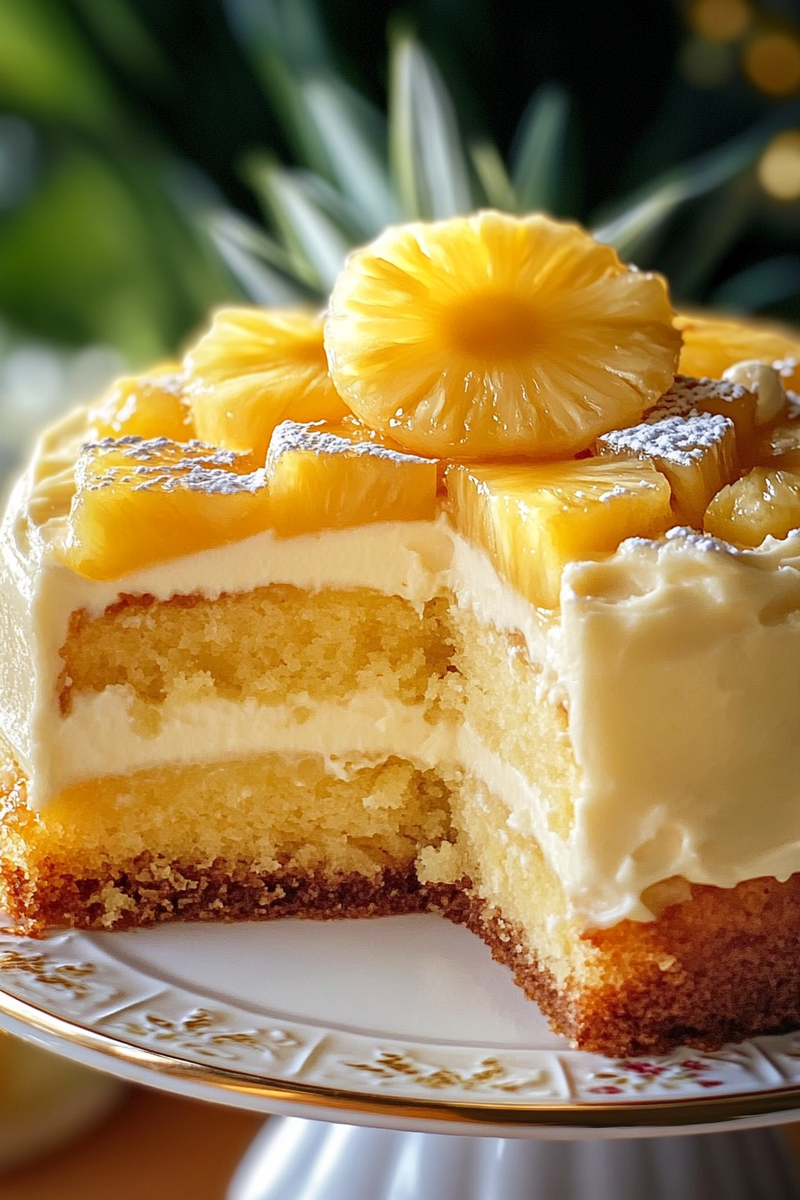
Lastly, consider layering your Hawaiian pineapple cake with whipped cream or additional frosting between layers for a richer experience. This adds moisture and elevates every bite into something truly special.
FAQs
What makes Hawaiian pineapple cake different from other cakes?
Hawaiian pineapple cake stands out due to its unique combination of tropical flavors such as sweet pineapple and coconut. Unlike traditional cakes that may focus on chocolate or vanilla flavors, this dessert offers a refreshing twist that’s perfect for summer gatherings or festive occasions. The addition of crushed nuts like macadamia further enhances its distinctiveness, providing both texture and taste that sets it apart from standard recipes.
Can I substitute canned pineapples with fresh ones?
Yes! Using fresh pineapples in place of canned ones is not only possible but often recommended for improved flavor quality in Hawaiian pineapple cake recipes. Fresh pineapples offer brighter flavors and are less likely to contain added sugars found in many canned varieties; however, ensure you properly prepare them by cutting them into small pieces similar in size to what you’d find in cans so they blend seamlessly into your batter without altering consistency significantly during baking.
How do I store leftover Hawaiian pineapple cake?
To preserve freshness after you’ve enjoyed delicious slices of Hawaiian pineapple cake, wrap individual portions tightly in plastic wrap or aluminum foil before placing them inside an airtight container at room temperature if consumed within two days; otherwise refrigerate them where they should last up to five days max! For long-term storage beyond five days freeze portions individually wrapped securely allowing you access whenever cravings arise later on!
Can I make Hawaiian pineapple cupcakes instead?
Absolutely! Transforming classic Hawaiian pineapple cakes into delightful cupcakes is not only possible but also practical—ideal for parties! Simply follow the same recipe instructions but pour batter into lined cupcake tins instead of one large pan while adjusting baking times accordingly (generally around 18-20 minutes). Allow cooling completely before adorning them with frosting!
What kind of frosting pairs best with this cake?
Cream cheese frosting perfectly complements Hawaiian pineapple cakes thanks to its creamy texture balancing sweetness against fruity flavors! You may also experiment by adding variations like coconut cream frosting which provides further tropical flair—whipped cream toppings work too if you’re looking for something lighter yet equally indulgent!
Is there a vegan option available?
Yes! To create a vegan version of Hawaiian pineapple cake swap eggs with flaxseed meal mixed water (1 tablespoon flaxseed meal + 3 tablespoons water = one egg) alongside substituting dairy milk options like almond milk keeping proportions consistent within original recipe parameters ensuring no loss in taste whatsoever during preparation process!
Conclusion
In conclusion, creating an exceptional Hawaiian pineapple cake involves avoiding common mistakes such as using improperly drained fruit or neglecting pre-baking preparations like greasing pans effectively beforehand—all key steps towards achieving success! Incorporating tips like utilizing fresh ingredients while paying attention to detail will elevate flavors beyond expectations making every slice memorable!
Remember experimenting with various elements—from garnishing options down through specific types of frostings! These enhancements invite creativity into each baking session ensuring personal touches shine through when shared amongst friends family alike during celebrations big small alike! So don’t hesitate—dive headfirst into crafting this delightful tropical treat ready share joyfully fulfilling every palate yearning adventure sweetness awaits!

