Introduction and Quick Summary
Red Velvet Brownies are a decadent twist on the classic brownie that combines rich chocolate flavors with the unique taste of red velvet. These brownies not only have an eye-catching deep red color but also a rich texture that melts in your mouth. They are perfect for special occasions or a delightful treat to enjoy any day of the week. What makes these brownies even more irresistible is the creamy cream cheese frosting that adds a luscious layer of flavor. Whether you are hosting a party or simply want to indulge yourself, these Red Velvet Brownies will surely satisfy your sweet cravings.
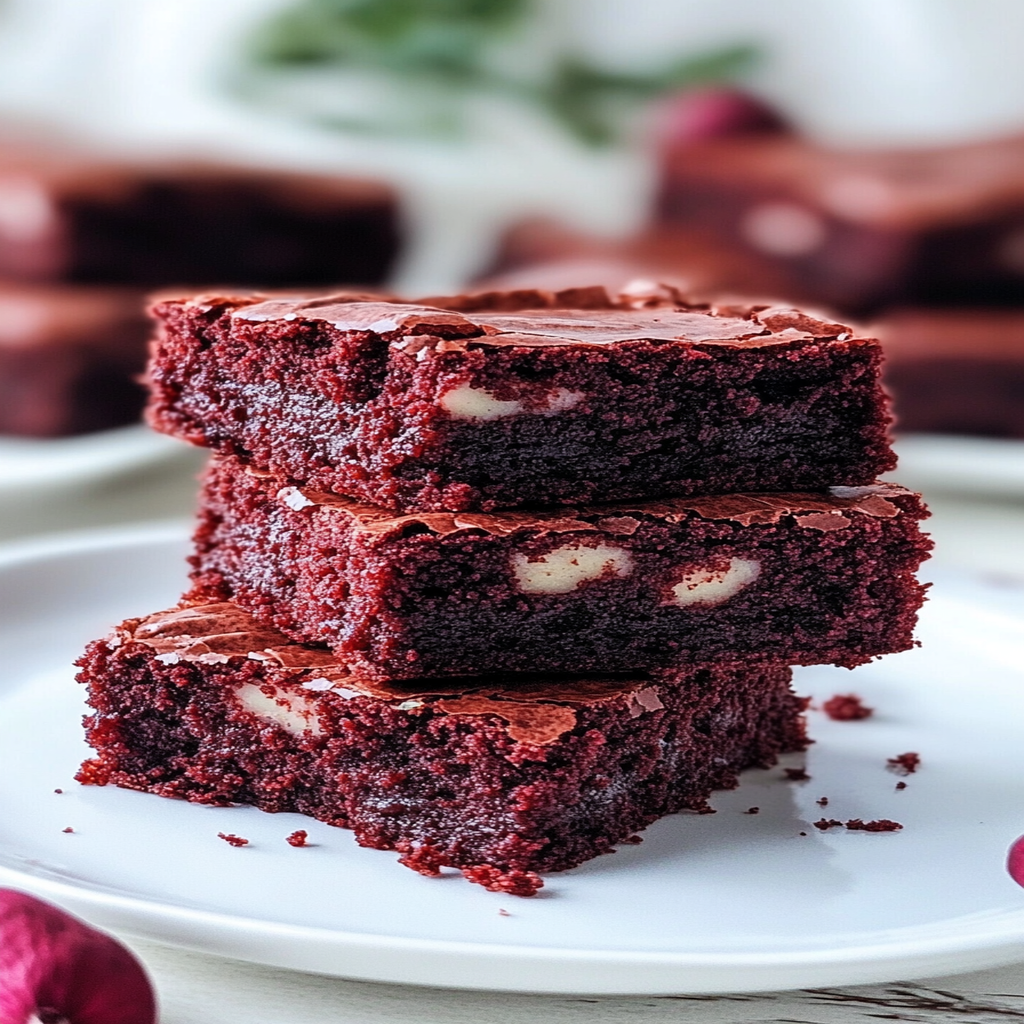
In this comprehensive guide, you will learn how to make these delightful treats from scratch. We will cover everything from the essential ingredients you will need to step-by-step preparation instructions. Plus, we’ll share tips on how to serve and store them so you can enjoy them at their best. So roll up your sleeves and get ready to create some of the most delicious Red Velvet Brownies you’ve ever tasted!
Main Ingredients
All-Purpose Flour
All-purpose flour is the foundation of your Red Velvet Brownies. You will need 1 cup for this recipe. This ingredient provides structure and stability while allowing the brownies to retain their moistness. It’s essential to measure your flour correctly; too much can lead to dry brownies while too little can result in a gooey texture.
Cocoa Powder
Use 1/3 cup of unsweetened cocoa powder for that rich chocolate flavor that complements the unique taste of red velvet. Cocoa powder not only adds depth but also aids in creating that beautiful dark hue against the red base of your brownies. Be sure to sift it before mixing it into your dry ingredients for a smooth batter.
Granulated Sugar
Granulated sugar is crucial for sweetness and texture in your brownies. You will require 1 cup of sugar for this recipe. It dissolves during baking, creating a fudgy consistency that balances perfectly with the cream cheese frosting. This ingredient contributes not only sweetness but also helps achieve that chewy texture we love in brownies.
Unsalted Butter
For richness and moisture, use 1/2 cup of unsalted butter at room temperature. Butter plays a key role in giving your brownies a tender crumb while enhancing their flavor profile. Be sure to cream it well with sugar until light and fluffy; this step is vital for achieving the right texture.
Eggs
You will need 2 large eggs to help bind all ingredients together and add moisture to your batter. Eggs provide structure while contributing richness and flavor, resulting in fudgy yet dense brownies that hold up well after baking.
Red Food Coloring
To achieve that signature red hue, you will need 1 tablespoon of liquid red food coloring. This ingredient is what makes your brownies visually stunning! Feel free to adjust the quantity based on how vibrant you want your final product to be.
Baking Powder and Salt
You need 1 teaspoon of baking powder and 1/4 teaspoon of salt for leavening and enhancing flavors in your brownies respectively. Baking powder helps create a slight rise in your batter while salt balances out all the sweet components ensuring full-bodied flavor throughout each bite.
Cream Cheese
For frosting, use 8 oz of softened cream cheese combined with powdered sugar for sweetness. The cream cheese frosting adds another layer of indulgence while complementing the chocolaty notes beautifully with its tangy flavor.
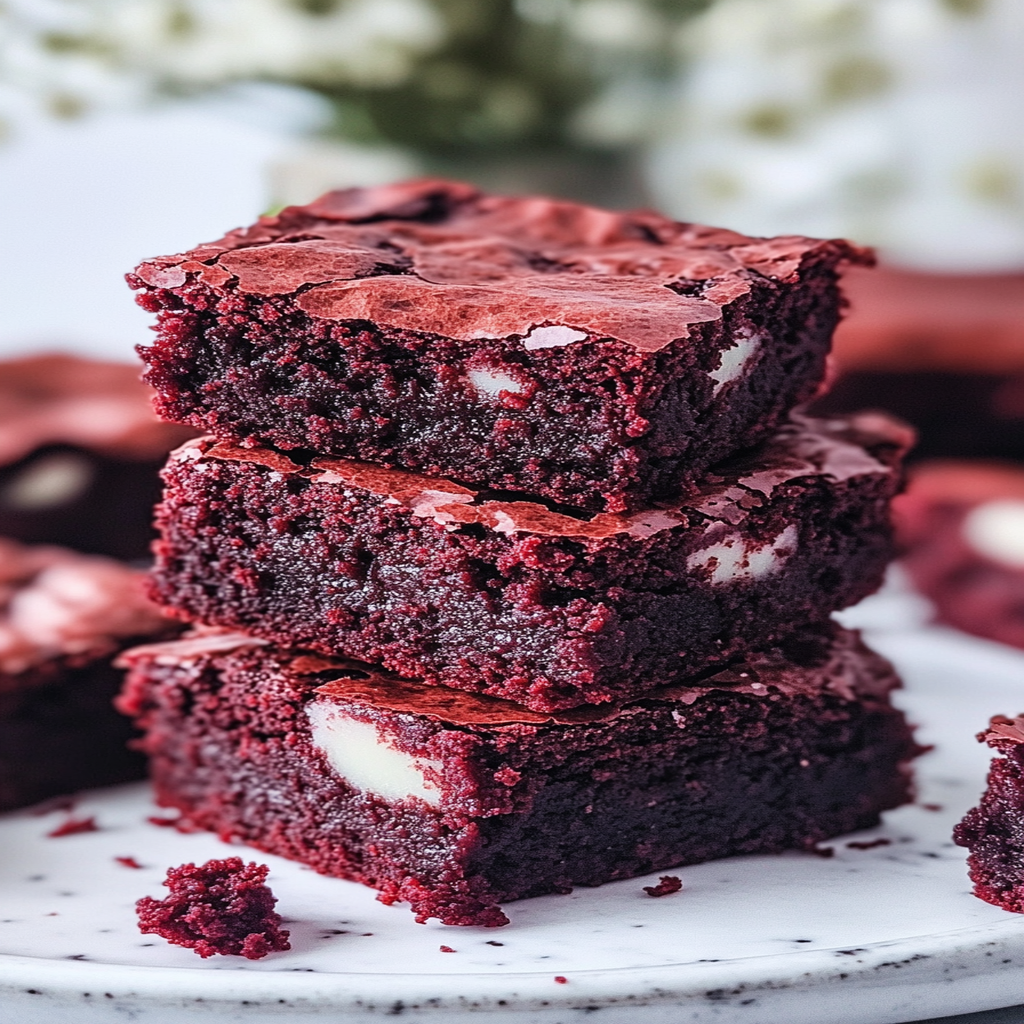
How to Prepare Red Velvet Brownies
Step 1: Preheat Your Oven
Start by preheating your oven to 350°F (175°C). Preheating ensures even cooking throughout your batch of Red Velvet Brownies. While the oven heats up, take some time to prepare your baking dish; line an 8×8 inch square pan with parchment paper or lightly grease it with butter or non-stick spray. This step prevents sticking and makes removing the brownies easier later on.
Step 2: Mix Dry Ingredients
In a medium mixing bowl, whisk together all-purpose flour, cocoa powder, baking powder, and salt until well combined—this allows for even distribution when added into wet ingredients later on! Set this bowl aside while you prepare another mixture for further steps.
Step 3: Cream Butter and Sugar
In a separate large bowl, add room temperature unsalted butter along with granulated sugar using an electric mixer or stand mixer fitted with paddle attachment at medium speed until lightened in color—around three minutes should suffice! Once fluffy enough add both eggs one at a time mixing thoroughly after each addition followed by adding liquid red food coloring until fully incorporated into mixture creating that vibrant hue.
Step 4: Combine Wet & Dry Mixtures
Gradually fold dry ingredients into wet mixture using a spatula or wooden spoon—be careful not to overmix as this could lead tough texture instead desired fudginess! Ensure there are no visible streaks left behind from flour; however don’t worry if few lumps remain—it’s perfectly fine!
Step 5: Bake Your Brownies
Pour brownie batter into prepared pan spreading evenly across surface using spatula—take care around edges where they tend cook faster than center! Place in preheated oven bake for approximately twenty-five minutes until toothpick inserted comes out clean yet slightly moist—avoid overbaking which leads dryness!
Step 6: Cool & Frost Your Brownies
Once baked remove from oven allow cooling completely inside pan placed atop wire rack before frosting! Meanwhile prepare cream cheese frosting by beating softened cream cheese alongside powdered sugar until smooth then spread evenly atop cooled brownie layer using offset spatula—finish off by dusting any remaining cocoa powder if desired!
Serving and Storing Tips
Serving Suggestions
When serving Red Velvet Brownies, cut them into squares or rectangles based on preference; serve them alone or pair them with scoop vanilla ice cream or dollop whipped cream atop frosted layer! For added flair consider garnishing garnishes like shaved chocolate curls sprinkles nuts—these elements bring visual appeal alongside delicious contrasts flavors make every bite memorable!
Storing Leftovers
Store leftover Red Velvet Brownies in airtight container placed within refrigerator where they can last around four days without losing moisture freshness! To enjoy chilled treat simply bring out allow sit at room temperature prior serving so flavors develop fully again before indulging—alternatively keep them frozen up two months sealed properly wrap foil plastic wrap prevent freezer burn allowing future enjoyment hassle-free whenever cravings strike!
By following this detailed guide on preparing mouthwatering Red Velvet Brownies you’ll surely impress family friends alike making every occasion extra special deliciously unforgettable suitable any time year round!
Mistakes to Avoid
One common mistake when baking Red Velvet Brownies is not measuring ingredients accurately. Baking is a science, and precise measurements are crucial for achieving the desired texture and flavor. Use a kitchen scale for dry ingredients and liquid measuring cups for wet ingredients. This small step can significantly impact your brownies’ outcome.
Another frequent error is overmixing the batter. While it’s essential to combine the ingredients well, overmixing can lead to tough brownies. Mix just until you see no dry flour; this will help maintain their fudgy texture. Remember, less is often more when it comes to mixing.
Failing to properly prepare your baking pan is another mistake that can ruin your Red Velvet Brownies. Always line your pan with parchment paper or grease it adequately to prevent sticking. If the brownies stick to the pan, they may break apart when you try to remove them, leading to frustration.
Lastly, don’t forget about oven temperature calibration. Many home ovens are off by several degrees. An oven thermometer can help ensure that your oven is at the correct temperature, which is vital for even baking.
Tips and Tricks
To create perfect Red Velvet Brownies, consider using high-quality cocoa powder. The flavor of cocoa plays a significant role in the overall taste of your brownies. Opt for unsweetened Dutch-processed cocoa for a richer chocolate flavor that complements the red color beautifully.
Don’t skip the buttermilk! It adds moisture and tenderness to your brownies while enhancing their flavor profile. If you don’t have buttermilk on hand, you can easily make a substitute by mixing milk with vinegar or lemon juice and letting it sit for about 10 minutes.
Incorporating chocolate chips into your batter can elevate the brownie experience. Semi-sweet or dark chocolate chips add an extra layer of richness and gooeyness that many people love. Fold them into the batter gently before pouring it into the prepared pan.
Finally, allow your brownies to cool completely before cutting them into squares. This step helps them set properly and makes slicing much easier without crumbling. Patience pays off here; warm brownies can fall apart easily.
Suggestions for Red Velvet Brownies
Experiment with different frostings or toppings to enhance your Red Velvet Brownies further. Cream cheese frosting is a classic pairing that complements their rich flavor beautifully, but feel free to get creative with toppings like whipped cream or even a drizzle of caramel sauce for added indulgence.
Consider adding nuts such as walnuts or pecans if you’re looking for an extra crunch in your brownies. Chopped nuts not only add texture but also contrast nicely with the fudgy base of the brownies.
For those who prefer a lower-fat option, you might substitute some of the butter with applesauce or Greek yogurt in your recipe. This swap retains moisture while reducing calories and fat content without sacrificing flavor.
Lastly, think about how you store your Red Velvet Brownies after baking them. Keeping them in an airtight container at room temperature will maintain their freshness for several days, making them perfect for sharing or enjoying throughout the week.
FAQs
What makes Red Velvet Brownies different from regular brownies?
Red Velvet Brownies stand out due to their unique combination of cocoa powder and red food coloring, which gives them a distinct appearance and flavor profile compared to traditional chocolate brownies. The addition of buttermilk adds moisture and helps achieve a tender texture that enhances their rich taste.
Can I use cake mix instead of scratch ingredients?
Yes, using cake mix can be a convenient alternative when making Red Velvet Brownies. Simply add eggs, oil, and any additional ingredients as directed on the cake mix box while adjusting other components like cocoa powder accordingly for desired taste and consistency.
How should I store leftover Red Velvet Brownies?
To keep leftover Red Velvet Brownies fresh, store them in an airtight container at room temperature for up to five days or refrigerate them if you want them to last longer. For extended storage, consider freezing individual pieces wrapped tightly in plastic wrap followed by foil.
Can I make these brownies gluten-free?
Absolutely! You can substitute all-purpose flour with gluten-free flour blends specifically designed for baking in this recipe without losing flavor or texture significantly; ensure they include xanthan gum if required by specific brands!
What are some variations I can try?
Variations include adding white chocolate chips instead of semi-sweet ones or incorporating swirls of cream cheese batter on top before baking! You could also experiment with flavored extracts like almond extract instead of vanilla extract for added depth!
How do I know when my brownies are done?
To check if your Red Velvet Brownies are done baking, insert a toothpick into the center; it should come out mostly clean with just a few moist crumbs attached—this ensures they remain fudgy rather than overly baked or dry!
Conclusion
Baking delicious Red Velvet Brownies requires careful attention to detail and an understanding of common pitfalls in preparation techniques. By focusing on accurate measurements and avoiding overmixing, you pave the way for achieving that perfect fudgy texture everyone loves.
Utilizing high-quality ingredients such as cocoa powder along with essential elements like buttermilk adds depth to both flavor profiles while ensuring moisture retention during baking processes! Additionally, considering creative topping options allows personalization tailored according individual preferences!
Following these suggestions will help elevate not only taste but presentation too! Lastly remain mindful regarding proper storage methods so that every bite stays fresh long after being made! With these tips at hand—enjoy creating mouthwatering treats everyone will rave about!

