Introduction and Quick Summary
Holiday baking made easy: red velvet wreath is the perfect centerpiece for your festive gatherings. This stunning dessert not only captures the essence of the season but also delights the taste buds of everyone around you. Imagine a soft and moist red velvet cake shaped into a beautiful wreath, adorned with creamy frosting and seasonal decorations. Not only does it look captivating on your table, but it also fills your home with a warm and inviting aroma.

Baking during the holidays can often feel overwhelming, but this recipe simplifies the process without compromising on flavor or presentation. With straightforward steps and readily available ingredients, you’ll find that creating this delicious treat is more accessible than ever. Whether you’re hosting a family gathering or attending a holiday party, bringing along this eye-catching dessert will surely make you the star of any event.
In just a few easy-to-follow steps, you’ll have a delightful red velvet wreath that will impress your guests and create lasting memories. So roll up your sleeves and prepare to embark on an enjoyable baking adventure that will leave everyone asking for seconds!
Main Ingredients
Flour
The foundation of our red velvet wreath is all-purpose flour. You will need 2 ½ cups to achieve the right texture. All-purpose flour provides structure while ensuring tenderness in each bite. To enhance its quality, consider sifting it before mixing; this aerates the flour and can prevent clumping.
Cocoa Powder
For that signature hint of chocolate flavor in your red velvet cake, use ¼ cup of unsweetened cocoa powder. It adds depth to the taste while complementing the primary flavors without overpowering them. Make sure to choose high-quality cocoa powder for richer results.
Sugar
Sweetening our wreath is essential; use 1 ½ cups of granulated sugar. It not only sweetens but also contributes to moisture retention during baking. When creamed with butter or oil, sugar helps create a light texture in the final product.
Butter
You will need ½ cup (or one stick) of unsalted butter at room temperature for this recipe. Butter adds richness and flavor while helping achieve a tender crumb in your cake. Ensure it’s softened enough to cream smoothly with sugar.
Eggs
To bind our ingredients together effectively, include two large eggs at room temperature. Eggs provide structure and moisture while aiding in leavening as they expand during baking. They also contribute to the overall richness of our dessert.
Buttermilk
Using 1 cup of buttermilk is key for achieving that signature tartness associated with red velvet cakes. The acidity of buttermilk activates baking soda, resulting in a lighter texture as well as adding flavor complexity.
Baking Soda
You will require 1 teaspoon of baking soda to act as our leavening agent. This ingredient helps our cake rise beautifully while contributing to its tender texture by creating air pockets throughout.
Vinegar
Adding 1 teaspoon of white vinegar enhances the reaction between buttermilk and baking soda. It not only aids in leavening but also balances out sweetness by introducing slight acidity.
Food Coloring
To achieve that vibrant red hue characteristic of red velvet cake, you’ll need about 2 tablespoons of liquid food coloring. Feel free to adjust according to how intense you want the color to be; however, avoid using too much as it may affect texture.
Cream Cheese Frosting
Lastly, no red velvet wreath would be complete without cream cheese frosting! Prepare about 2 cups by combining cream cheese with powdered sugar and vanilla extract until smooth and fluffy. This luscious frosting complements our cake wonderfully!
How to Prepare Holiday Baking Made Easy: Red Velvet Wreath
Preparing The Batter
Begin by preheating your oven to 350°F (175°C). Grease and flour two round cake pans or line them with parchment paper for easy removal later on. In a large mixing bowl, cream together the softened butter and granulated sugar until light and fluffy—this should take about 3-4 minutes using an electric mixer on medium speed.
Next, add eggs one at a time into your mixture while continuing to beat until well combined after each addition. Once incorporated fully into batter consistency should appear smooth without lumps present—this step is crucial for achieving an even texture throughout your cake layers!
Now gently mix in food coloring until desired shade is reached before pouring then alternating between dry ingredients (flour & cocoa powder) mixed previously along with wet ones which include buttermilk & vinegar into bowl gradually—do not overmix here!
Use spatula carefully folding everything together until just combined; small streaks may remain visible—this prevents gluten development leading tough results once baked! Divide evenly among prepared pans ensuring both cakes are levelled off once settled evenly atop countertops before placing inside oven!
Bake cakes for approximately 25-30 minutes checking doneness by inserting toothpick into center; if it comes out clean without crumbs attached then remove from heat immediately letting cool completely before further assembly takes place afterwards!
Assembling The Wreath
Once cooled down adequately focus on assembling components together now! Start by leveling off tops if needed using serrated knife so they sit flat against one another when stacked vertically—this ensures stability throughout entire dessert structure later on when displayed elegantly upon serving plate chosen wisely beforehand too!
Spread generous layer cream cheese frosting onto top surface first followed quickly stacking second layer atop gently pressing down slightly whilst ensuring alignment stays intact without shifting around too much during process itself either!
After layering has been completed proceed applying remaining frosting generously over entire exterior making sure edges are covered thoroughly too; use offset spatula smoothing out rough patches where necessary until achieves polished appearance worthy showcasing proudly next guests invited soon thereafter!
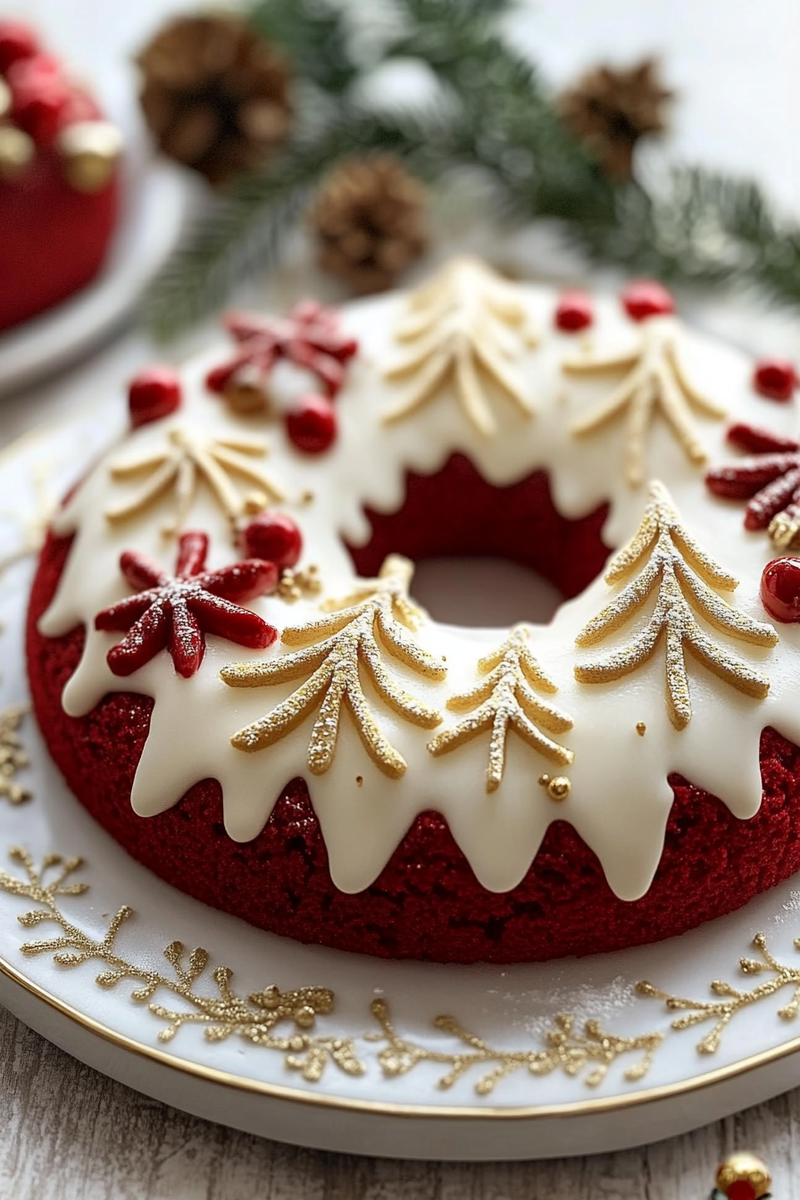
To create distinctive “wreath” shape take kitchen scissors cutting through bottom portion around perimeter leaving gaps resembling leaves/branches mimicking nature’s artistry found outdoors everywhere during wintertime festivities alike! Consider decorating further adding edible glitter sprinkles or small candies representing berries adding playful touch enhancing aesthetic appeal notably seen atop treat itself as well!
Decorating The Wreath
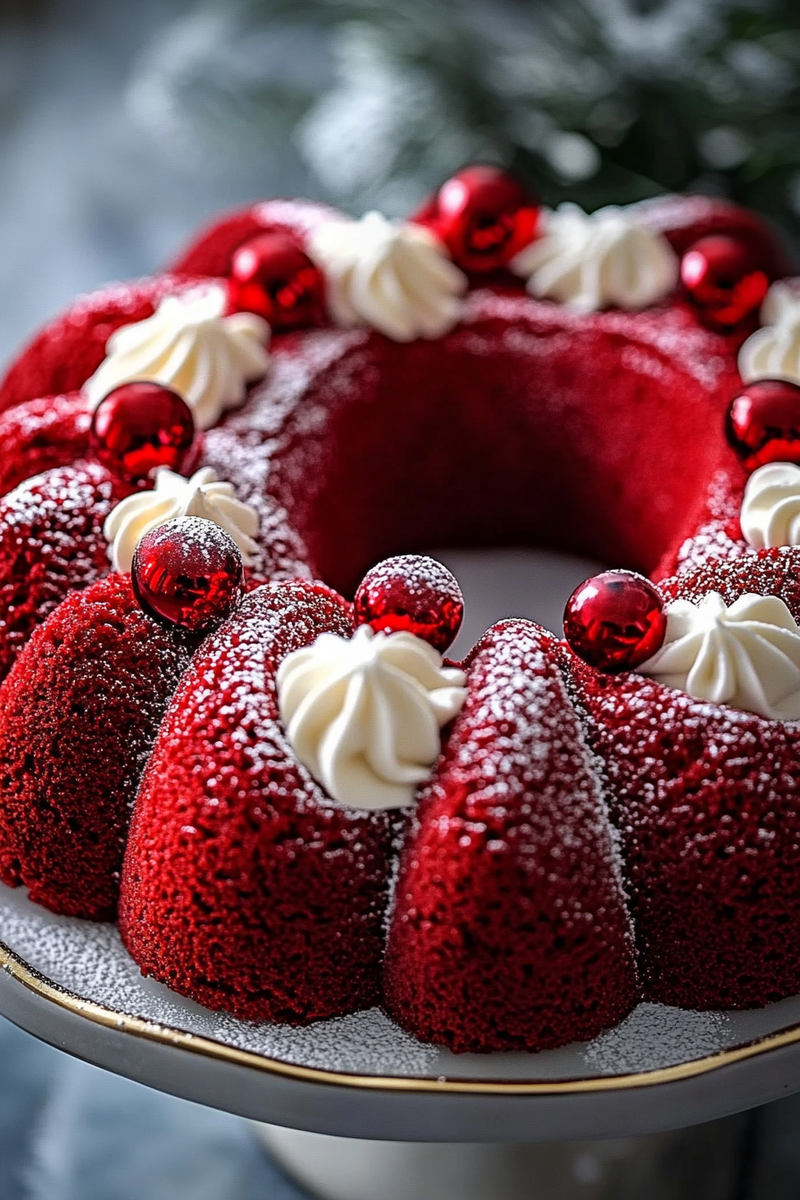
Now comes one of most exciting parts decorating beautifully crafted creation already completed successfully beforehand! Using piping bag fitted star tip fill with leftover cream cheese frosting carefully pipe rows alternating sizes smaller ones around outer edge followed larger versions cascading inward toward center creating layered look reminiscent traditional holiday garlands often seen adorning homes everywhere during festive seasons approaching rapidly ahead soon enough now too!
Don’t hesitate experimenting here either choosing colors based upon theme preferences established earlier since many options available such as reds/greens/golds providing endless possibilities maximizing creativity shown outwardly throughout preparations taken originally starting point initially chosen previously today instead!!
Consider topping off arrangement fresh mint leaves simulating holly accentuating contrasting hues nicely alongside utilizing chocolate shavings sprinkled liberally across top surface providing visual appeal enhancing overall presentation remarkably impressive indeed showcasing talents displayed through hard work involved making this masterpiece come alive vividly enjoyed thoroughly anyone lucky enough partake afterward guaranteed pleasure awaits everyone served happily following moments spent crafting lovingly together here today!!
Serving and Storing Tips
Serving Suggestions
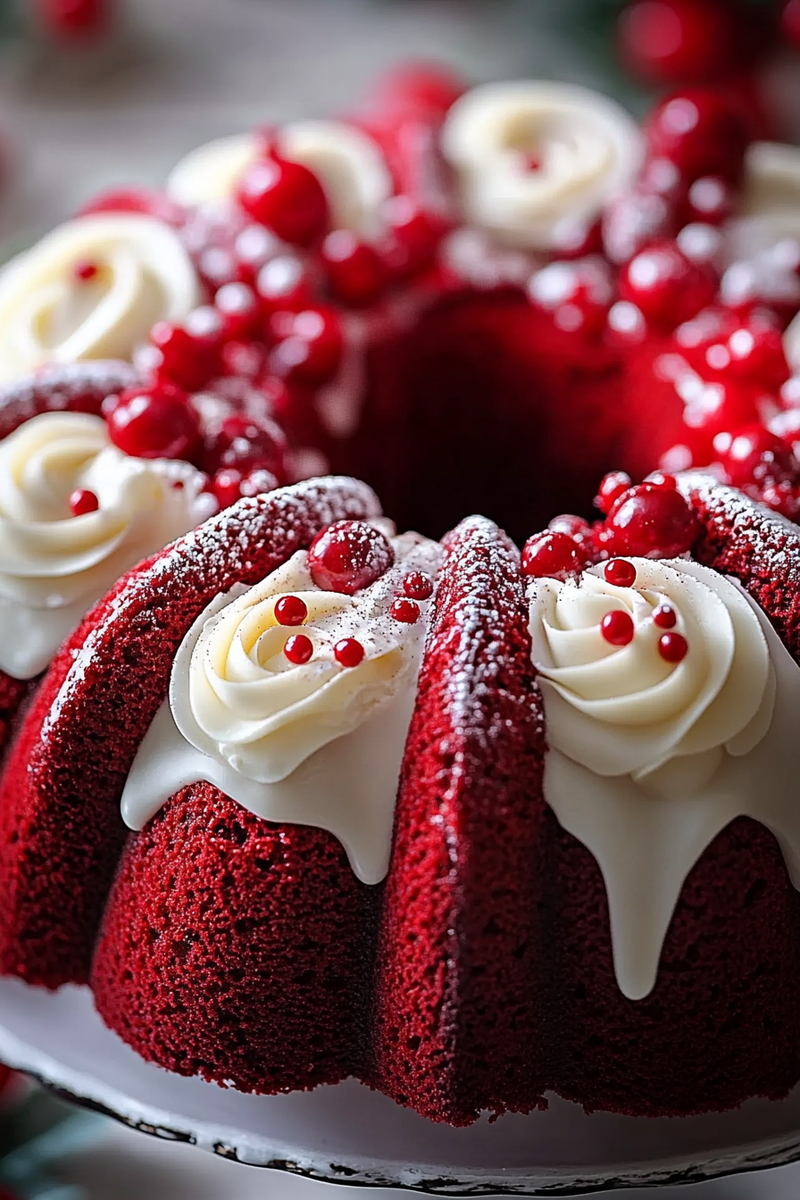
When serving this magnificent Red Velvet Wreath, expect rave reviews from delighted guests. Gather everyone around the table to share this treat, creating cherished memories and lasting impressions.
For an indulgent pairing, serve slices with a scoop of vanilla ice cream and drizzle with chocolate sauce. This combination enhances the richness and balances the flavors, making each bite truly unforgettable. Share laughter, stories, and fond memories while enjoying this delightful dessert.
Storage Tips
Proper storage is key to maintaining the freshness and flavor of your Red Velvet Wreath. Here are some tips:
- Refrigeration: Store in an airtight container to keep it moist and delicious.
- Freezing: Wrap individual slices tightly to enjoy later. Thaw them in the fridge before serving.
- Longevity: Keep it fresh and ready to enjoy for up to five days in the refrigerator.
By following these steps, you can revisit the delightful flavors of this dessert long after it’s first served.
Mistakes to Avoid
1. Skipping Recipe Review
Before you begin, read the recipe thoroughly. Skipping this step can lead to missed instructions or incorrect measurements.
2. Ignoring Ingredient Temperatures
For a smooth batter, use room-temperature butter and eggs. Cold ingredients can result in lumps or uneven mixing.
3. Overmixing the Batter
Mix only until combined. Overmixing develops gluten, leading to a tough texture instead of a soft and fluffy cake.
4. Rushing the Cooling Process
Allow the cake to cool completely before decorating. Impatience can lead to a crumbly texture and poor presentation.
Final Tips for Success
With attention to detail and patience, your Red Velvet Wreath will be the centerpiece of your celebration. Follow these steps to create a dessert that delights everyone and becomes a treasured holiday tradition.
Tips and Tricks
When aiming for successful holiday baking, preparation is key. Before starting on your Red Velvet Wreath, gather all your ingredients and tools in one place. This includes measuring cups, mixing bowls, and any decorative items you plan to use. Having everything at hand not only streamlines the baking process but also minimizes distractions that could lead to mistakes.
Next, invest time in measuring accurately. Baking is a science; precise measurements ensure consistent results. Use a kitchen scale if possible for dry ingredients like flour and sugar, as it often yields better accuracy than volume-based measurements alone.
Consider following a mise en place approach by prepping all your components before diving into the actual baking process. This means chopping any additional toppings or preparing frosting ahead of time so you’re not scrambling mid-recipe. This organized method leads to a smoother workflow and enhances your overall baking experience.
Don’t overlook the importance of preheating your oven properly before placing your Red Velvet Wreath inside. An adequately heated oven sets the stage for even baking and helps achieve that perfect rise. Always check with an oven thermometer if you’re unsure of your oven’s accuracy—this small investment can make a significant difference.
Finally, embrace creativity when it comes to decorating! Use traditional cream cheese frosting or explore alternatives like whipped cream or ganache for a unique twist on presentation. Trust your instincts and have fun with it—the holiday spirit encourages experimentation!
Suggestions for Holiday Baking Made Easy: Red Velvet Wreath
Start with high-quality ingredients when making your Red Velvet Wreath; they can significantly impact flavor and texture. Opt for pure cocoa powder instead of processed varieties for richer flavor and vibrant color. Additionally, fresh baking soda ensures that your wreath rises beautifully—a stale leavening agent leads to disappointing results.
One suggestion is to incorporate buttermilk into your recipe if you haven’t already; this adds moisture and a slight tanginess that complements red velvet perfectly. If buttermilk isn’t available, you can create a substitute by mixing milk with vinegar or lemon juice; let it sit for about five minutes before using.
Another helpful tip is adjusting baking time according to how thick or thin you’ve shaped your wreath before putting it into the oven. A thicker wreath may require additional cooking time compared to thinner ones; monitor closely towards the end of recommended baking times with toothpick tests for doneness.
For storing leftovers after festivities wind down, wrap individual slices in plastic wrap followed by aluminum foil or place them in airtight containers; this helps retain moisture while keeping away freezer burn if stored long-term.
Lastly, don’t hesitate to get others involved! Making holiday treats like this wreath can become more enjoyable when family members participate in decorating together—creating memories as sweet as the dessert itself!
FAQs
What makes red velvet different from chocolate cake?
Red velvet cake stands out due to its unique combination of flavors and colors—it incorporates cocoa powder but also boasts vinegar and buttermilk resulting in that signature tanginess distinct from traditional chocolate cake recipes which primarily focus on sweetness without those additional acidic elements.
Can I use food coloring alternatives in my red velvet wreath?
Yes! While traditional recipes call for red food coloring, consider using beetroot powder as an organic alternative; this option provides natural color without synthetic additives while maintaining similar flavor profiles essential during holiday baking made easy: red velvet wreath creation.
How do I store leftover red velvet wreath?
To preserve freshness after enjoying your delightful creation, wrap individual slices tightly in plastic wrap followed by aluminum foil; alternatively store them within an airtight container at room temperature if consumed within two days or refrigerate longer-lasting portions effectively up until one week later!
Can I make this recipe gluten-free?
Certainly! Substitute standard all-purpose flour with gluten-free blends specifically designed for baking; ensure they contain xanthan gum which mimics gluten properties ensuring a delightful airy texture remains intact throughout each bite of red velvet wreaths prepared easily during festive occasions!
Is there an egg-free version of this recipe?
Yes! Egg substitutes such as flaxseed meal mixed with water or unsweetened applesauce work well—these alternatives maintain moisture levels while holding structure similar enough maintaining deliciousness perfect even without eggs included during holiday baking made easy: red velvet wreath preparations!
How long does it take to bake my red velvet wreath?
Typically around 25-30 minutes at 350°F (175°C) should suffice depending upon thickness achieved during shaping process prior placing inside preheated ovens—always perform toothpick test ensuring center emerges clean verifying complete doneness ensuring optimal results after patiently awaiting deliciousness being served!
Conclusion
In conclusion, mastering holiday baking made easy: red velvet wreath requires attention to detail while avoiding common pitfalls like misreading recipes or neglecting ingredient temperatures. Preparation plays an essential role—gathering all necessary items beforehand maximizes efficiency during whipping up this tasty treat.
Remember aiming high-quality ingredients enhances flavors dramatically while embracing creativity allows unique personal touches transforming classic desserts into unforgettable experiences shared amongst loved ones throughout festive seasons ahead! Also keep storage tips handy ensuring nothing goes wasted post-celebrations ensuring enjoyment lingers far beyond initial tastings enjoyed together.
As you embark on creating this stunning centerpiece dessert masterpiece ensure patience reigns supreme allowing cooling times before diving into decoration processes enhancing visual appeal delightfully showcasing efforts put forth within joyful moments spent crafting memories alongside delicious delicacies created together during holidays!


