Introduction and Quick Summary
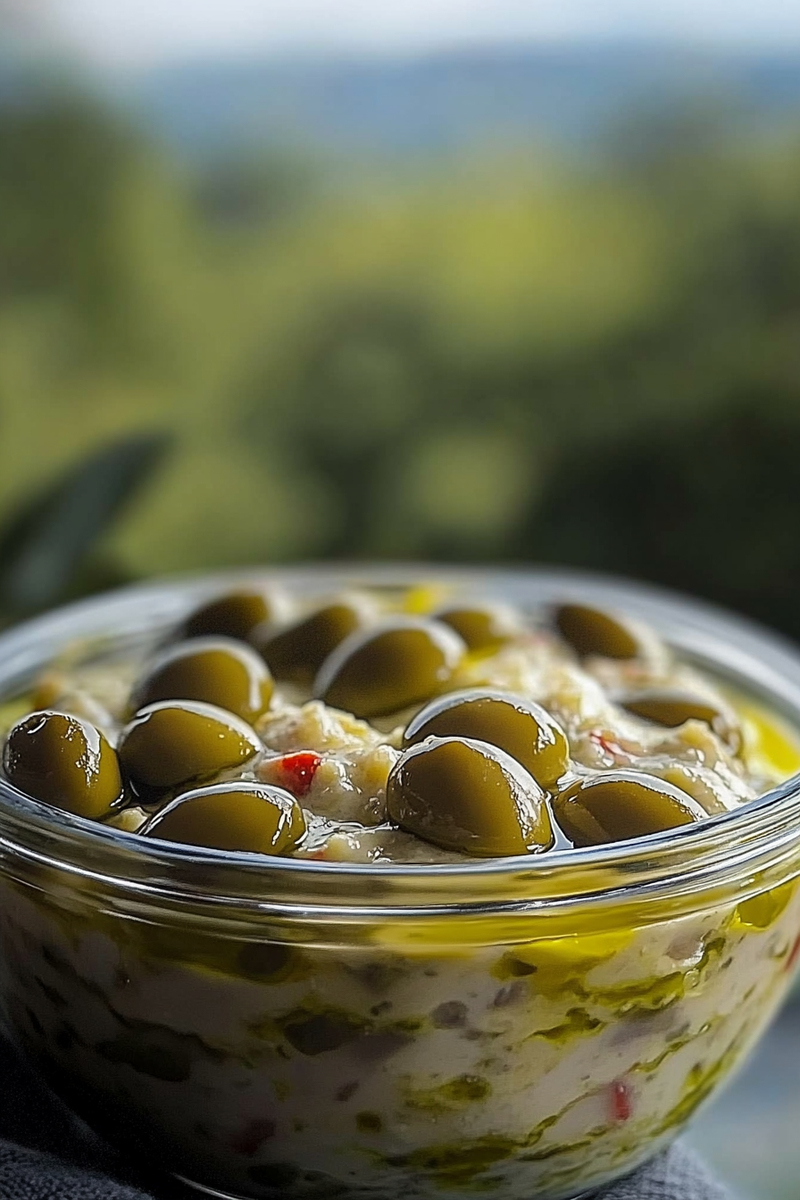
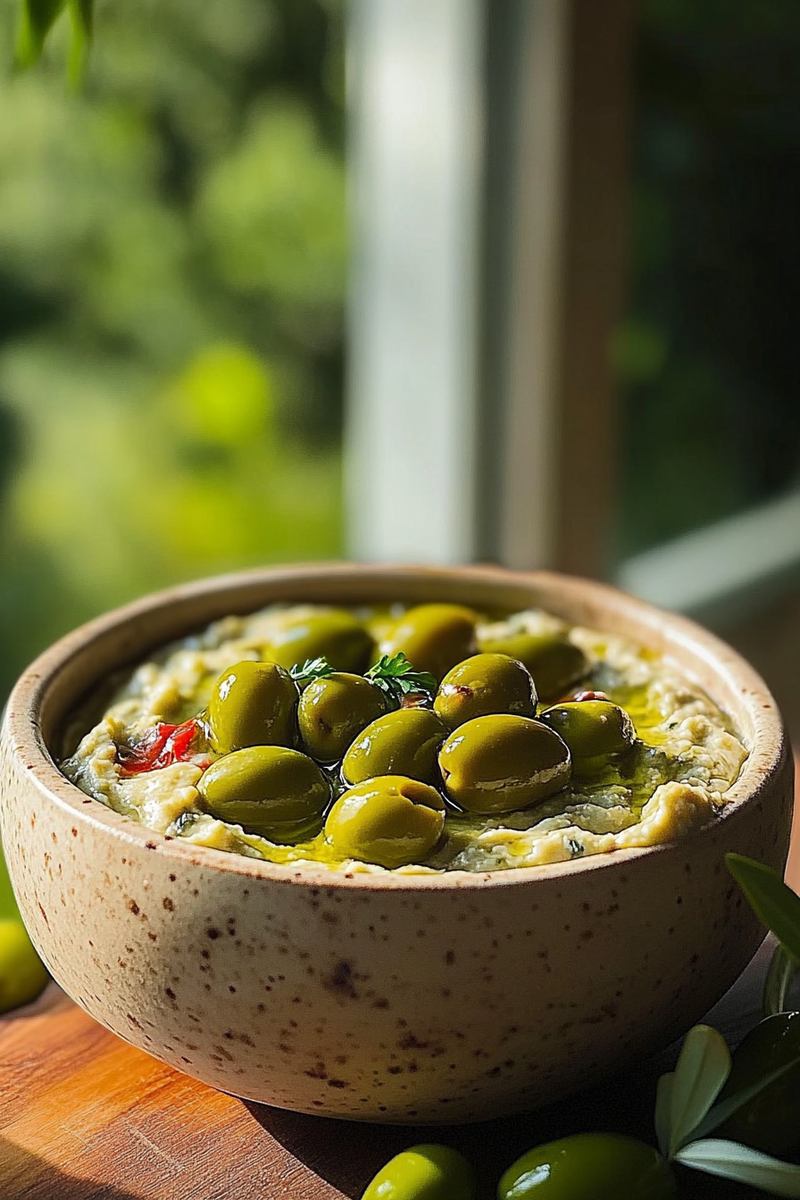
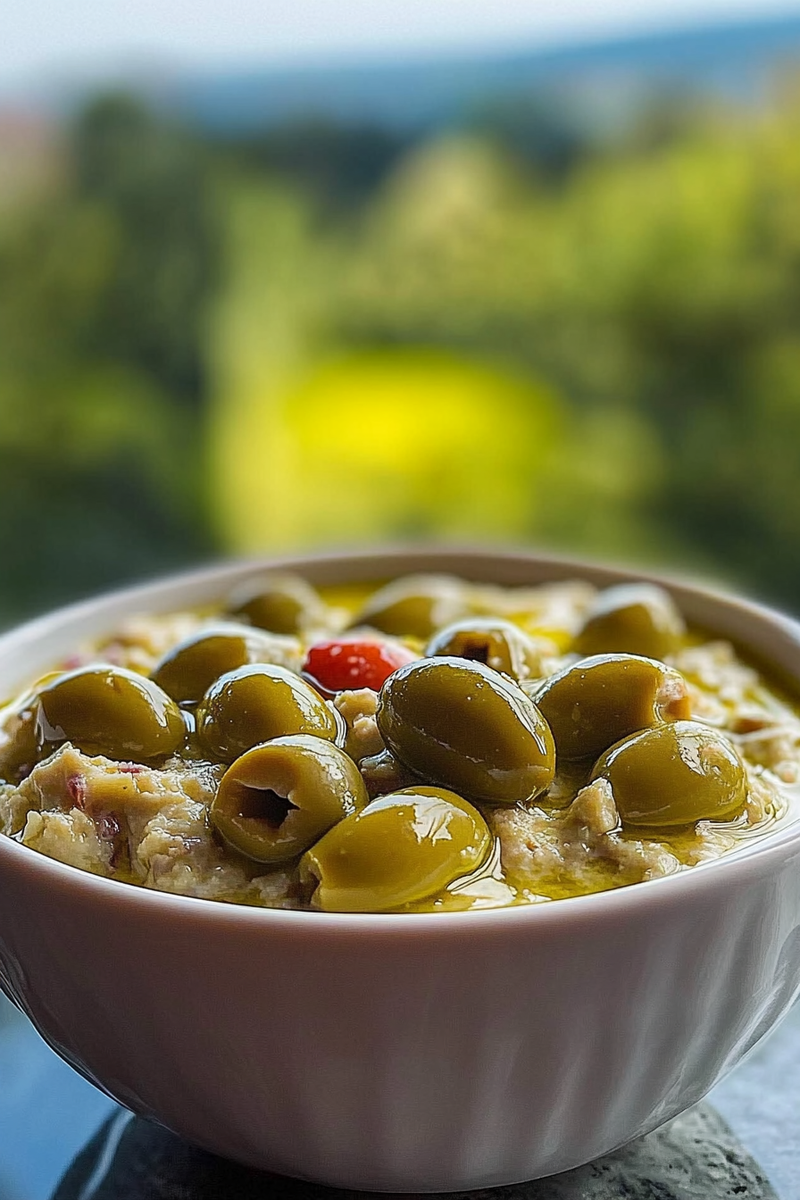
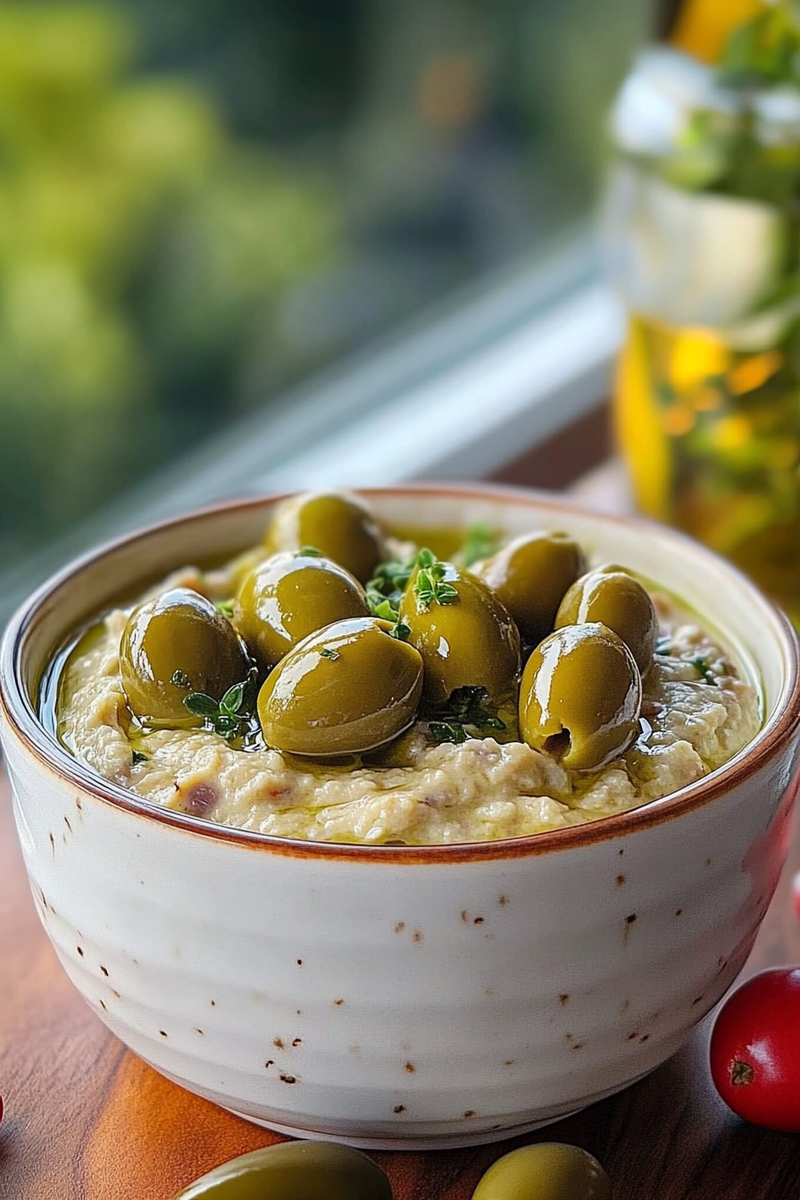
If you are looking for a flavorful addition to your next gathering, look no further than this delightful green olive dip. Bursting with savory flavors and a touch of zest, this recipe is not only simple but also incredibly satisfying. Perfect for spreading on crusty bread or pairing with crunchy vegetables, the green olive dip is a crowd pleaser that will have your guests coming back for more. In just a few easy steps, you can whip up this delicious dip that embodies the essence of Mediterranean cuisine.

What makes this green olive dip truly special is its versatility. Whether you’re hosting a lavish dinner party or simply enjoying a quiet evening at home, this dip fits perfectly into any setting. The combination of tangy olives and creamy textures creates an irresistible flavor profile that complements various dishes. Pair it with cheese platters or serve it alongside grilled meats for an unforgettable dining experience.
In addition to being tasty, this green olive dip is quick to prepare. With minimal cooking involved and a short list of ingredients, you can have it ready in no time. Dive into the world of Mediterranean flavors and treat yourself and your loved ones to this delectable dish that’s sure to impress!
Main Ingredients
Green Olives
Green olives are the star of our dip. They bring a briny flavor that forms the base of the dish. For this recipe, you’ll need about 1 cup of pitted green olives. When selecting olives, opt for high-quality varieties like Castelvetrano or Kalamata for their rich taste. If you prefer a milder flavor, choose mild green olives like Manzanilla.
Cream Cheese
Cream cheese adds a creamy texture and balances the saltiness of the olives. You will need about 4 ounces of softened cream cheese. Allowing it to soften at room temperature makes blending easier and ensures a smooth finish in your dip.
Fresh Garlic
Garlic enhances the overall flavor profile of the green olive dip with its robust aroma and taste. Use 1 clove of fresh garlic for just enough kick without overpowering the other ingredients. Finely chop or crush it before adding it to ensure even distribution.
Lemon Juice
A splash of lemon juice brightens up the flavors in this dip while adding a refreshing acidity. Use about 2 tablespoons of freshly squeezed lemon juice. This not only enhances taste but also helps preserve freshness in your dip.
Olive Oil
Olive oil gives richness and promotes a silky texture in our green olive dip. You’ll need approximately 2 tablespoons of extra virgin olive oil for best results. This ingredient brings out the natural flavors in olives while providing healthy fats.
Fresh Herbs (Optional)
Fresh herbs like parsley or basil can elevate your green olive dip even further by adding color and complexity. If desired, use about 2 tablespoons of finely chopped fresh herbs to infuse additional layers of flavor into your dish.

How to Prepare Green Olive Dip
Step 1: Prepare Your Ingredients
Start by gathering all your ingredients on a clean workspace. Rinse your green olives under cold water if necessary, especially if they are from a jar packed in brine. Pat them dry with a paper towel before proceeding. This step helps remove excess saltiness from the olives and ensures that your dip has the right balance of flavors.
Next, chop your garlic finely so that it blends well into the mixture later on. If using herbs like parsley or basil, wash them thoroughly and chop them finely as well. Having everything prepped before starting makes the blending process seamless and efficient.
Step 2: Blend Your Ingredients
In a food processor or blender, combine all prepared ingredients—green olives, cream cheese, garlic, lemon juice, and olive oil—into one bowl. Start pulsing slowly until everything begins to break down into smaller pieces; then increase speed until the mixture reaches your desired consistency.
For chunkier textures, blend only briefly; for smoother dips, continue processing until fully blended. Scrape down the sides periodically with a spatula to ensure all ingredients incorporate evenly throughout.
Taste-test along the way! Adjust seasoning by adding more lemon juice if needed; remember that every batch may differ based on ingredient quality and personal preferences regarding saltiness.
Step 3: Chill Before Serving
Once you achieve the perfect blend in texture and flavor profile through tasting adjustments if necessary pour everything into an airtight container or bowl covered tightly with plastic wrap before placing it inside your refrigerator.
Allowing it to chill helps meld those wonderful flavors together even further while firming up slightly over time—a crucial step often overlooked! Letting it rest allows guests who sample will enjoy nuances they might miss otherwise when served immediately after blending!

Serving and Storing Tips
Serving Suggestions
When ready to serve your delicious green olive dip, consider offering an array of dippers alongside! Sliced baguette toasted lightly until golden brown provides great crunch while complementing those creamy notes found within each bite! Fresh vegetable sticks such as carrots cucumbers bell peppers add color vibrancy making trays visually appealing!
Also consider garnishing options such as drizzling additional extra virgin olive oil on top before serving—this elevates presentation while enhancing richness overall! Serve chilled atop crackers too; anything goes really when pairing!
Remember always provide ample napkins nearby since dips tend naturally lead towards messy fingers—no one minds though because everyone loves indulging!
Storage Guidelines
Your homemade green olive dip can be stored easily in an airtight container within refrigeration where it will stay fresh up three days max without losing quality too much! It’s best enjoyed within first day after preparation because flavors develop beautifully during chilling; however don’t fret if leftovers remain!
If finding yourself needing longer storage times consider freezing instead—just portion out servings into smaller containers leaving some space at top allow expansion during freezing process keeping safe from freezer burn damage!
To defrost simply move desired portion from freezer overnight thawing naturally inside fridge avoiding microwave which alters textures negatively sometimes especially creamy dips like ours here! Enjoy long-lasting satisfaction anytime cravings hit again later down road without hassle preparing anew each time!
Mistakes to avoid
When creating a delicious Green Olive Dip, it’s essential to steer clear of common pitfalls that can affect flavor and texture. One significant mistake is using low-quality olives. The type and quality of olives you choose will greatly influence the final taste. Opt for fresh, high-quality green olives packed in brine rather than canned varieties, which may lack flavor and freshness.
Another mistake is not balancing the ingredients properly. While olive oil adds richness, too much can make your dip overly greasy. A good rule of thumb is to start with a smaller quantity and adjust gradually until you find the right balance. Also, don’t skip the acidity! Ingredients like lemon juice or vinegar brighten up the dip and enhance its flavors.
A third common error is neglecting to season adequately. Many people underestimate the importance of salt and pepper in elevating a dish. When preparing your dip, taste as you go and adjust seasoning accordingly. Fresh herbs also add complexity; however, ensure they are finely chopped for even distribution.
Lastly, over-blending can lead to an undesirable texture. Aim for a smooth yet slightly chunky consistency that provides character. If you’re using a food processor, pulse instead of blend continuously to maintain some texture.
By avoiding these mistakes, you’ll create a flavorful Green Olive Dip that everyone will enjoy.

Tips and tricks
Creating the perfect Green Olive Dip requires attention to detail. One effective tip is to experiment with additional flavors. Consider incorporating garlic or shallots for depth or even a hint of cumin for an unexpected twist. Start with small amounts and taste along the way to achieve your desired flavor profile.
Another trick is to allow your dip to chill before serving. This resting period lets the flavors meld together beautifully, enhancing overall taste. Cool it in the refrigerator for at least 30 minutes before serving for optimal results.
Utilizing fresh herbs can also elevate your dip significantly. Try incorporating fresh parsley or dill for added freshness and visual appeal. Chop them finely so they integrate well into the mix without overpowering other flavors.
For those looking to serve their dip differently, consider pairing it with various accompaniments such as pita chips, fresh vegetables, or crusty bread. These options provide delightful contrasts in texture and flavor that complement your Green Olive Dip perfectly.
Lastly, don’t hesitate to get creative with garnishes! A sprinkle of feta cheese or a drizzle of extra virgin olive oil on top before serving can add both visual appeal and extra flavor dimension.
Suggestions for Green Olive Dip
When you’re ready to make your Green Olive Dip shine even more, consider these suggestions. First, try blending different types of olives together; combining green olives with kalamata olives can offer a unique flavor experience that balances bitterness with richness.
Additionally, think about adding nuts like walnuts or almonds into your dip for an interesting crunch and nutty flavor profile. Toasted nuts enhance this effect further by adding warmth and aroma.
If you’re looking to cater to dietary preferences, consider making variations of your Green Olive Dip by substituting traditional dairy ingredients with vegan alternatives like cashew cream or nutritional yeast for creaminess without dairy.
Another suggestion is experimenting with spices such as smoked paprika or chili flakes for added heat and depth. These spices introduce an exciting kick that complements the briny nature of olives beautifully.
Finally, always have fun with presentation! Serve your dip in a beautiful bowl garnished with herbs or citrus slices on a platter alongside colorful dippers. A visually appealing setup adds excitement when sharing this tasty treat at gatherings or dinner parties.

FAQs
What are the best olives for making Green Olive Dip?
Choosing the right olives is crucial for crafting an exceptional Green Olive Dip. Opting for high-quality green olives packed in brine will yield better results than those from cans that often lack freshness and flavor complexity. Varieties such as Castelvetrano or Manzanilla are excellent choices due to their sweet yet tangy taste profiles. If you prefer a more robust flavor, mixing in some Kalamata olives can add depth while maintaining that signature green olive essence throughout your dip.
Can I make Green Olive Dip ahead of time?
Yes! In fact, preparing Green Olive Dip ahead of time allows flavors to meld beautifully over several hours—even overnight—creating an even tastier result upon serving! Just cover it tightly with plastic wrap or transfer it into an airtight container before refrigeration so it retains its freshness until you’re ready to enjoy it! When serving after chilling overnight, give it a quick stir and adjust seasonings if necessary before presenting at your next gathering!
How long can I store leftover Green Olive Dip?
Leftover Green Olive Dip can typically be stored in an airtight container within your refrigerator for about 3-5 days without compromising its quality significantly! However, note that certain ingredients may alter textures over time—especially if you’ve included fresh herbs—so it’s essential always check before consuming leftovers! To keep things fresh longer, avoid introducing any dipping utensils directly into the container during storage; use separate spoons instead!
Can I freeze Green Olive Dip?
While freezing may seem like a convenient solution when dealing with excess dips after parties or gatherings—the texture upon thawing might change considerably due to its creamy ingredients separating during freezing processes! For best results—and optimal flavor retention—it’s advisable only to prepare this delicious recipe fresh rather than freezing it unless absolutely necessary!
What can I serve with my Green Olive Dip?
Pairing accompaniments elevates any dish’s overall enjoyment—including your delightful homemade Green Olive Dip! Consider serving alongside crunchy veggies like carrot sticks or bell pepper slices; these not only add vibrant colors but also bring contrasting textures that complement each bite perfectly! Alternatively—crackers (whole grain ones work great!), pita chips & toasted baguette slices serve as wonderful choices too!
Is there a way to make my Green Olive Dip spicier?
Absolutely! If you crave heat in your delectable creation—you have multiple options available: Incorporate red pepper flakes during blending sessions until reaching desired spice levels; alternatively—add chopped jalapeños directly into mixtures beforehand if you’re aiming towards something bolder yet still flavorful! Lastly—garnishing finished dishes with spicy oils (like chili-infused olive oil) right before serving provides extra dimension without overwhelming existing flavors!
Conclusion
In summary, making an irresistible Green Olive Dip involves careful ingredient selection and attention to detail while avoiding common mistakes along the way ensures optimal results every time you prepare this delightful dish at home! By incorporating high-quality olives paired thoughtfully together—with balanced seasonings—you’ll craft something spectacularly unique worthy enough even among friends & family gatherings alike!
Remember: Experimentation leads innovation; feel free exploring various additions—from nuts & spices through complete garnishing approaches—to create something truly special tailored just according personal preferences whilst also impressing guests who’ll savor every bite they take from what could become their new favorite appetizer option moving forward into future celebrations ahead!


